
I need to be honest with you – when deep French manicures started flooding my feed again, my immediate reaction was “oh god, not the Tippex nails.” We roasted these for years. But then the celebrity rotation started: Kylie posted hers, Kim jumped in, then Ariana, SZA, Taylor Swift, Hailey Bieber – suddenly everyone’s rotating through chunky French manicures.
The Pink Issue’s editor, Petra (self-proclaimed “elderly millennial”), got genuinely excited about this comeback. She’s got the natural length for it, so she pitched doing a comparison test – wear the OG 90s/early 200ss version for a week, then switch to the 2025 update and see what’s actually different. Spoiler: we figured out exactly why this type of French mani died out, and exactly why it’s working now.
The Late 90s/Early 2000s Version Was A Lot
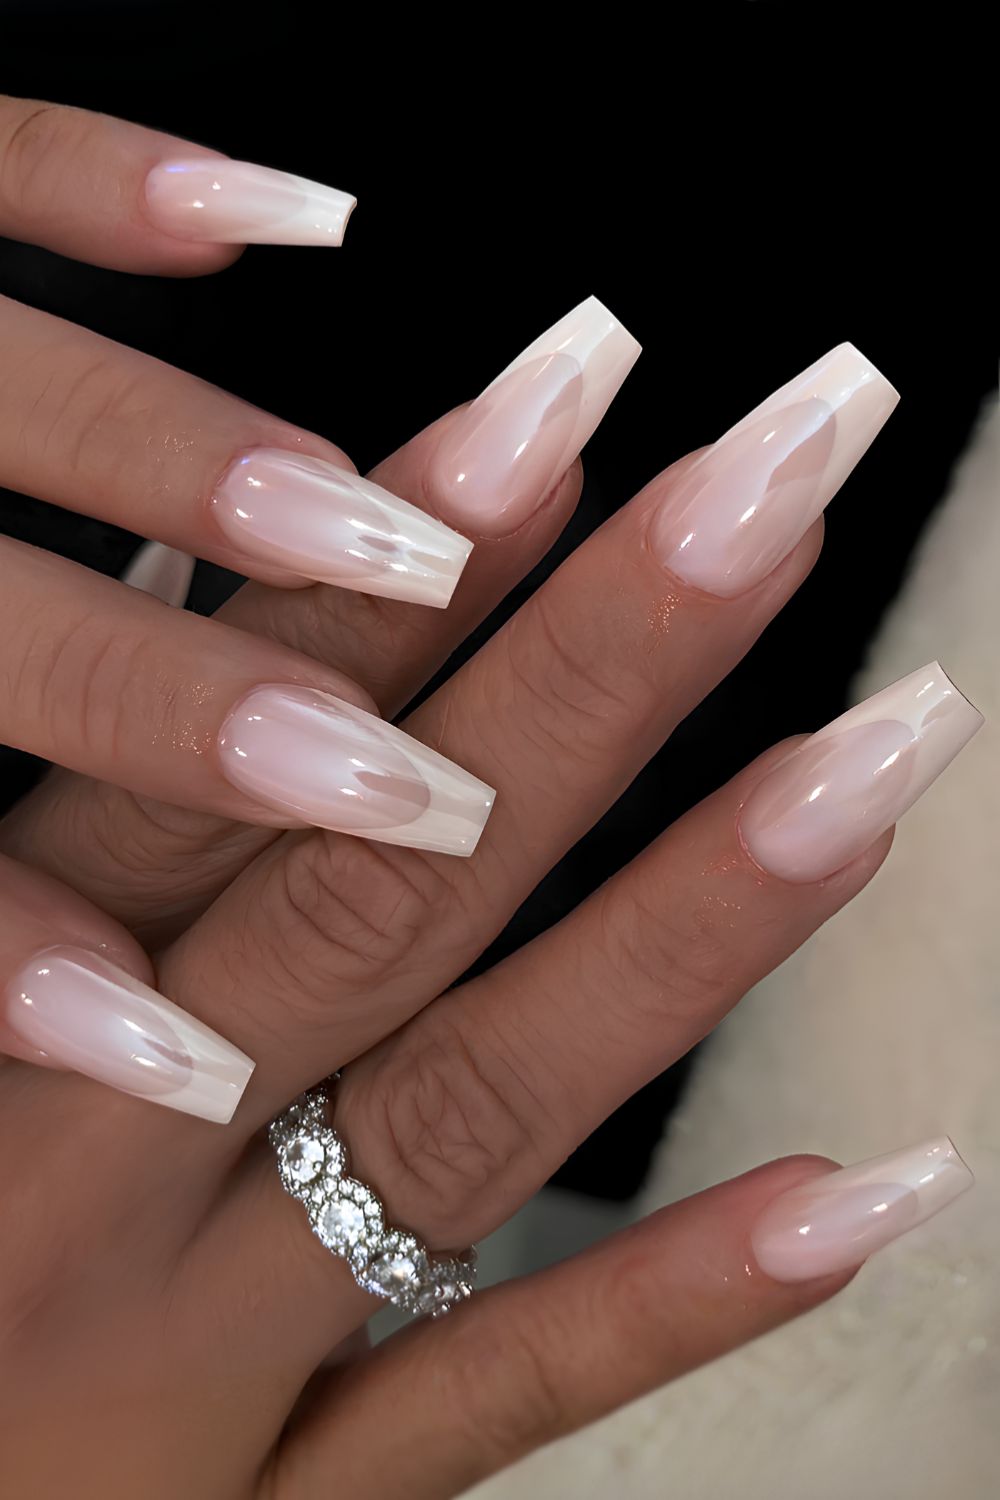
The original deep French (some people call it “extreme French” now, which is accurate) did not hold back. Long, sculpted acrylics. Harsh square tips. A thick white band paired with that fake bubblegum pink base that matched exactly zero skin tones.
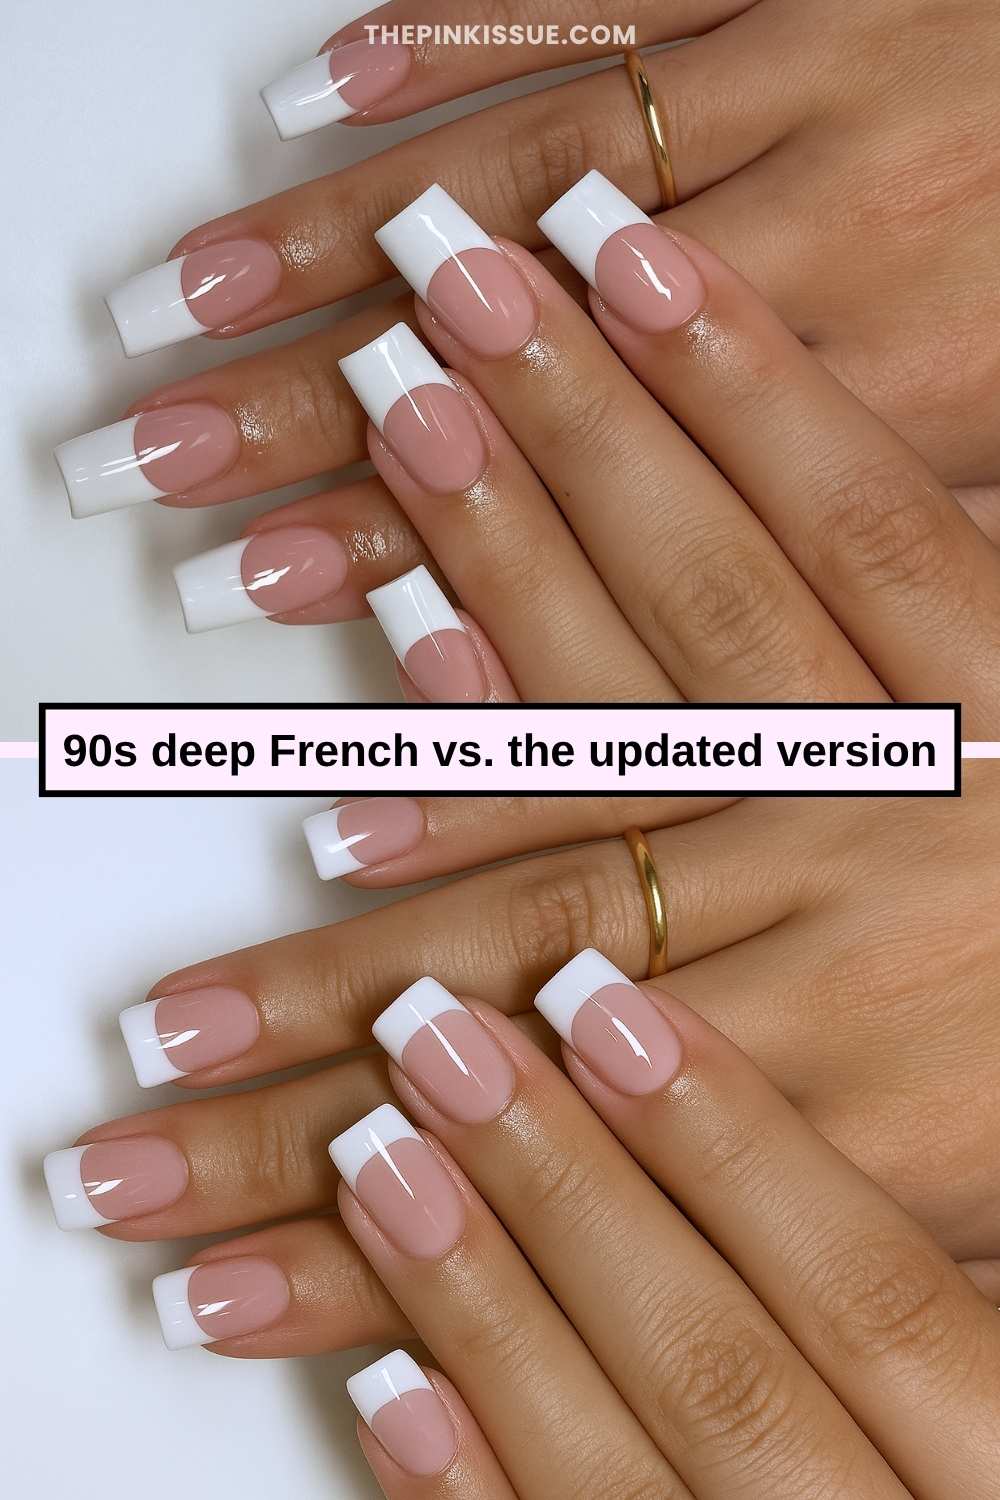

Petra went full method (see pic above). Big square nails, glaring contrast, the works. Her report? Strangers stared. Some made mob-wife jokes. One person looked worried.
And that was the issue with the OG chunky French manis. They weren’t just bold – they were extra. The length, the thickness, the cartoonish contrast. They became shorthand for outdated nail trends, right next to those duck feet-shaped acrylics we all pretend never happened.
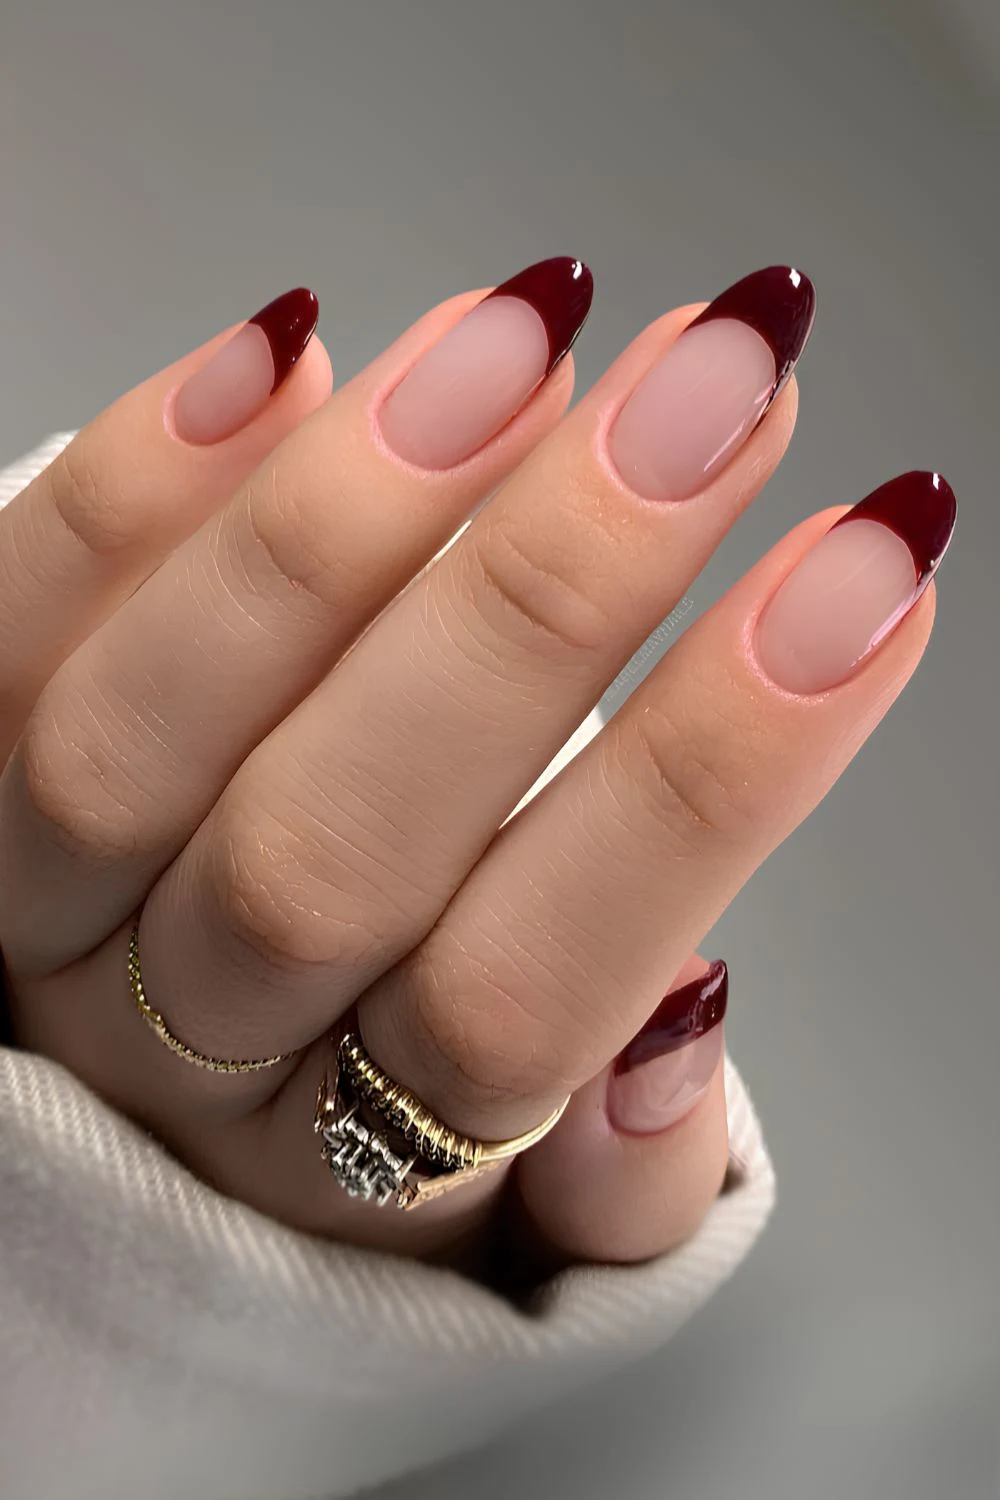
The Modern Take Is Actually Wearable

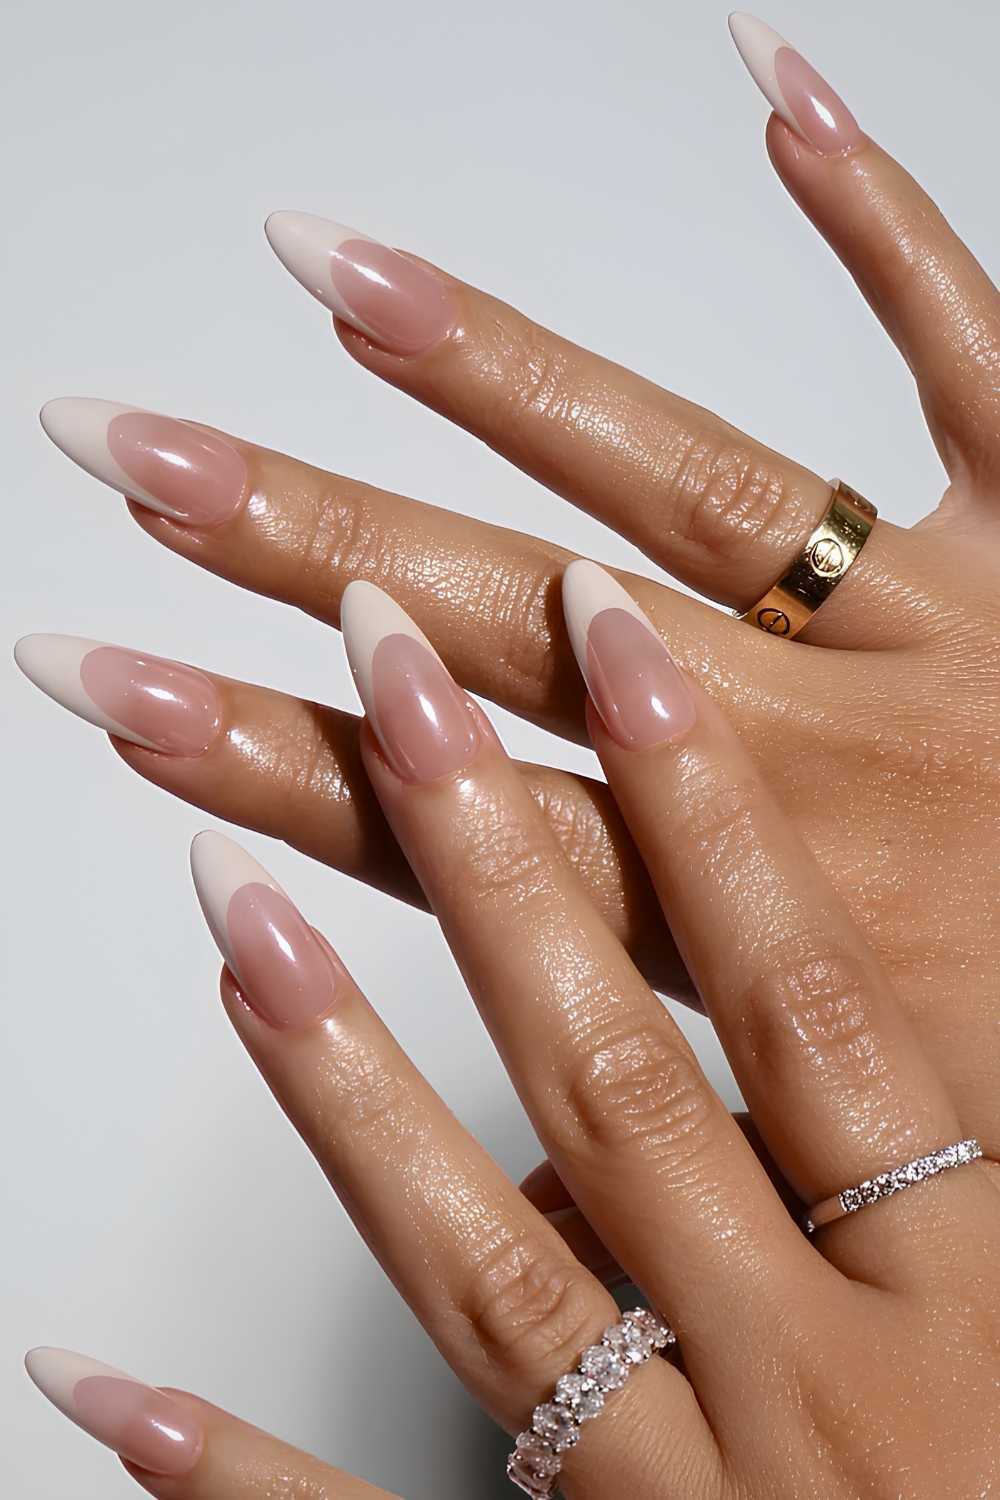
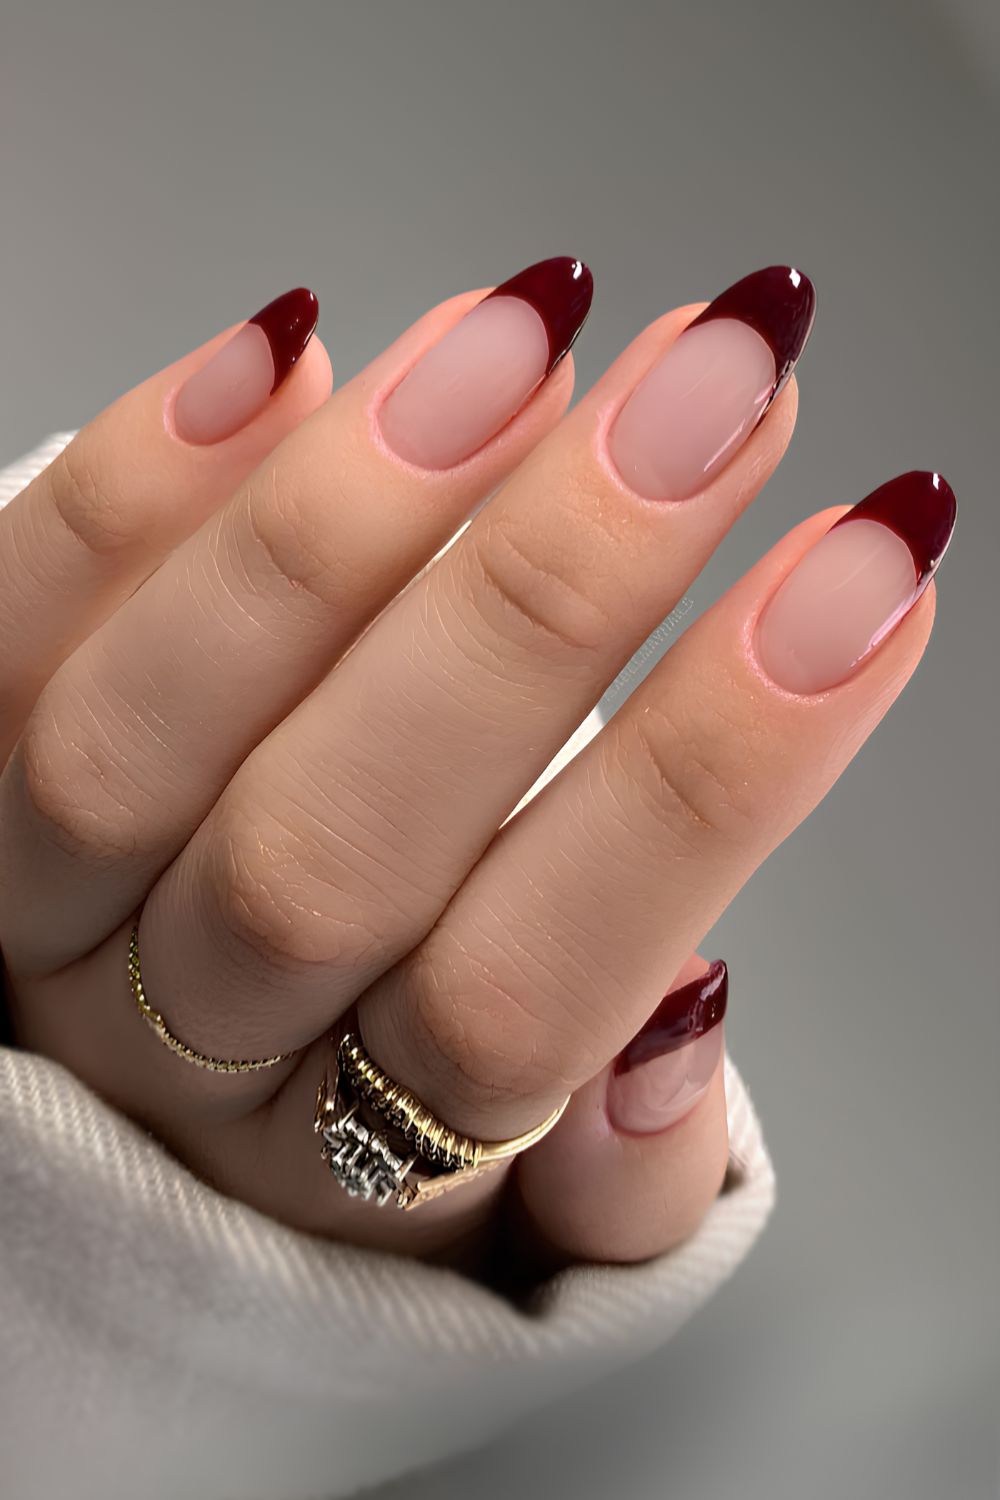
After her week of living that 90s nail life, Petra went back for the modern interpretation. She kept the deep smile line but tweaked everything else: went for a squoval shape instead of a square, shortened the length and thinned out the white band.

The result? Still dramatic, but actually wearable. She’s still wearing them now – gets compliments instead of side-eyes. And she can wear normal clothes without feeling like she’s LARPing as Carmela Soprano.

That’s what changed between then and now – nail techs figured out what worked (the deep curve) and dropped what didn’t (everything else).

So Yes, We’re We Doing This Again

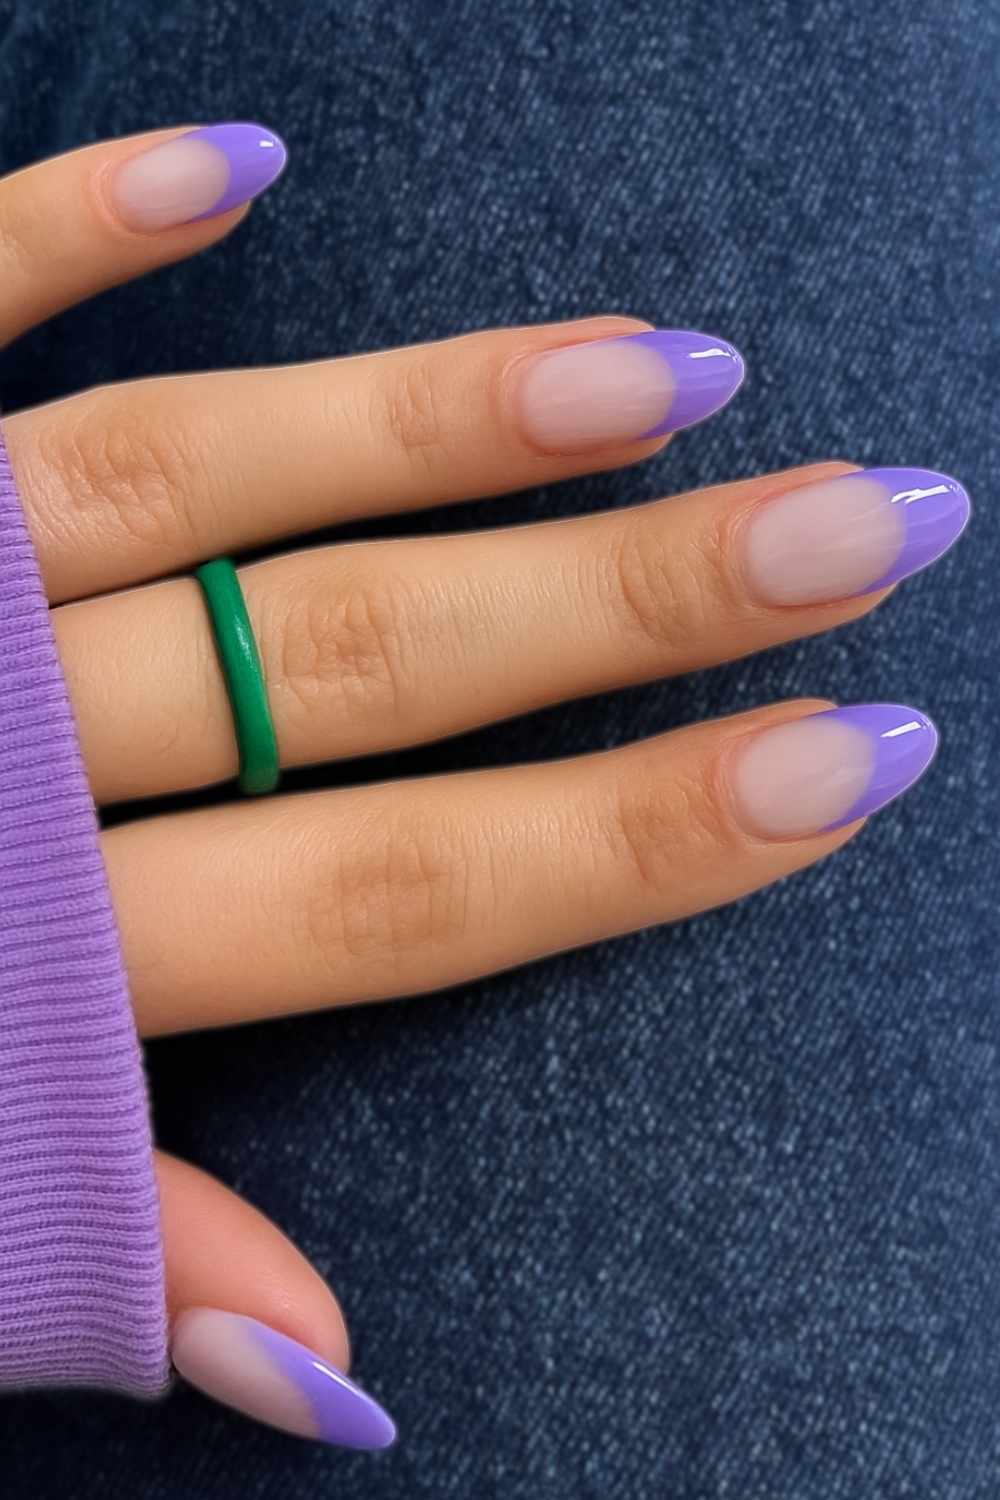
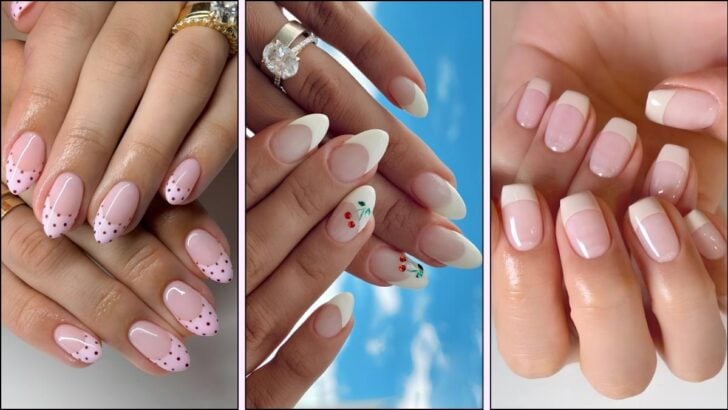
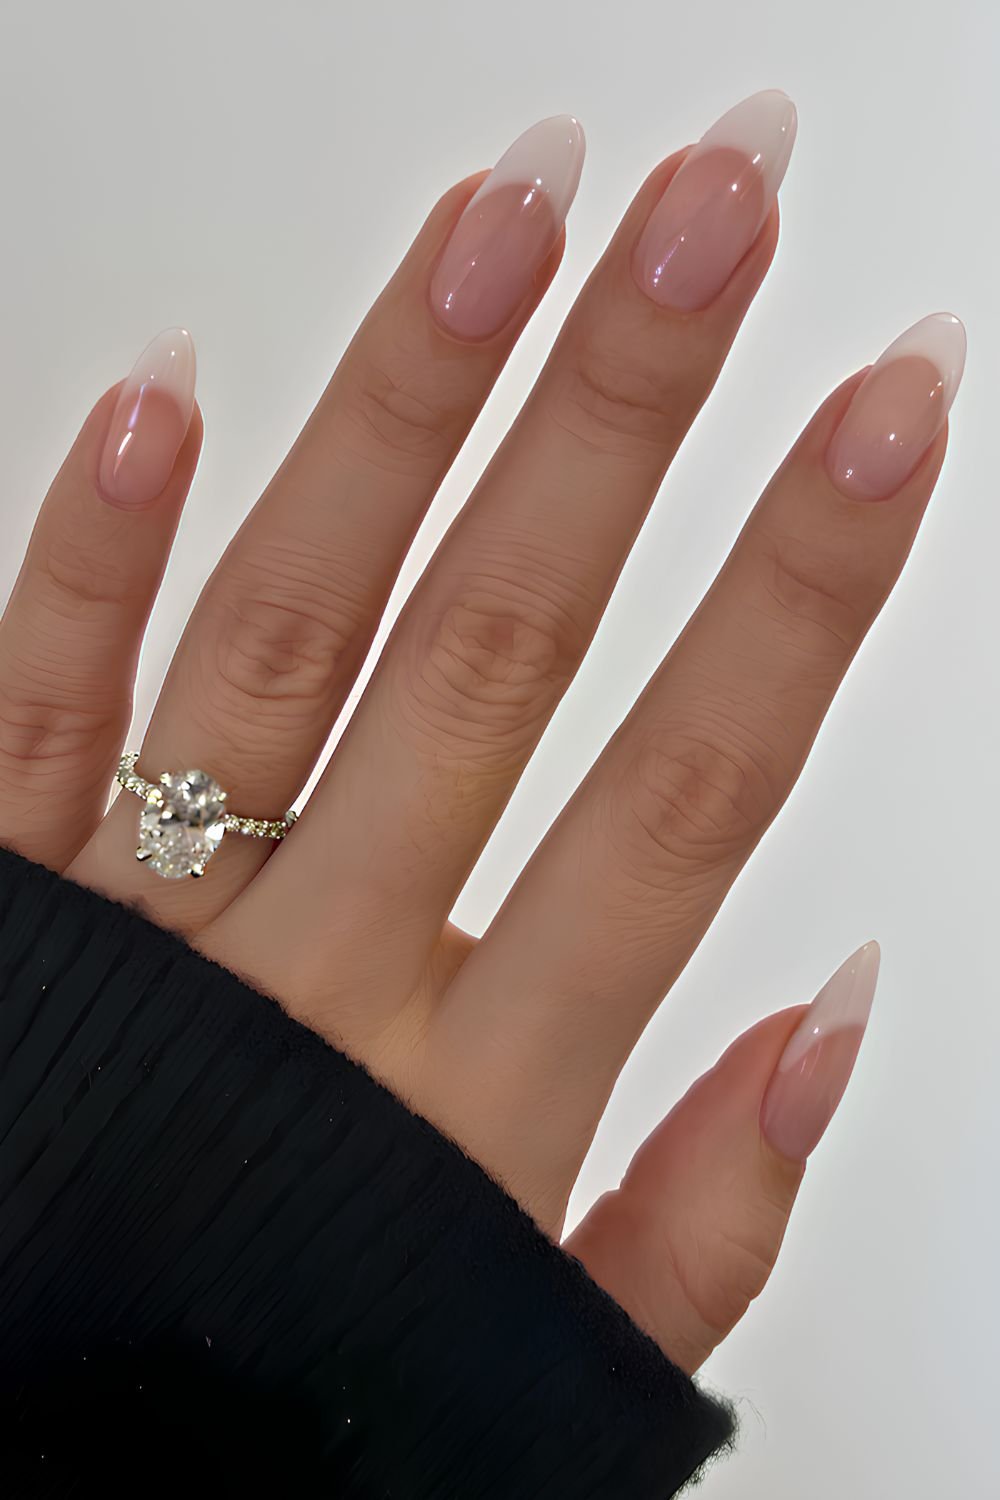
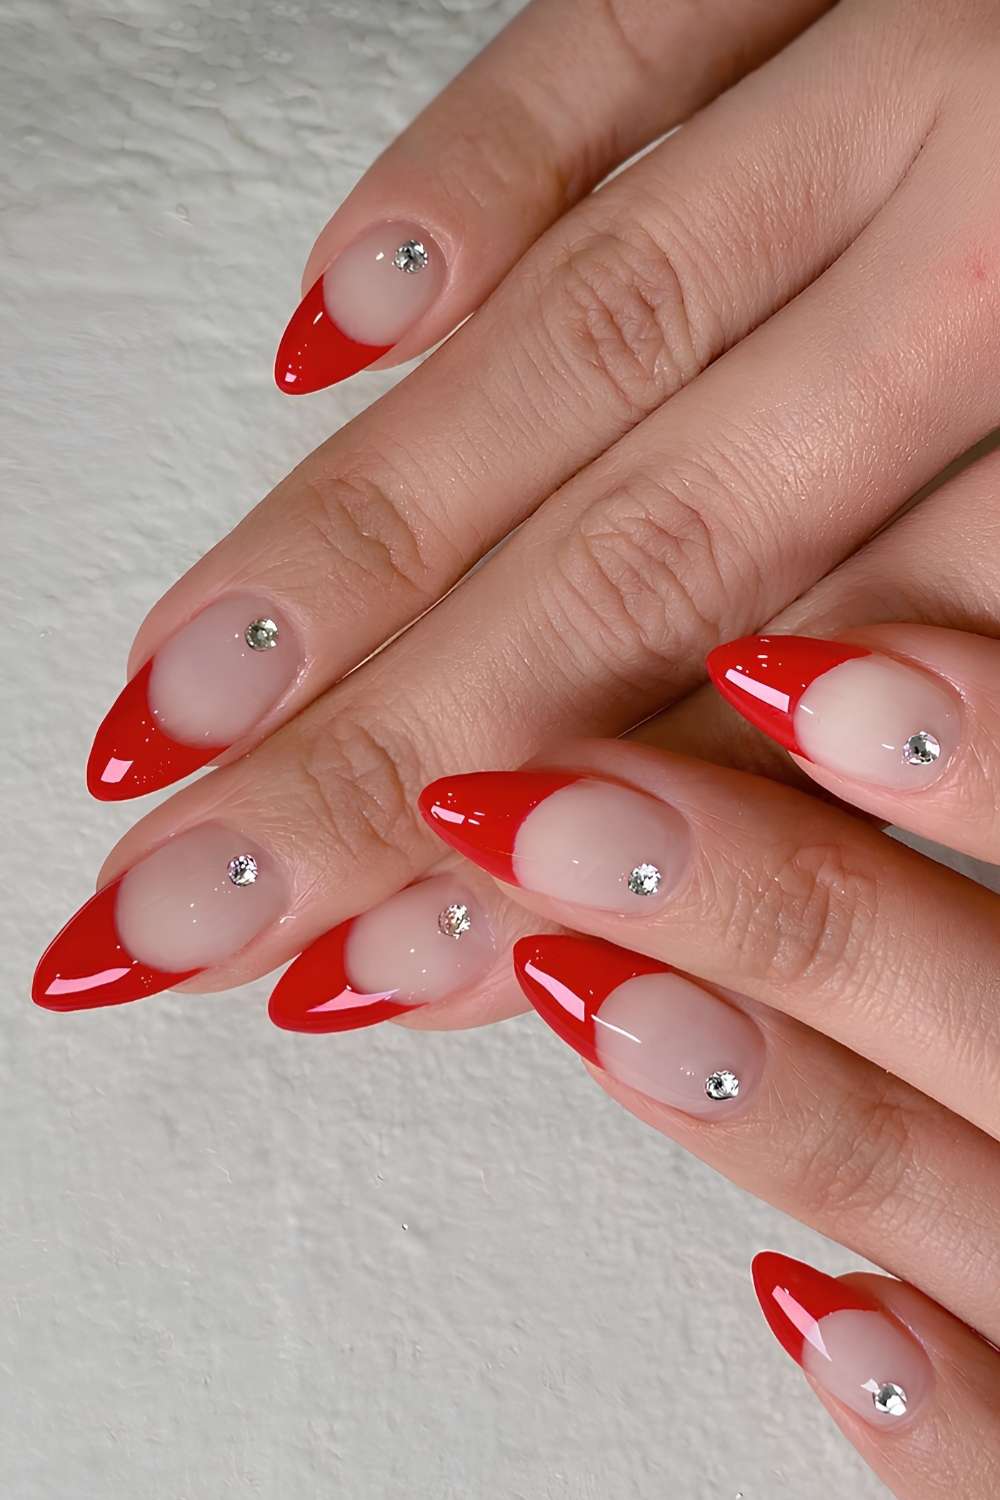
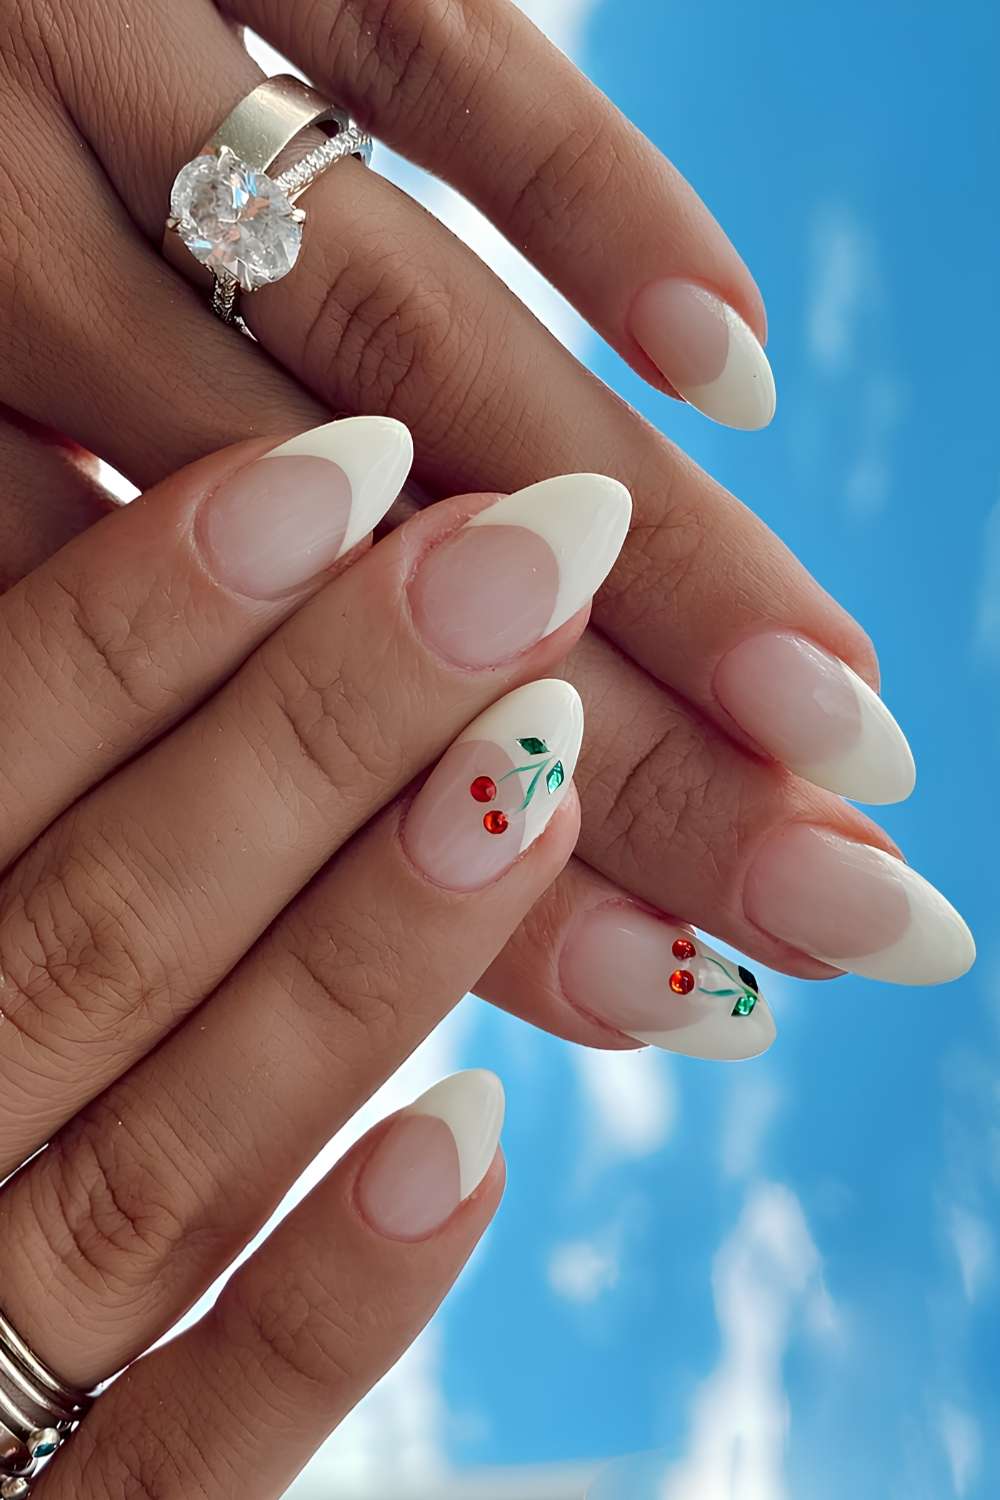
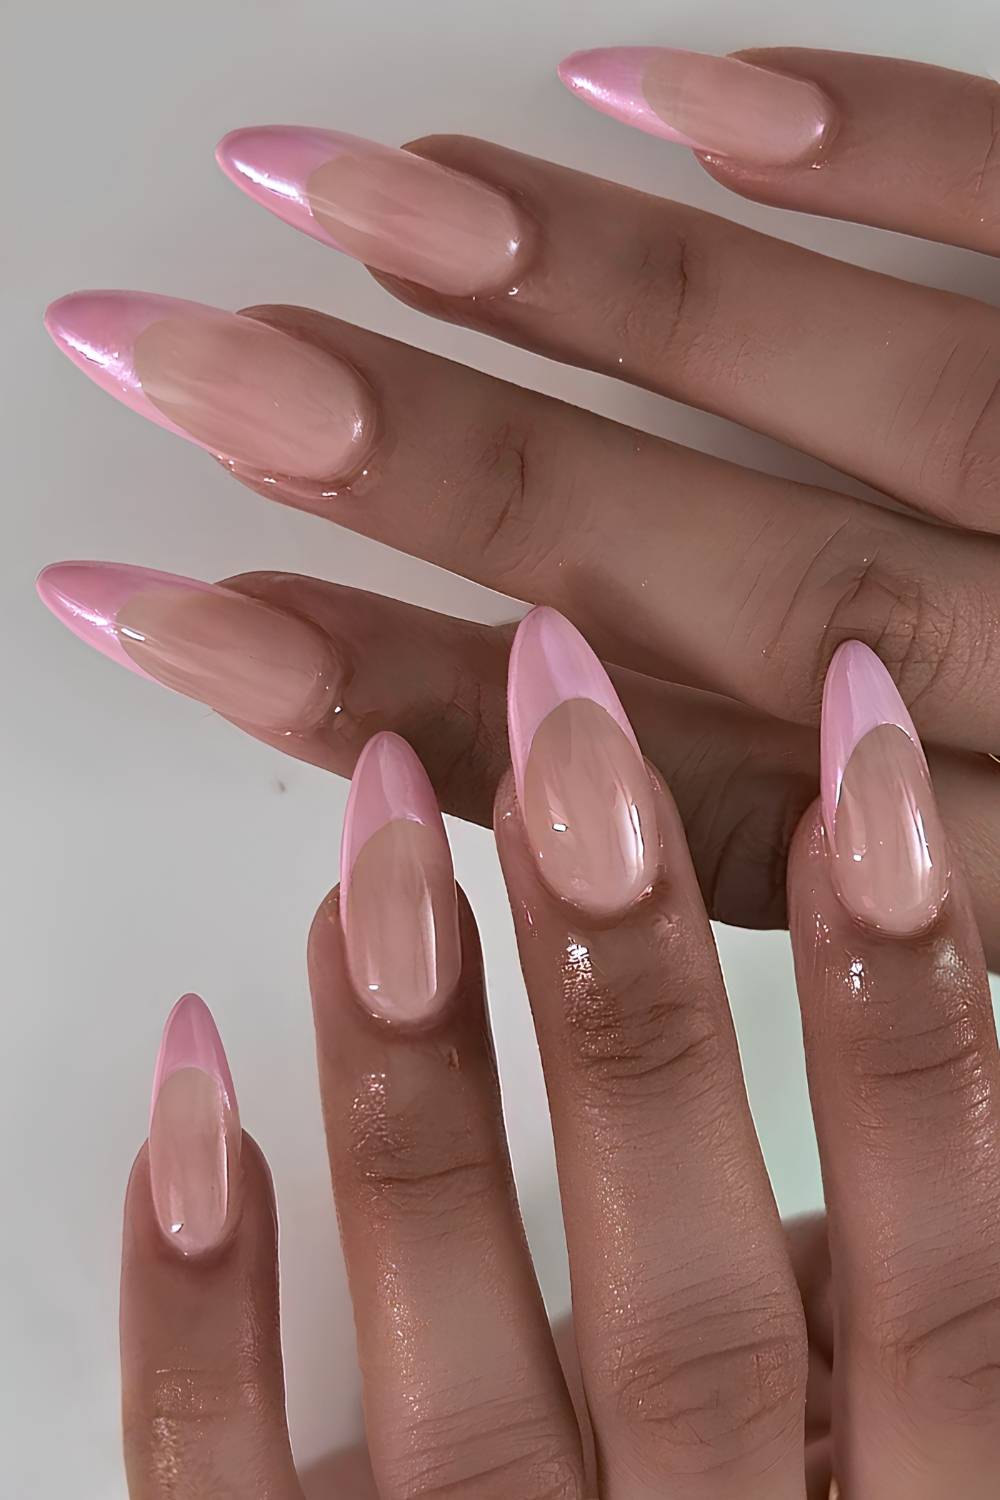
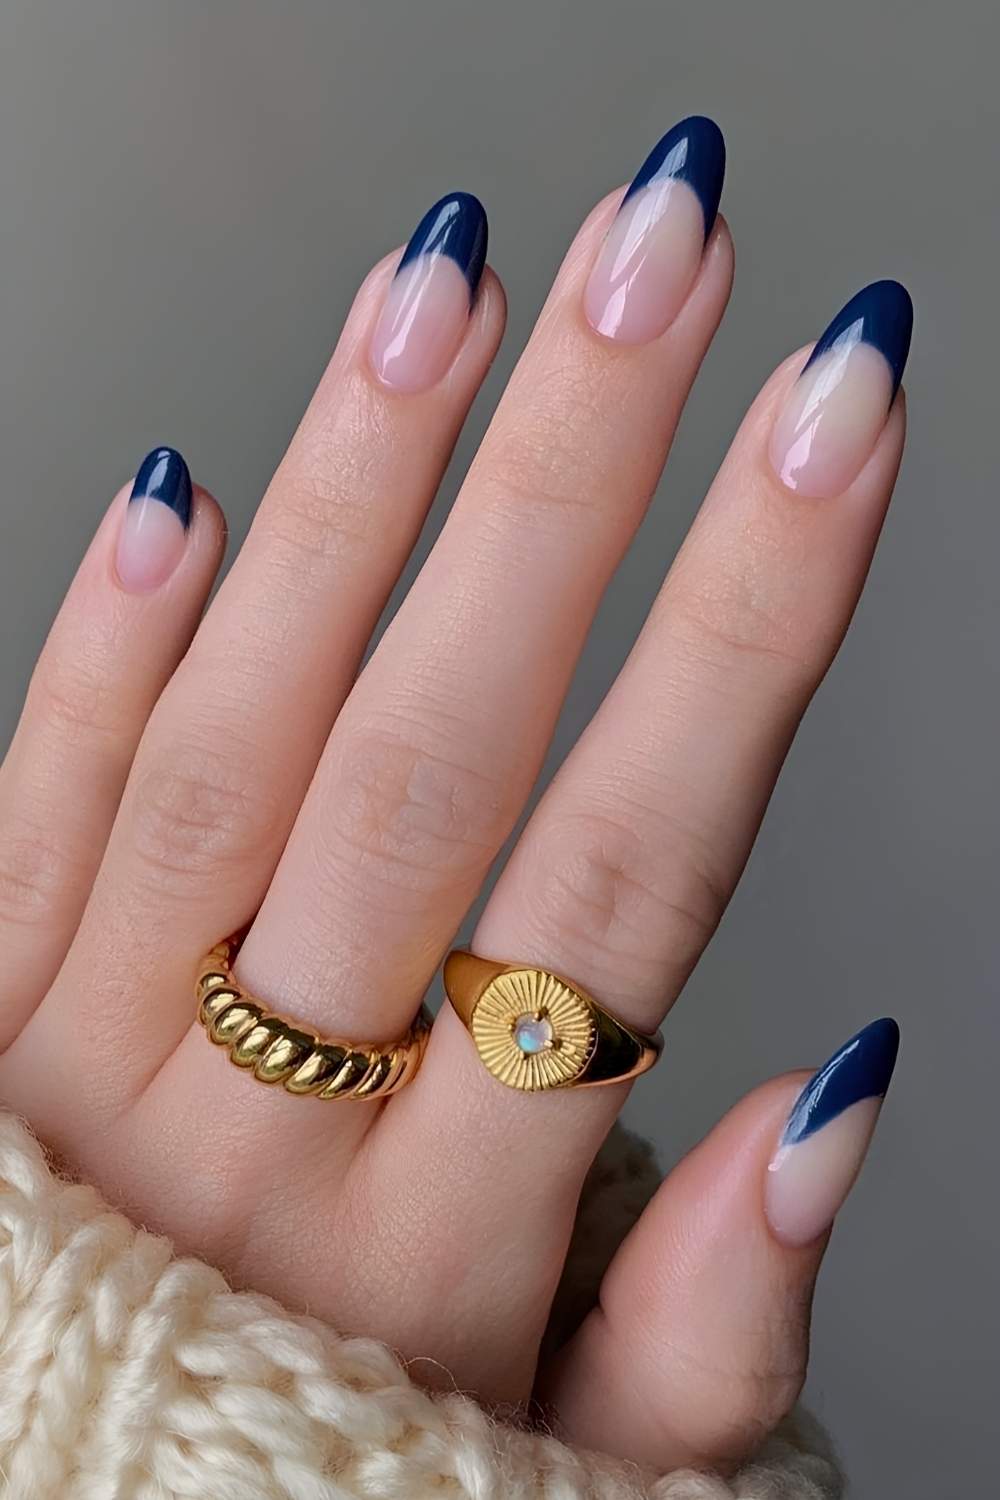
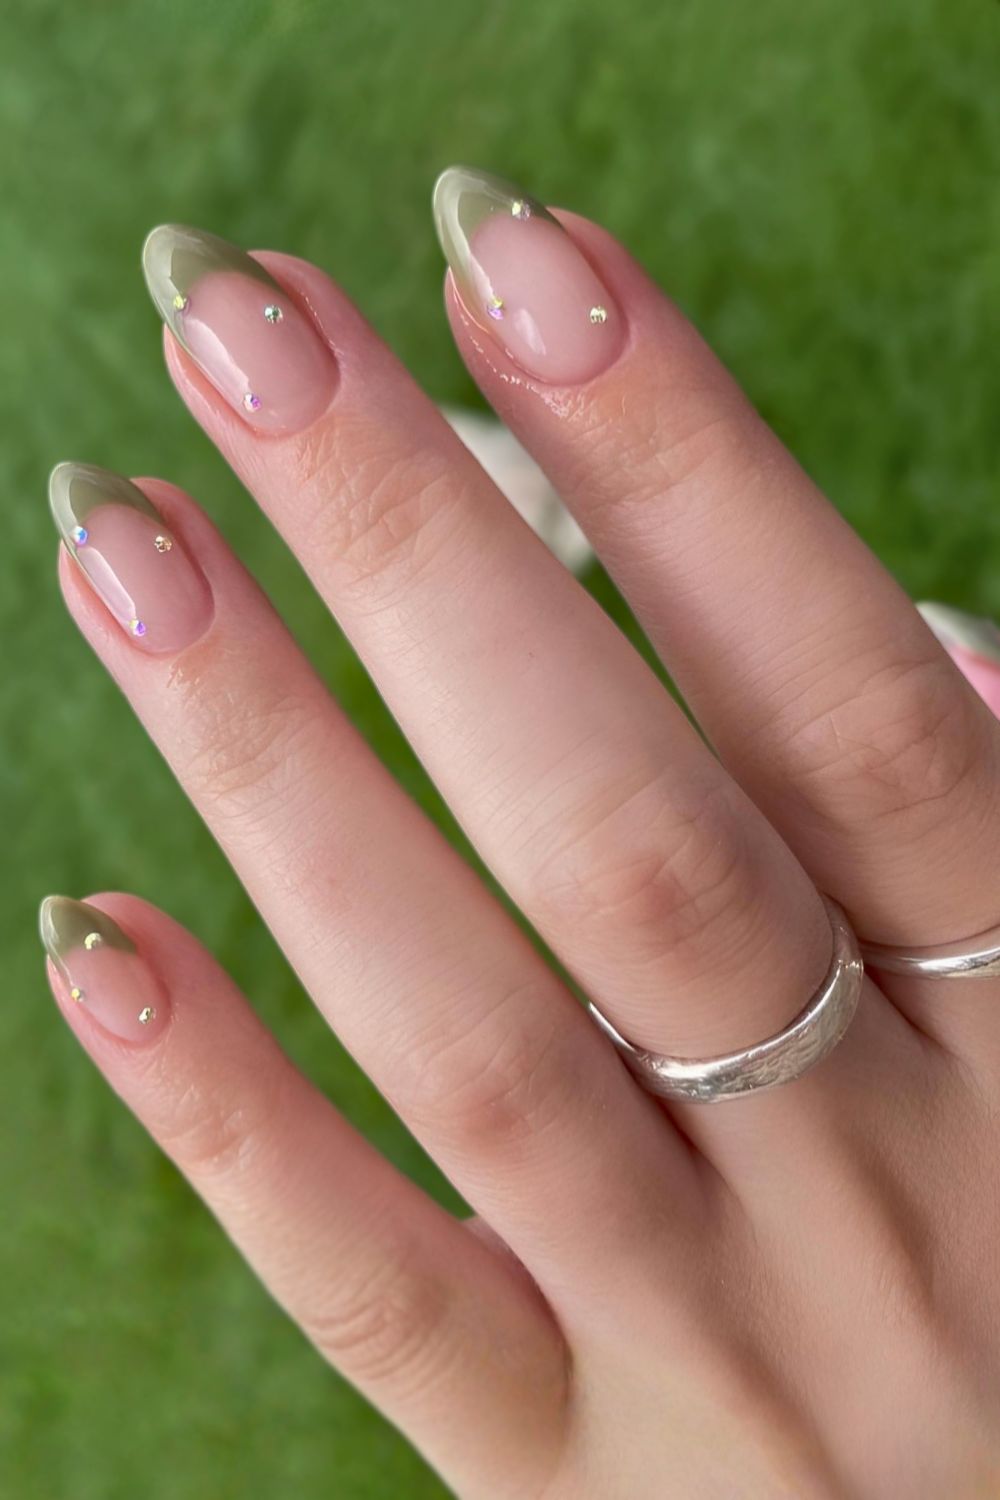
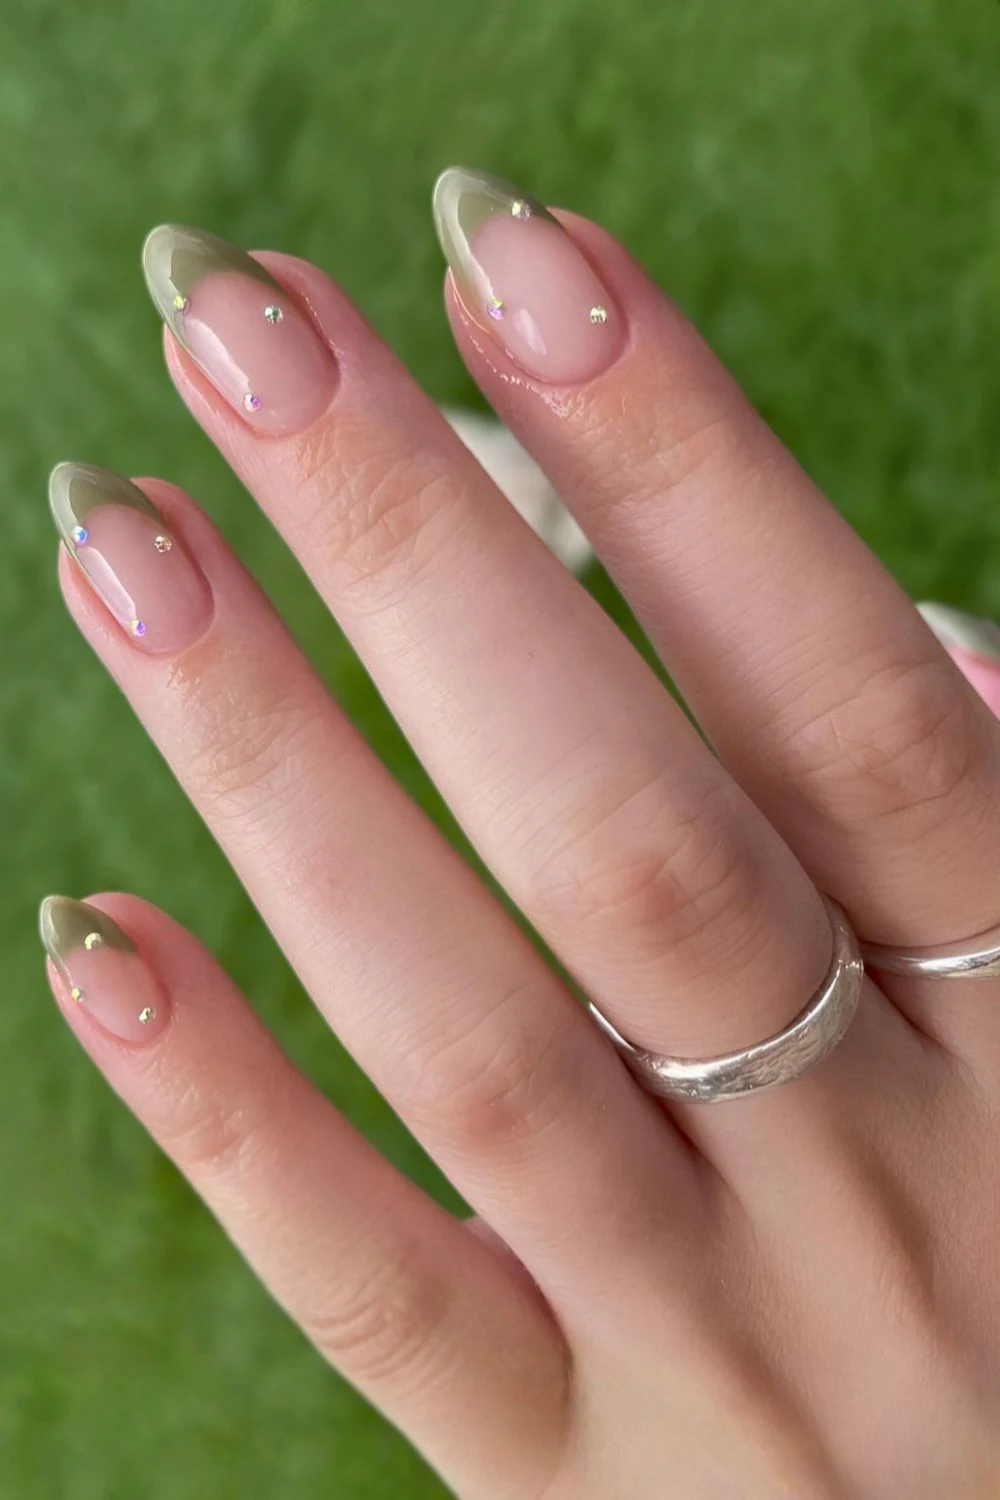
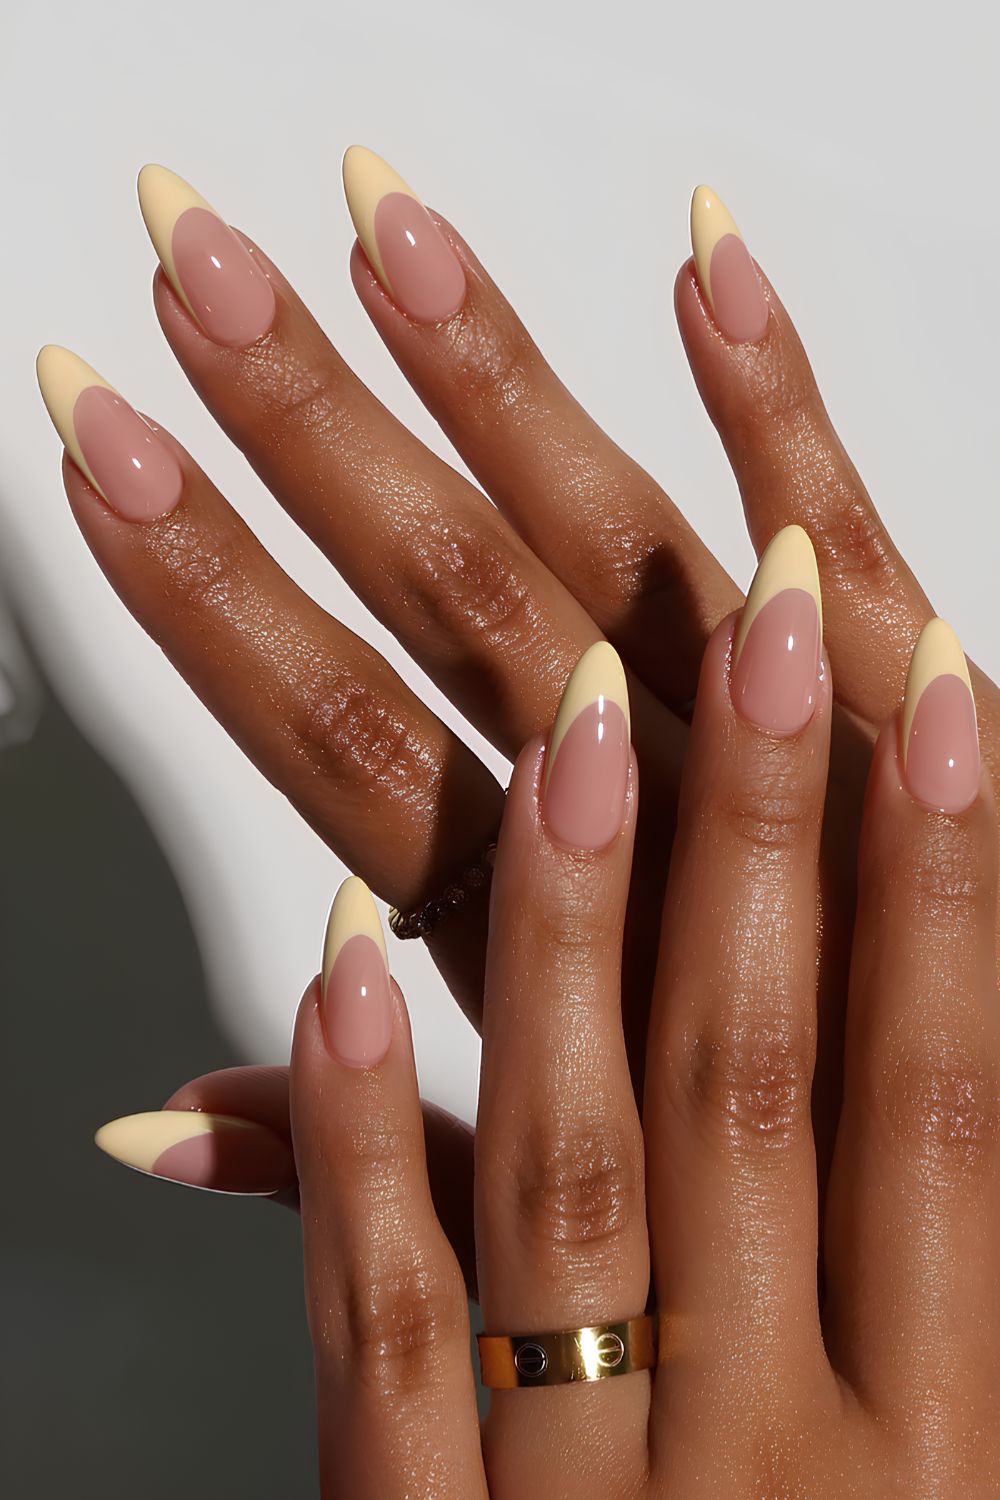
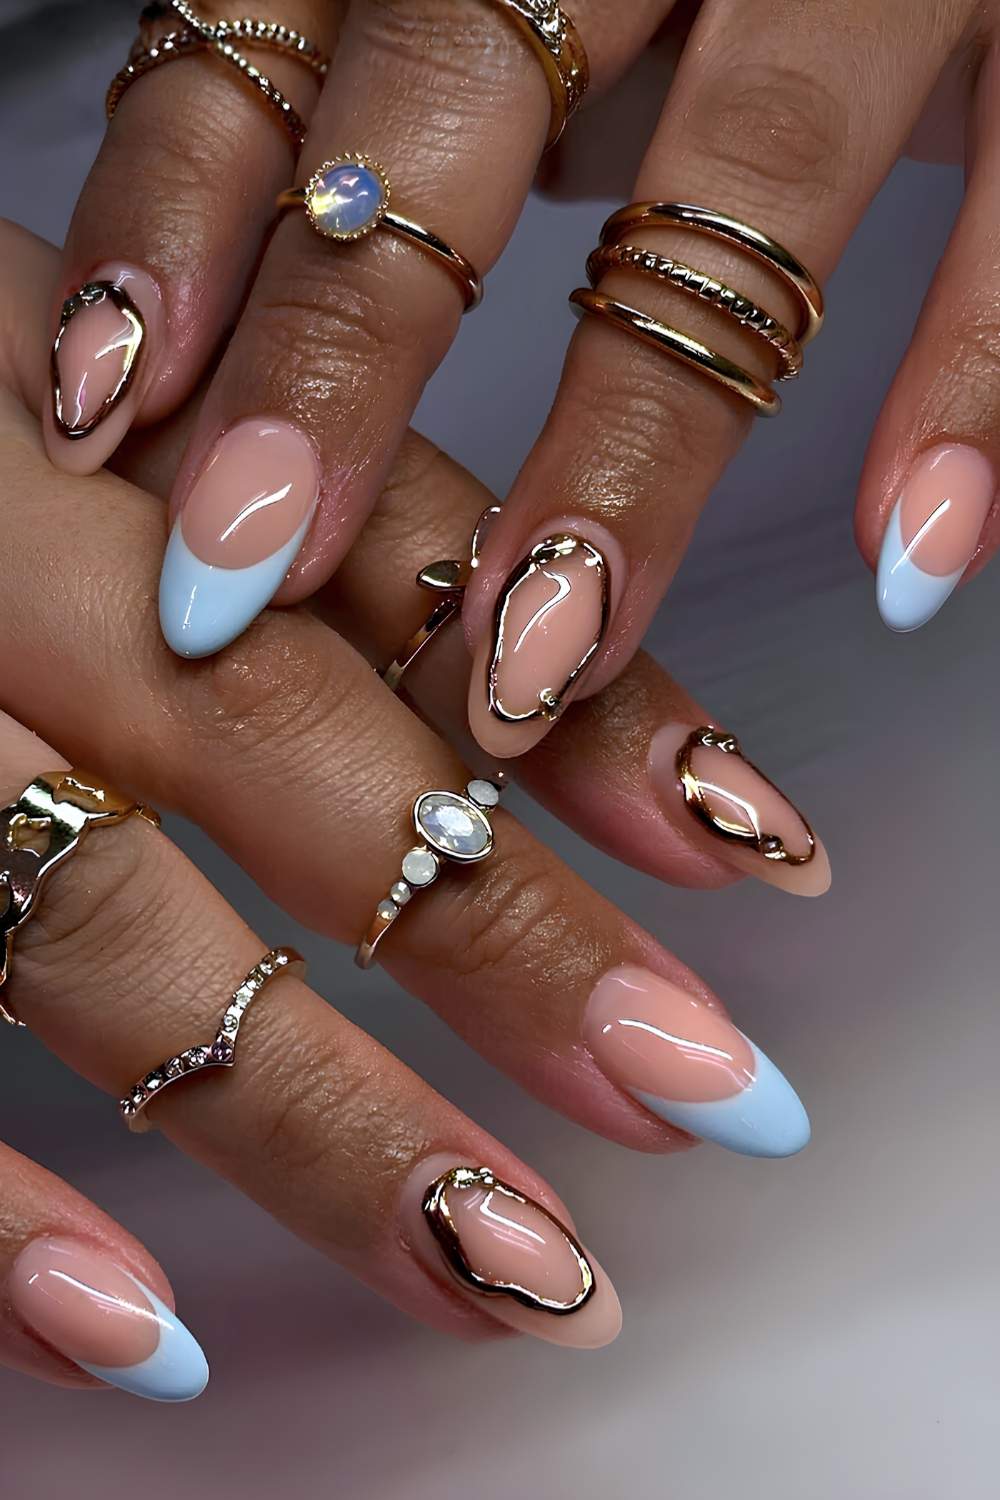
This trend’s got staying power, at least for a couple cycles. Modern versions use softer shapes – almond, oval, squoval instead of those razor-sharp squares.
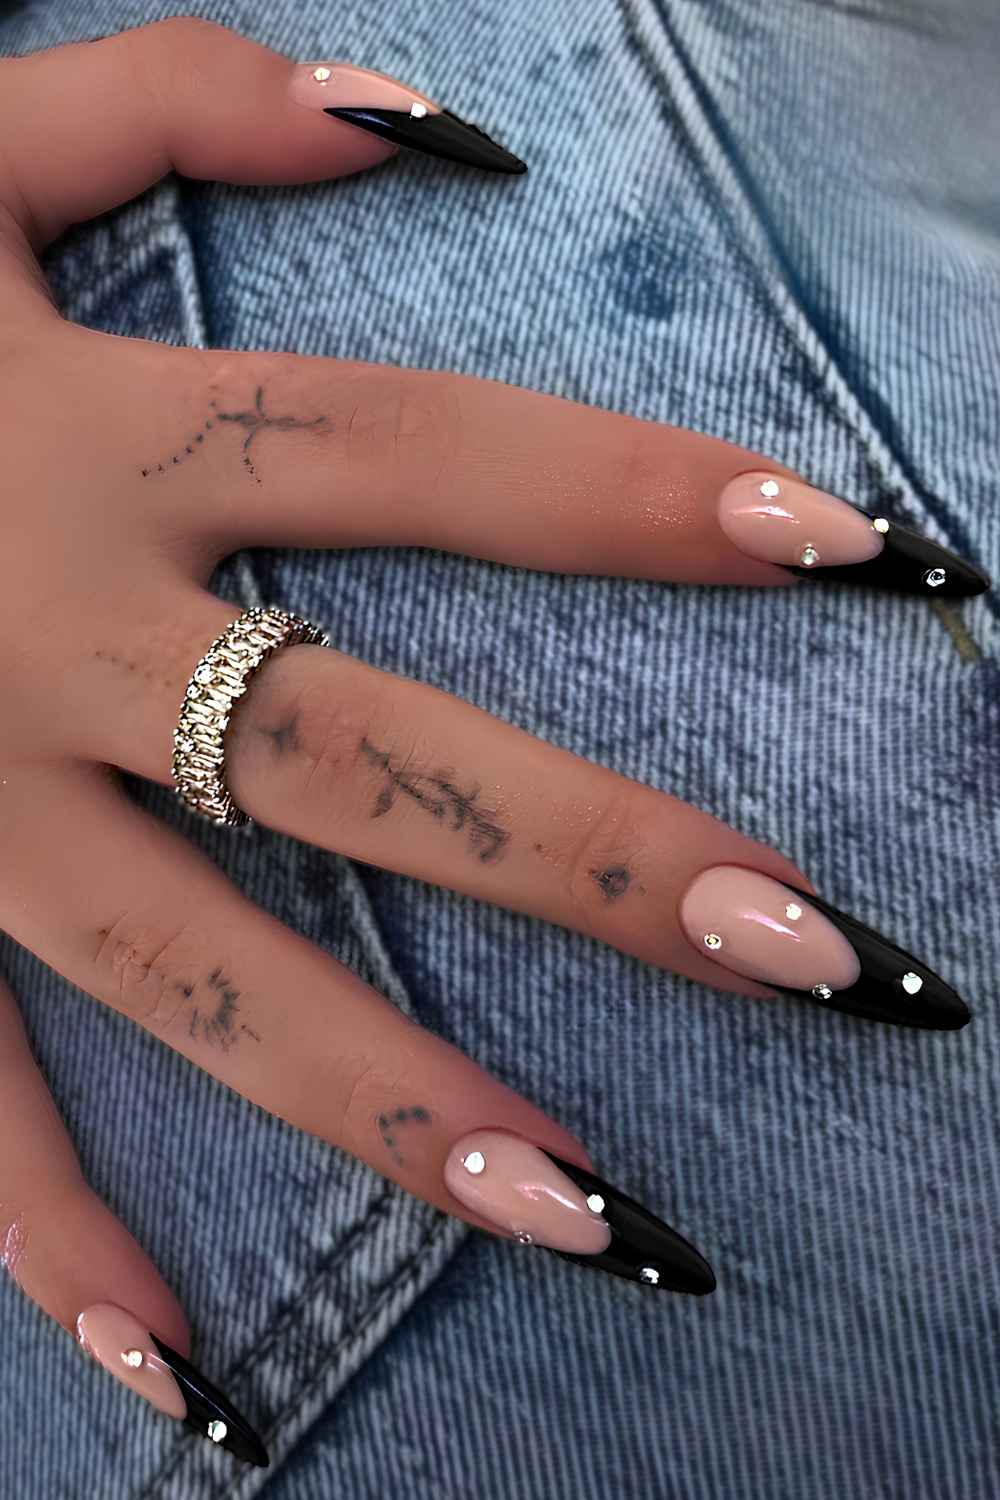

Bases are sheer now and actually blend instead of that artificial pink. Finishes create depth without looking loud. We kept the concept, fixed the execution.

So no, it’s not just nostalgia and Gen Z rehabilitating every trend millennials clowned on (low-rise jeans, zigzag parts, thin eyebrows are apparently next?) – these actually look good.

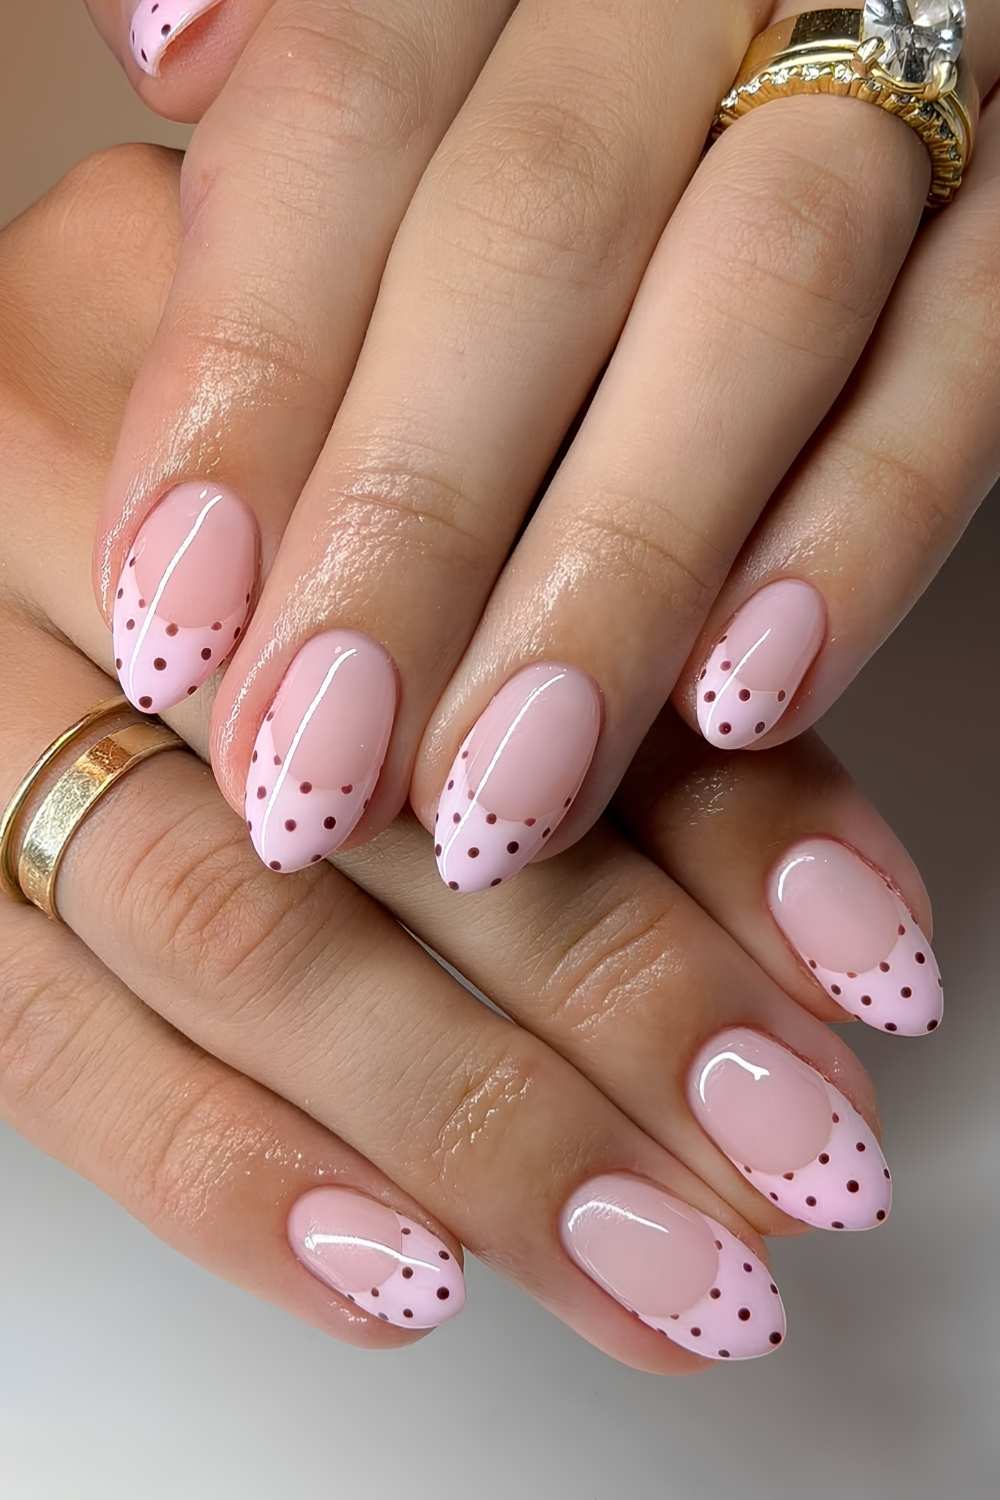
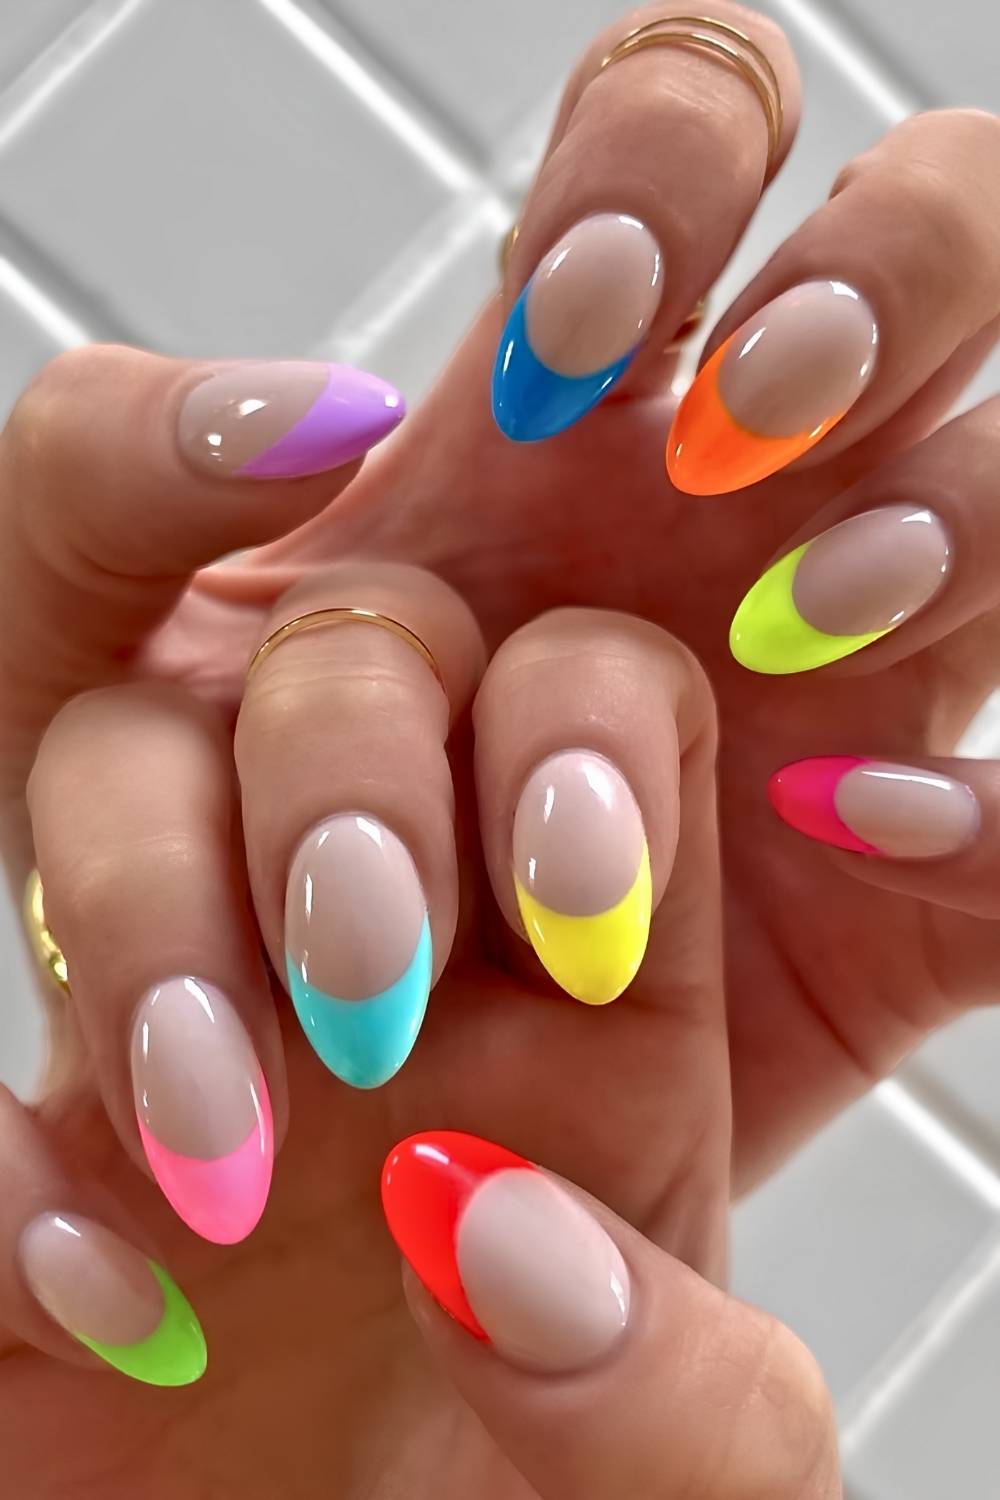
When you drop that white section (or any color, really) further down, it visually extends your nail bed and makes fingers appear slimmer. You get a strong graphic effect without needing any technical nail art ability.
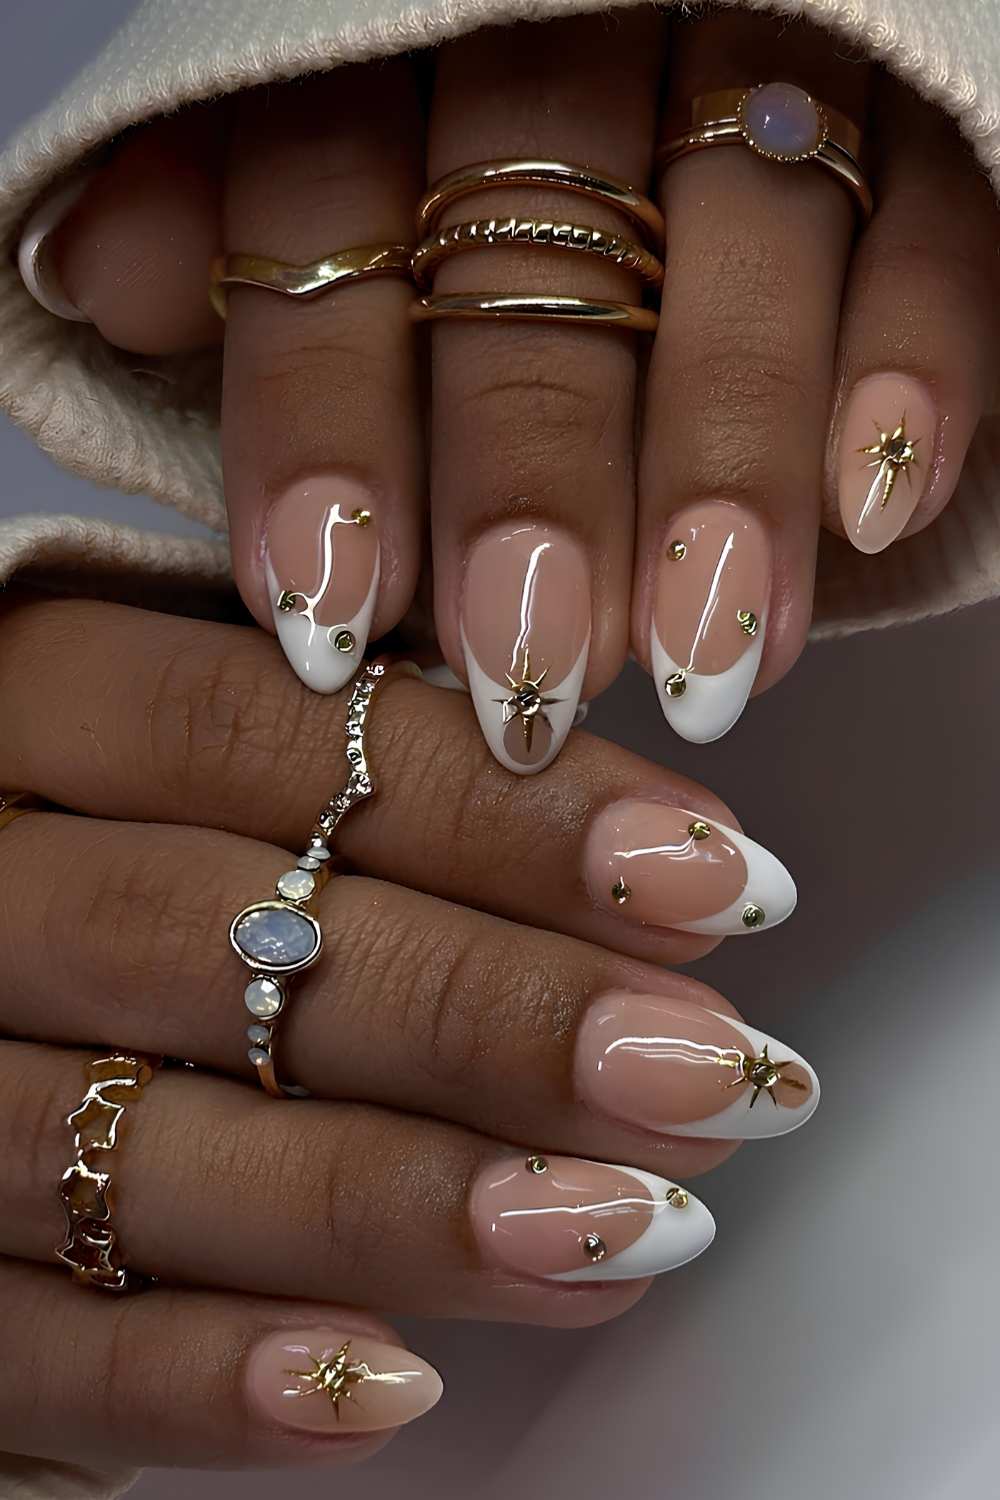

Plus, it gives you more space to experiment – chrome swirls, bows, cat-eye gel, micro art, whatever your algorithm’s pushing.
How to Do Thick French Tips at Home

If you want to try this yourself, here’s the play-by-play:
- Start with your shape. File to almond if you’re new to this – it’s the most forgiving. Square and coffin look incredible but there’s way less margin for error.
- Base color: two thin coats. Use a sheer pink or nude. Let each coat dry completely. This isn’t just aesthetic – it hides your natural nail tip so when it grows out, you don’t get that obvious demarcation line.
- Map your smile line deeper than usual. I use French tip guides placed lower, or I sketch it with a liner brush first. If your hands shake, try this: draw a V from each side toward the center, then connect with a curve. Or grab a squishy nail stamper, load it with polish, press your tip into it at an angle.
- Apply tip color in two light coats. Never one thick coat. Let it self-level between coats or you’ll get that lumpy ridge situation at the smile line that screams amateur hour.
- Clean up the curve. Tiny brush dipped in remover. This is where you make it look professional instead of “I tried.”
- Seal everything. Glossy topcoat for classic. For chrome, cure a no-wipe gel top, rub chrome across your set or just at the tips, dust off excess, seal again with regular top coat.
The Real Talk Section
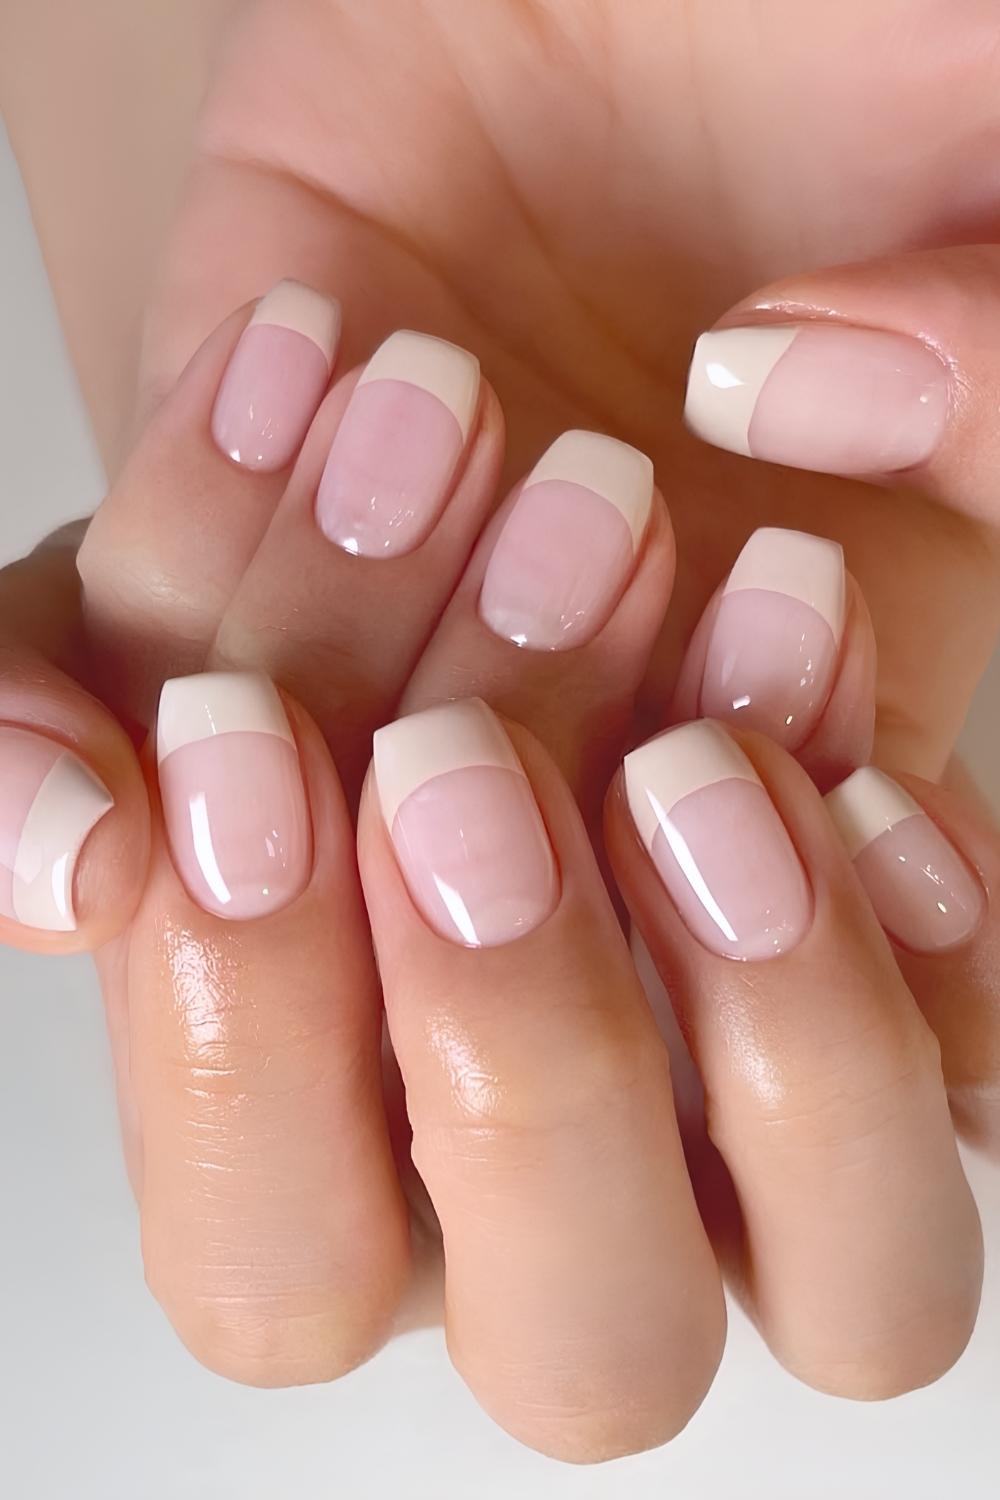
If you’re planning to wear these for 3-4 weeks, use a solid, opaque color for the tip – not sheer white. This is not a natural, “foggy French” situation.

Sheer looks great for about a week, then you get this weird translucent shadow where the tip meets your nail bed as it grows out. Solid coverage hides that completely and your mani stays looking fresh way longer.

Also – and I cannot stress this enough – this really works best on longer nails. At the very least, you need some free edge. Technically, sure, you can do it on super short nails, but you’re not getting the full effect.

It ends up looking like you just painted half your nail and stopped, kind of blocky and unfinished. Unless that’s specifically the vibe you want, consider extensions for this one.

The Take-Home
After two years of “quiet luxury” and $80 manicures designed to look like you did literally nothing, deep French tips feel… refreshingly honest. We’re clearly in our louder, bolder, zero-apologies era.
Will these look ridiculous in five years? Probably. A lot of nail trends age like a banana. But right now, in this moment? They hit. And it kind of feels good to say: I want my nails to look done. Not “my nails but better.” Not “effortless.” Just – done.