Halo Nails Are the Framed Manicure Trend Worth Saving
Follow The Pink Issue on Google.
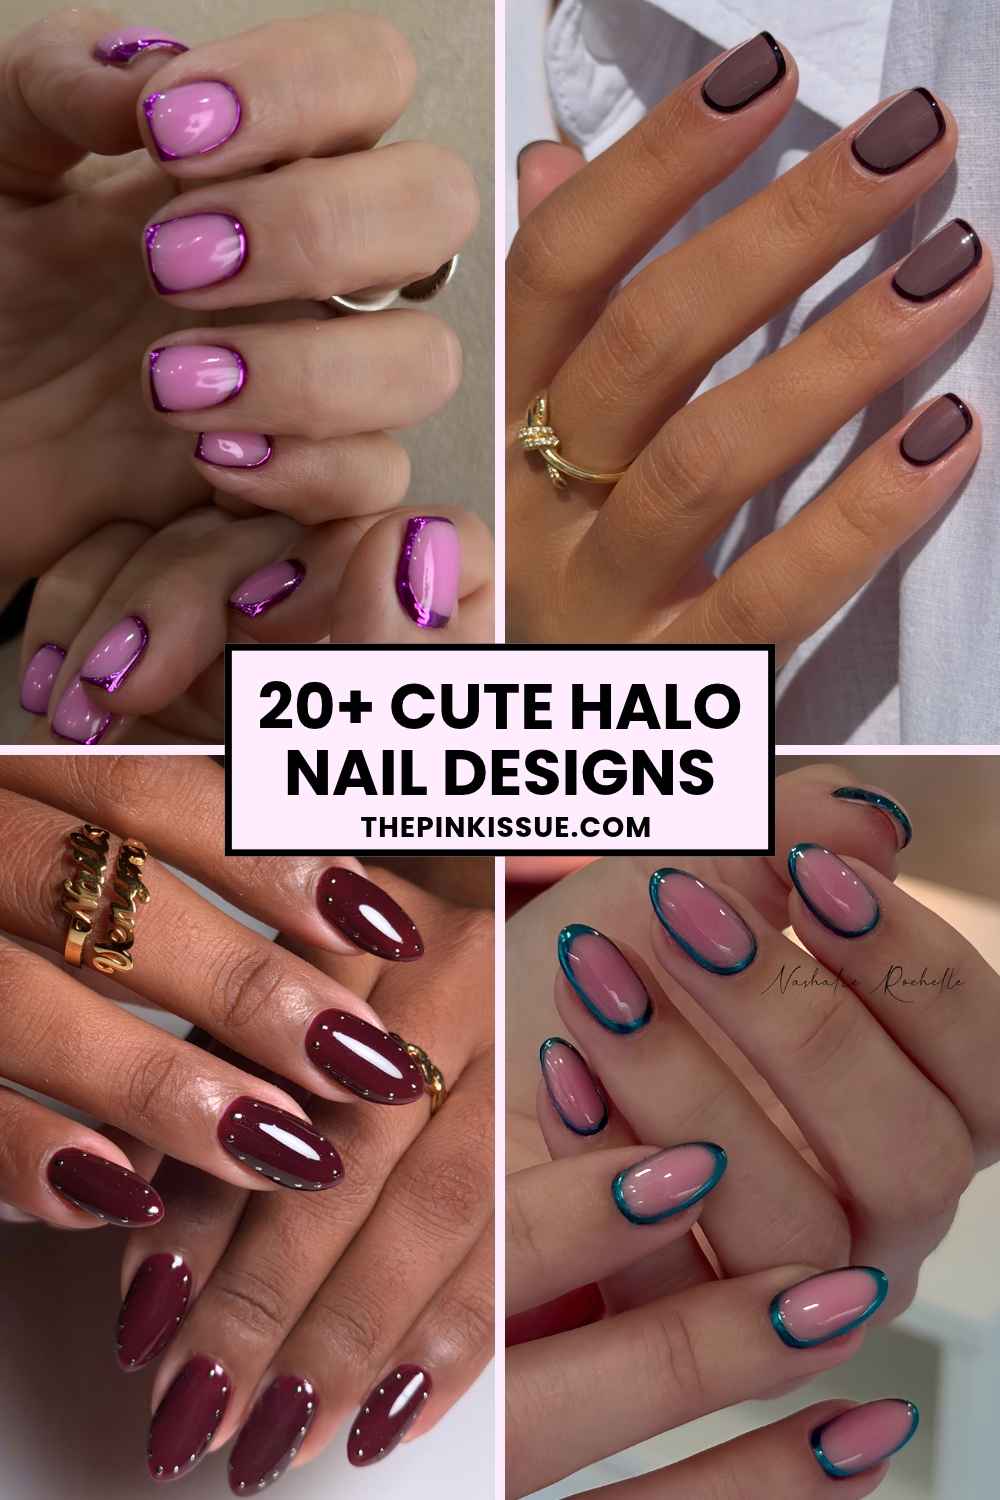
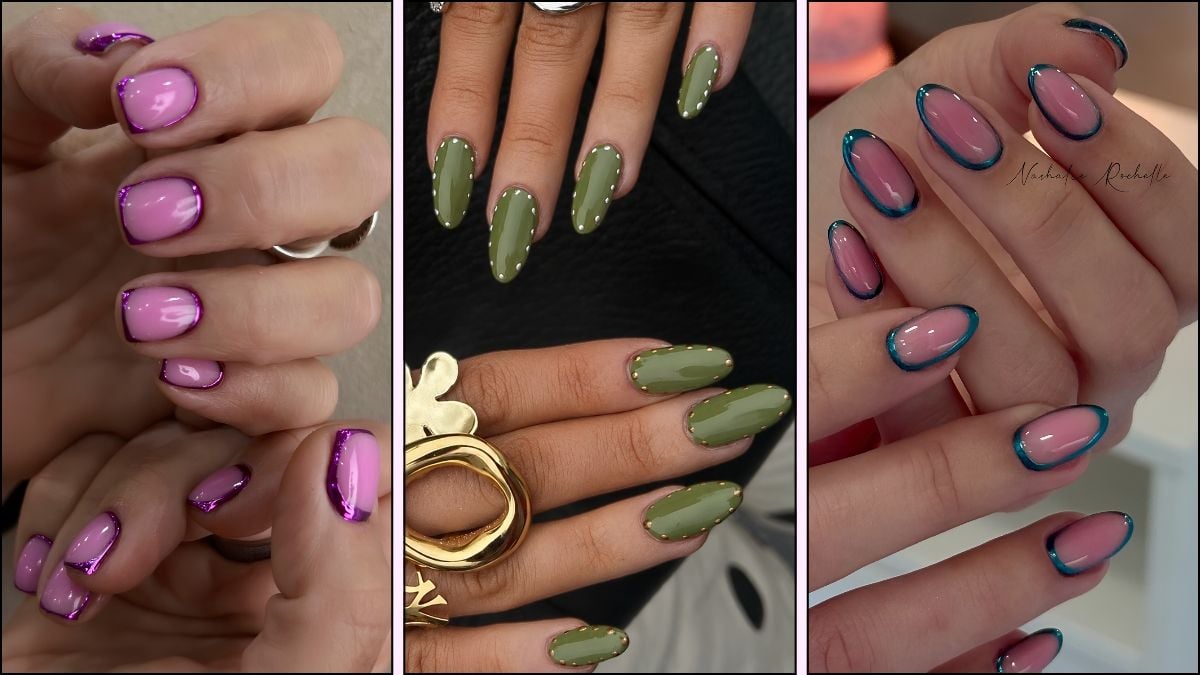
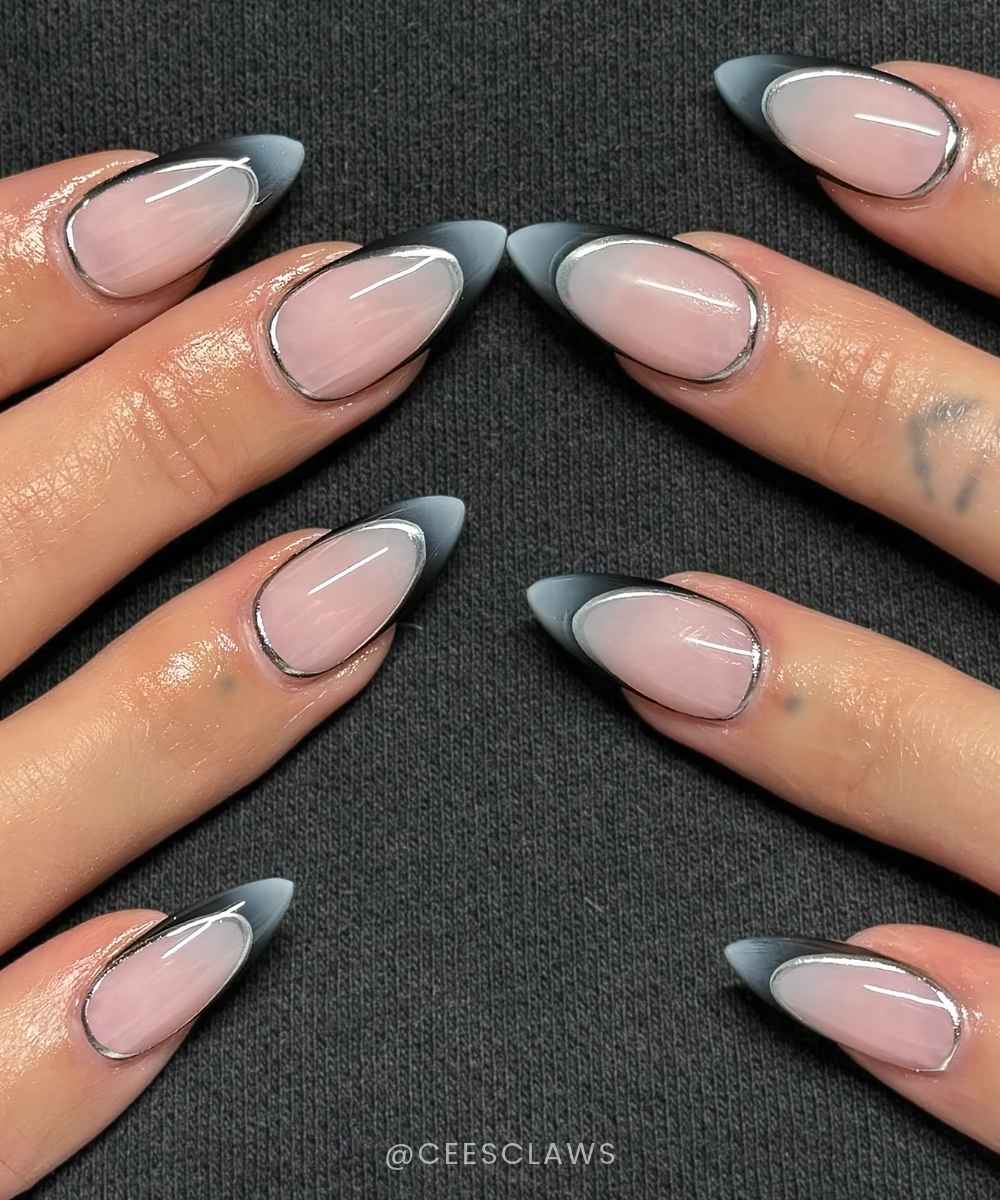
Halo nails take a line of color, metallic chrome, micro studs or tiny dots around the nail to frame whatever’s happening in the middle. That could be a full-coverage base, a smoky aura fade, or a French mani that’s acquired some silver hardware. Here’s how the trend works, the easiest version to DIY, and the combinations I’d save for my next set.
What exactly are halo nails
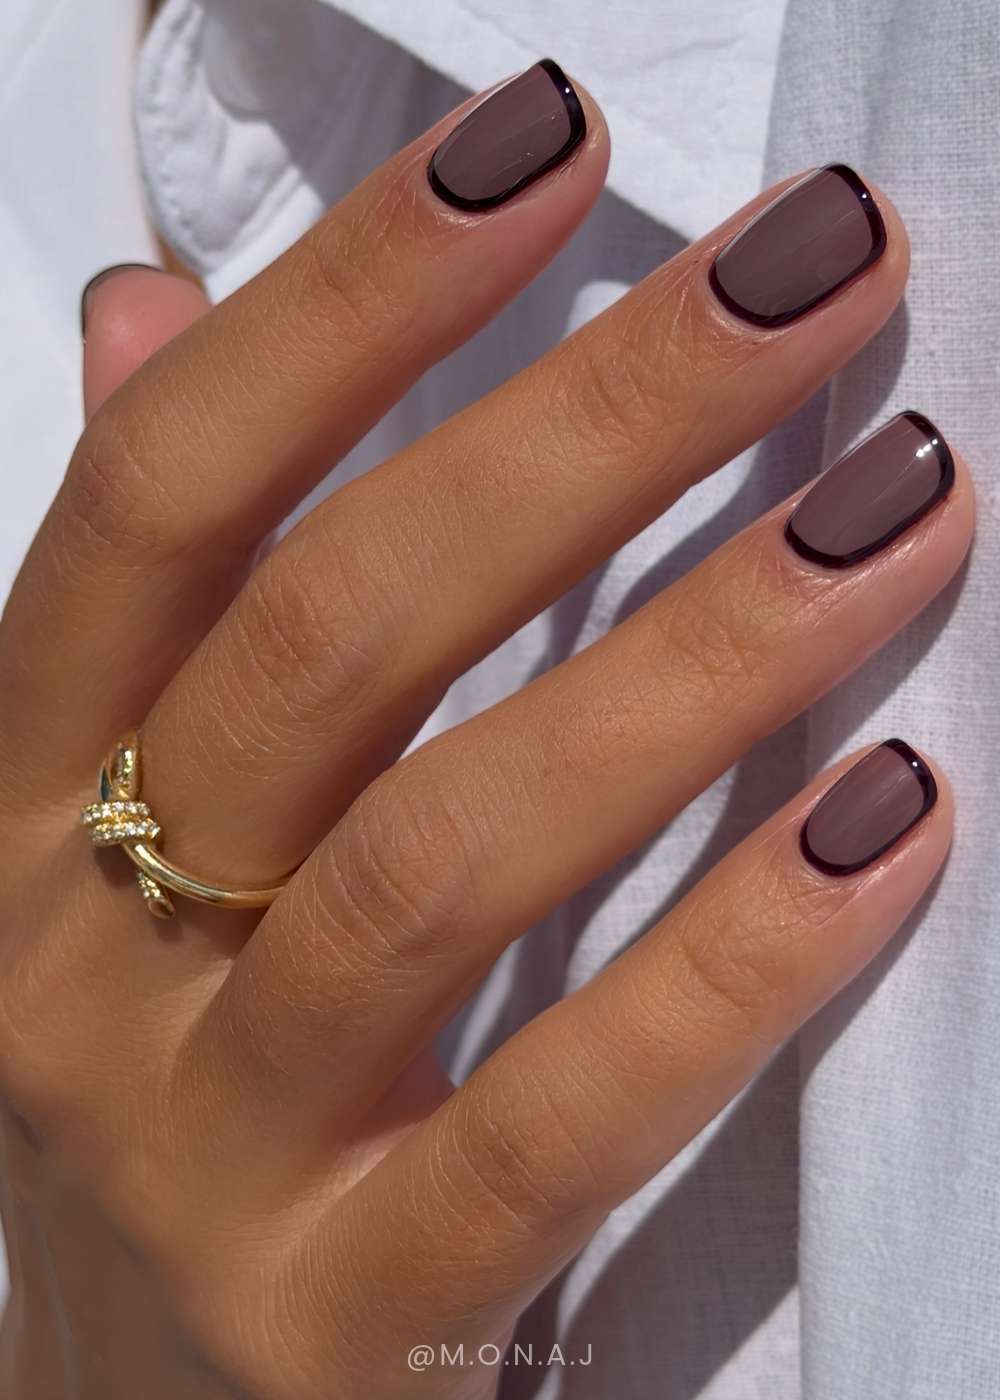
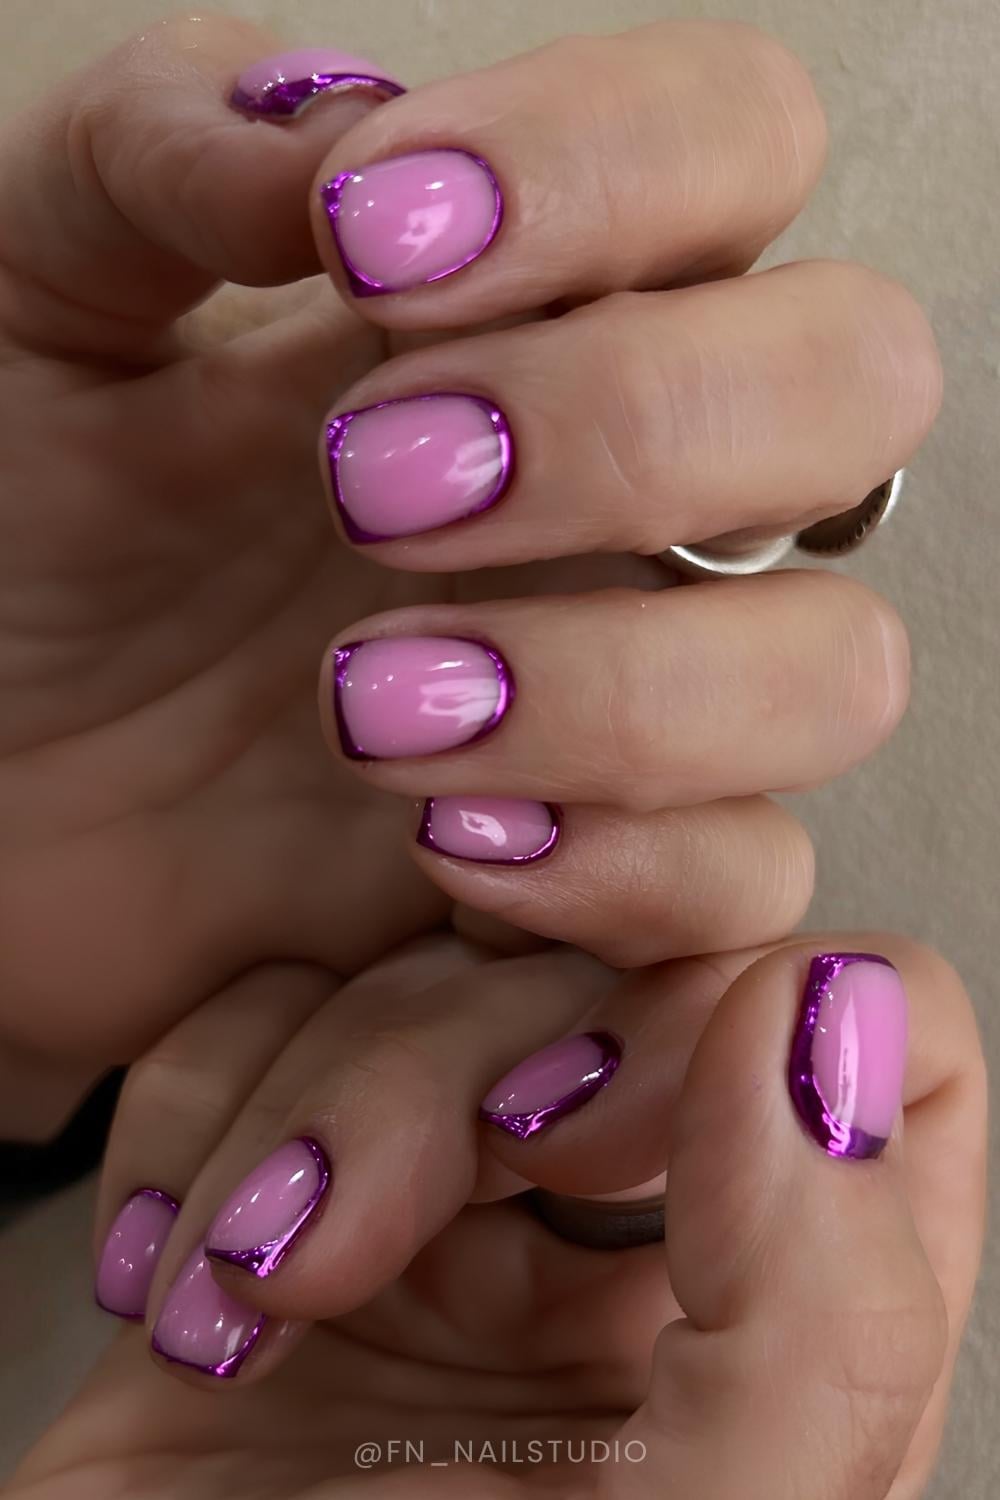
Halo nails are a manicure with a border that follows the shape of the nail, creating a frame around the base color or nail art. In a full-outline design, that border runs around the cuticle area, up the sides, and across the tip.
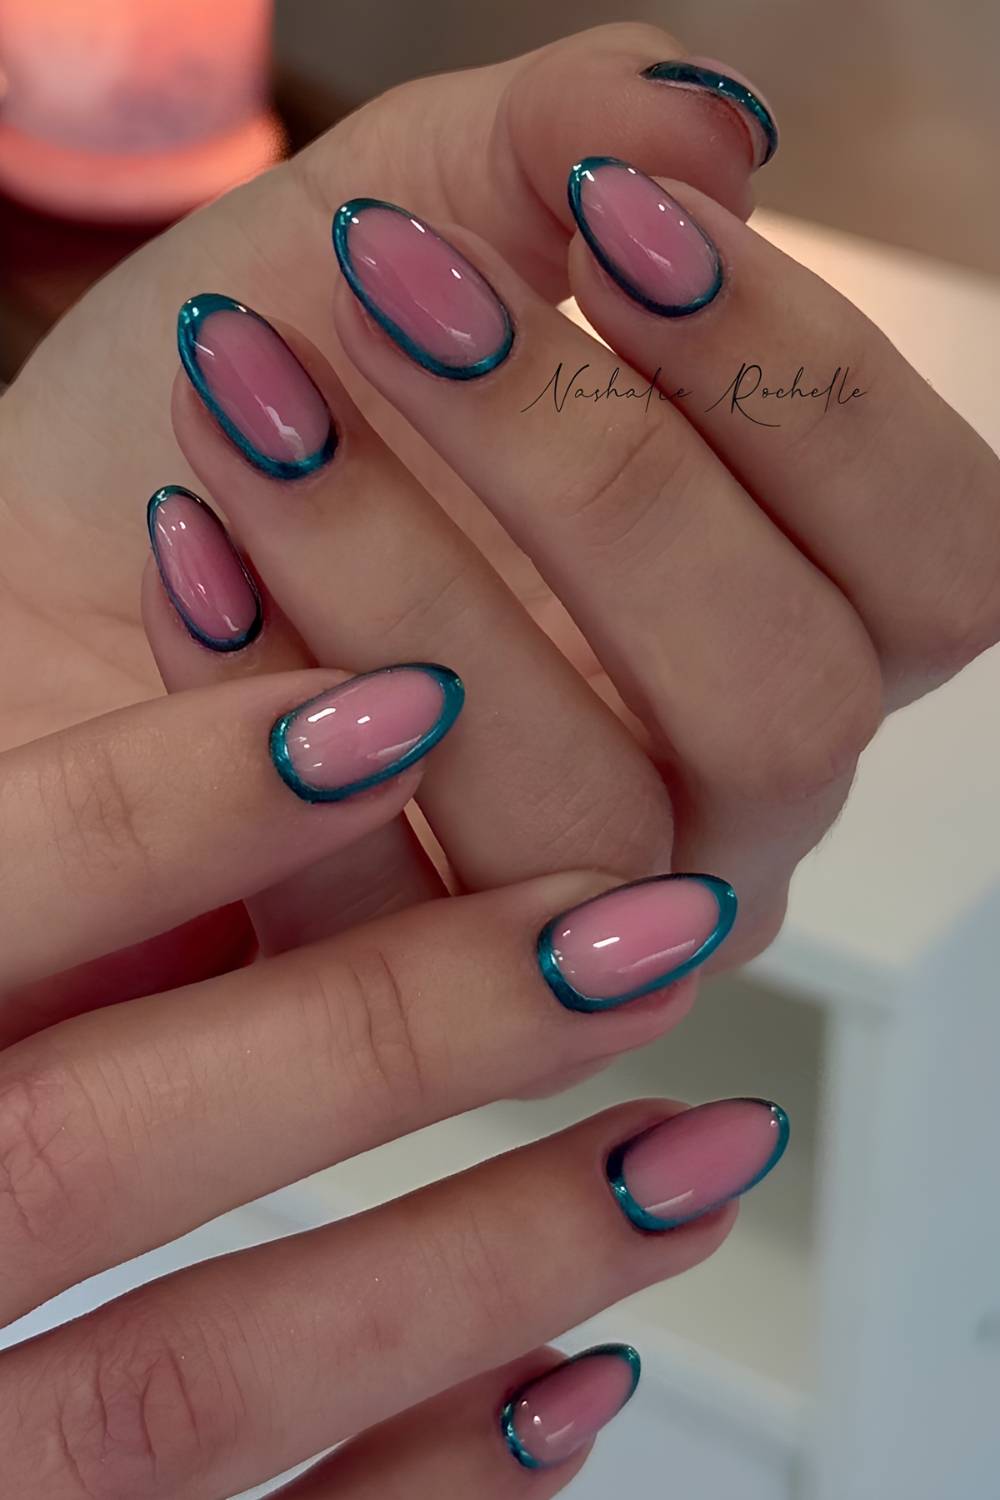
The halo can be a continuous line, a dotted outline, a studded border, a flat painted detail, or a raised metallic edge.
Wear it on every nail for a matching set, add it to one or two accent nails, or work it into a manicure with different designs. Color, thickness, finish, placement - all negotiable.
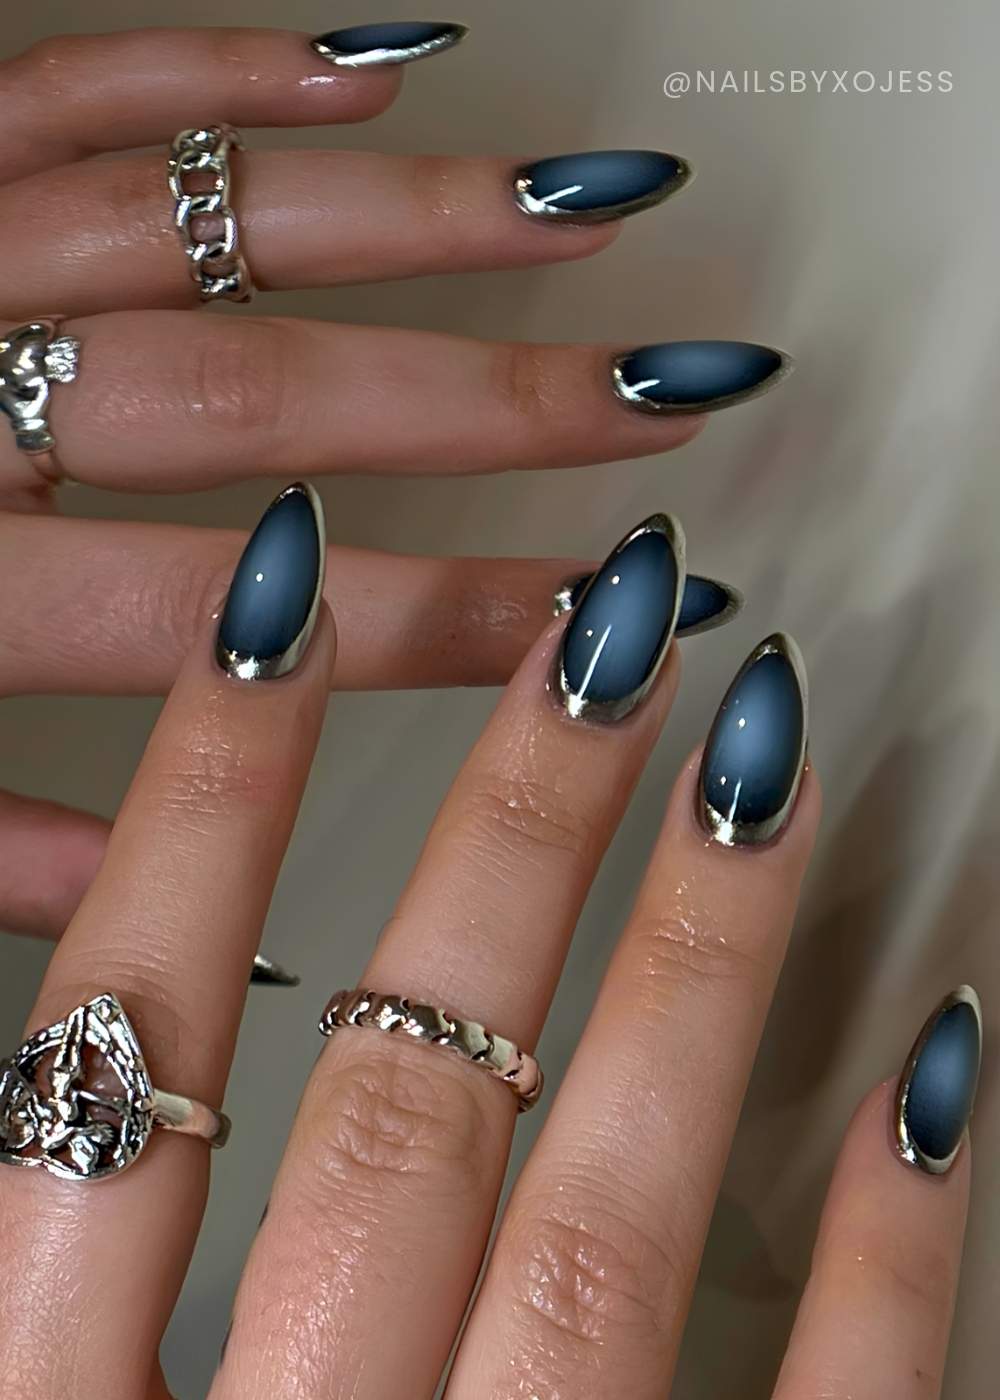
That flexibility is the appeal. A tiny silver or gold border gives a neutral mani some hardware; a pink frame around wine-red polish takes it somewhere much cuter.
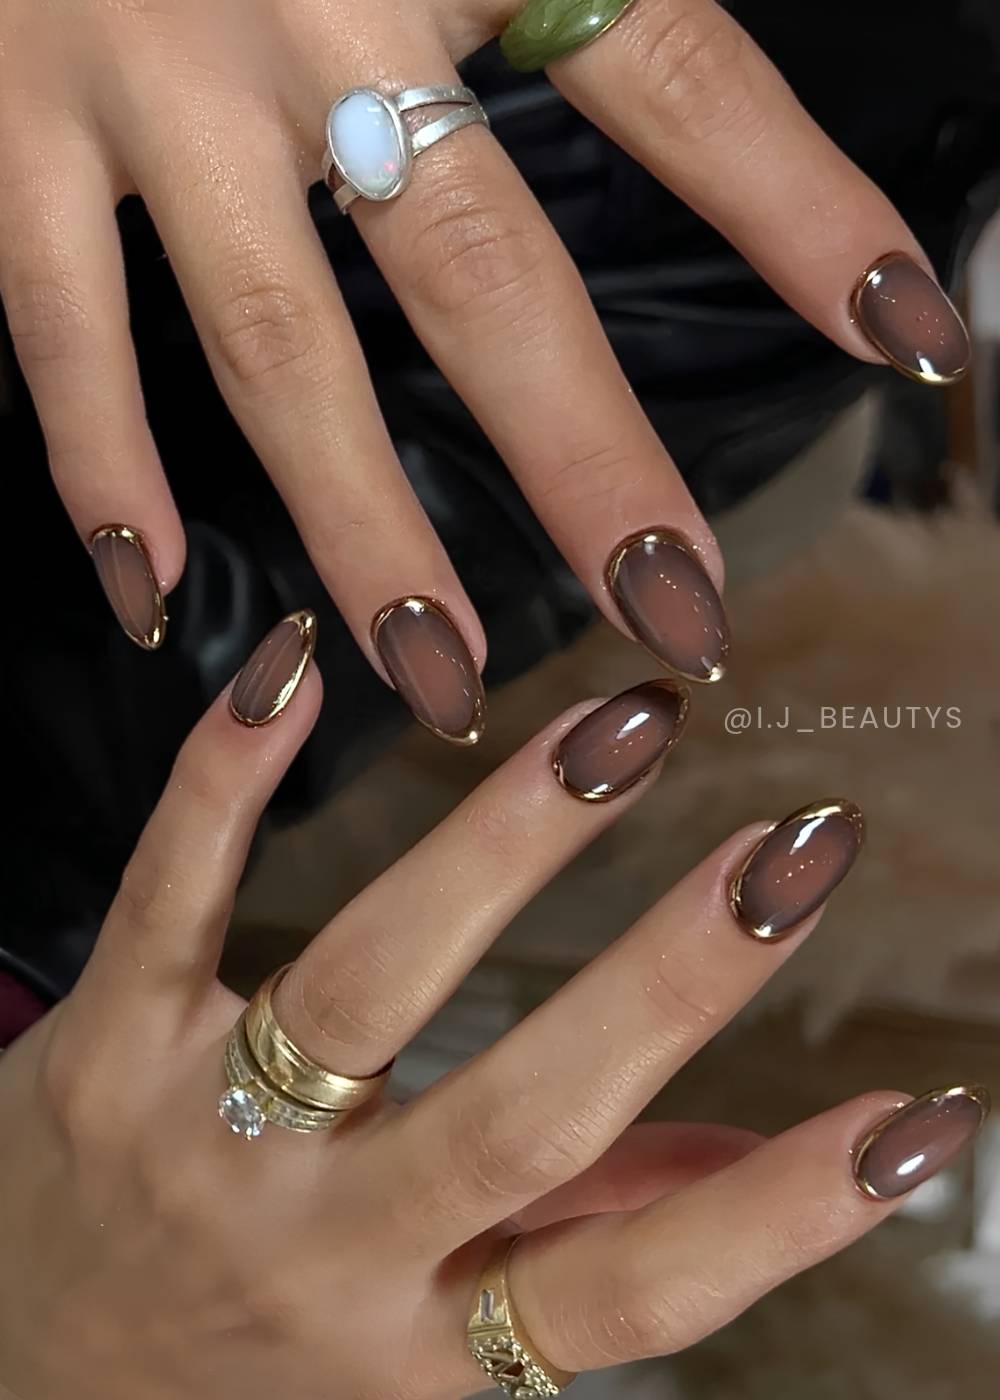
You can also combine halo and aura nails: the aura supplies the soft color fade, while the halo adds a defined border around it.
The easiest way to DIY halo nails
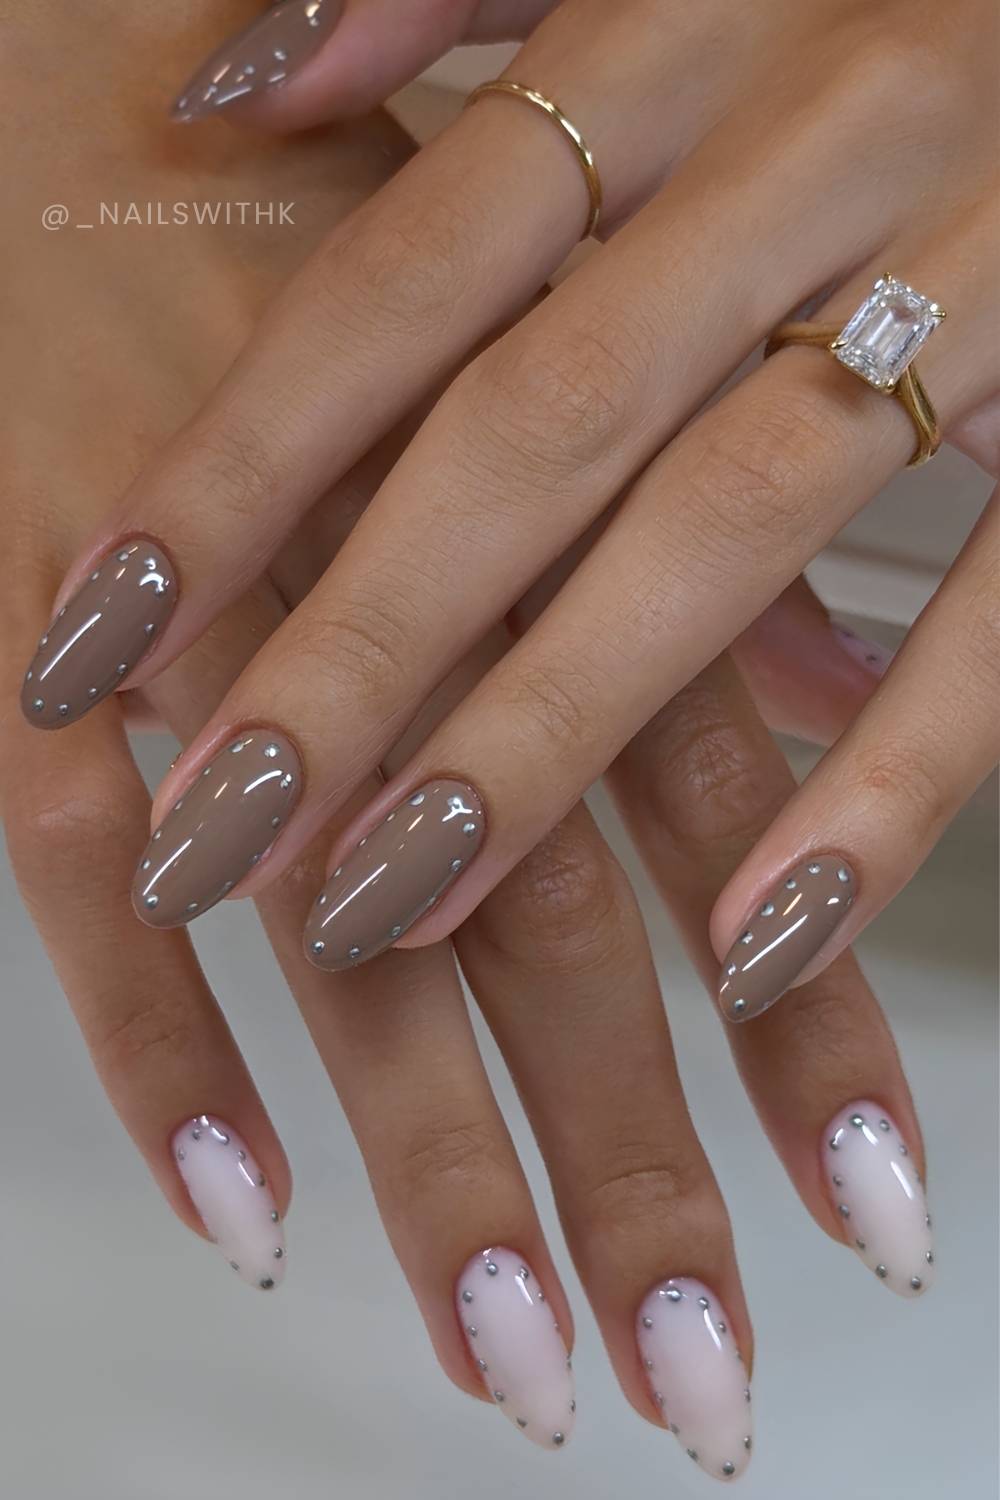
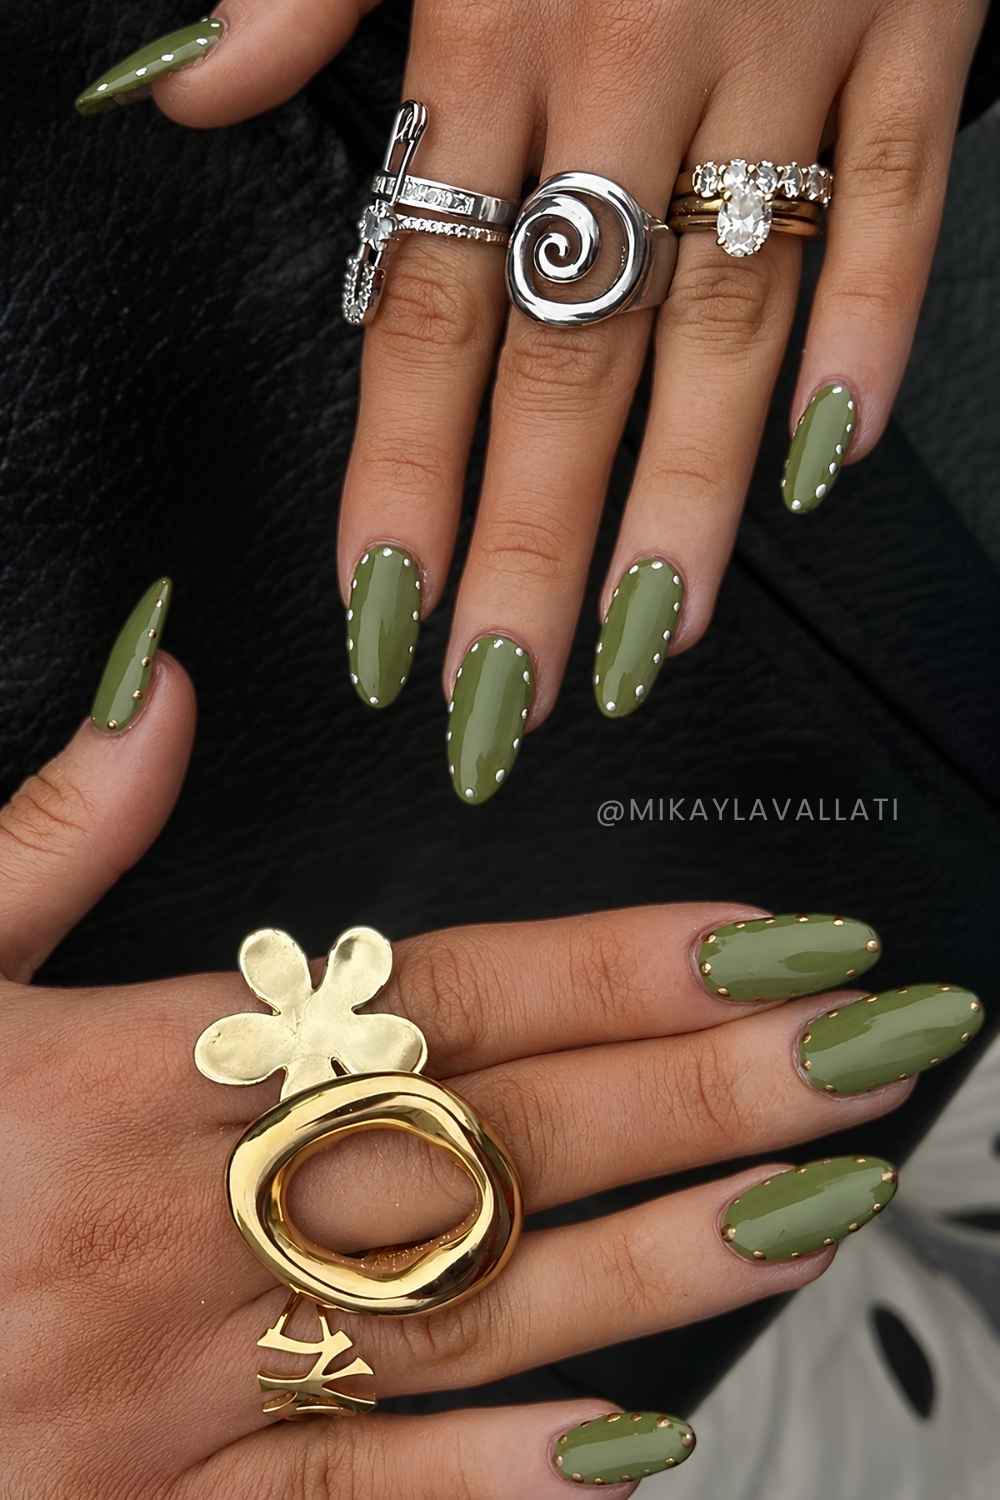
My beginner pick is a dotted halo with regular nail polish. You get the framing effect one dot at a time, which is much more forgiving than drawing an even outline with your non-dominant hand. We have enough problems.
You’ll need a base coat, two contrasting polishes, a glossy top coat, and a small dotting tool. A toothpick works for tiny dots; the rounded end of a bobby pin makes slightly larger ones.
- Paint your base. Shape and clean your nails, apply base coat, then add thin coats of your main color. Let the color dry completely before starting the dots so the tool doesn’t dent the surface.
- Test your dot size. Put a small drop of your second polish on foil and test the tool beside it. Choose a dot small enough to leave plenty of visible color in the center of the nail.
- Map out the border. Place one dot near the middle of the cuticle curve, one near the tip, and one on each side. Keep every dot on the nail plate, slightly inside the edge and away from the skin.
- Fill the gaps. Add dots between those guide points, following your nail shape. Use a light touch and reload the tool consistently to keep the size similar. Short nails usually need fewer dots; give them space.
- Let it dry and seal. Wait until the dots are dry, then gently float a glossy top coat over the design without dragging the bristles through it. Rushing this part is how cute little dots become accidental stripes.
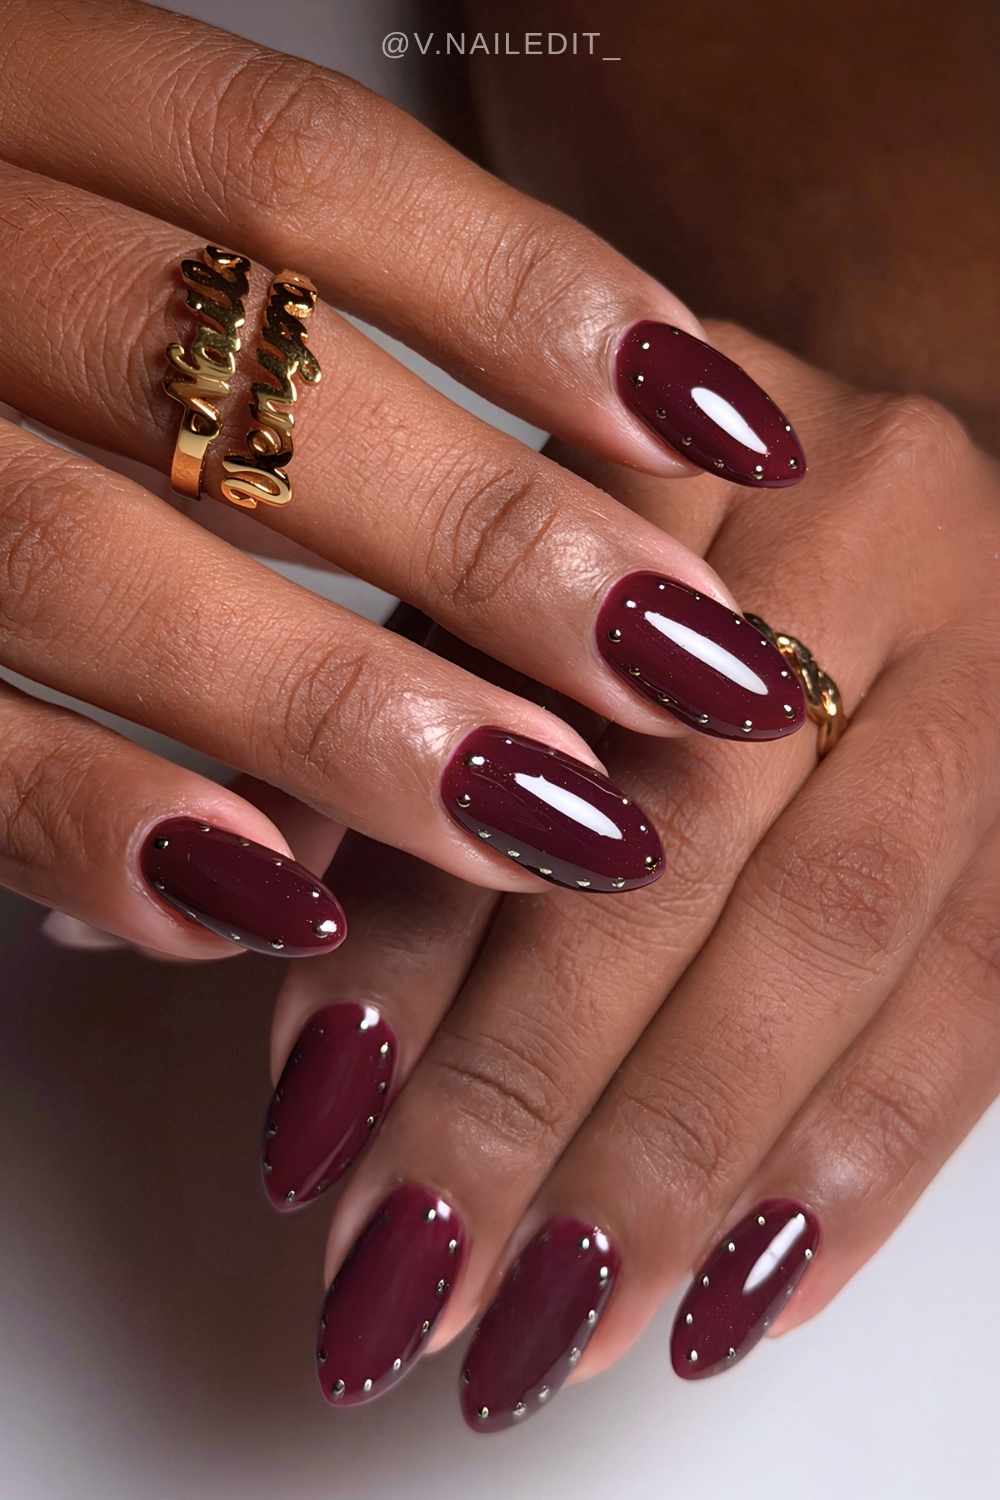
For a first attempt, I’d do pale pink with burgundy dots. The contrast makes the border easy to see, and you can get the whole look with two regular polishes.
How to get a continuous halo outline
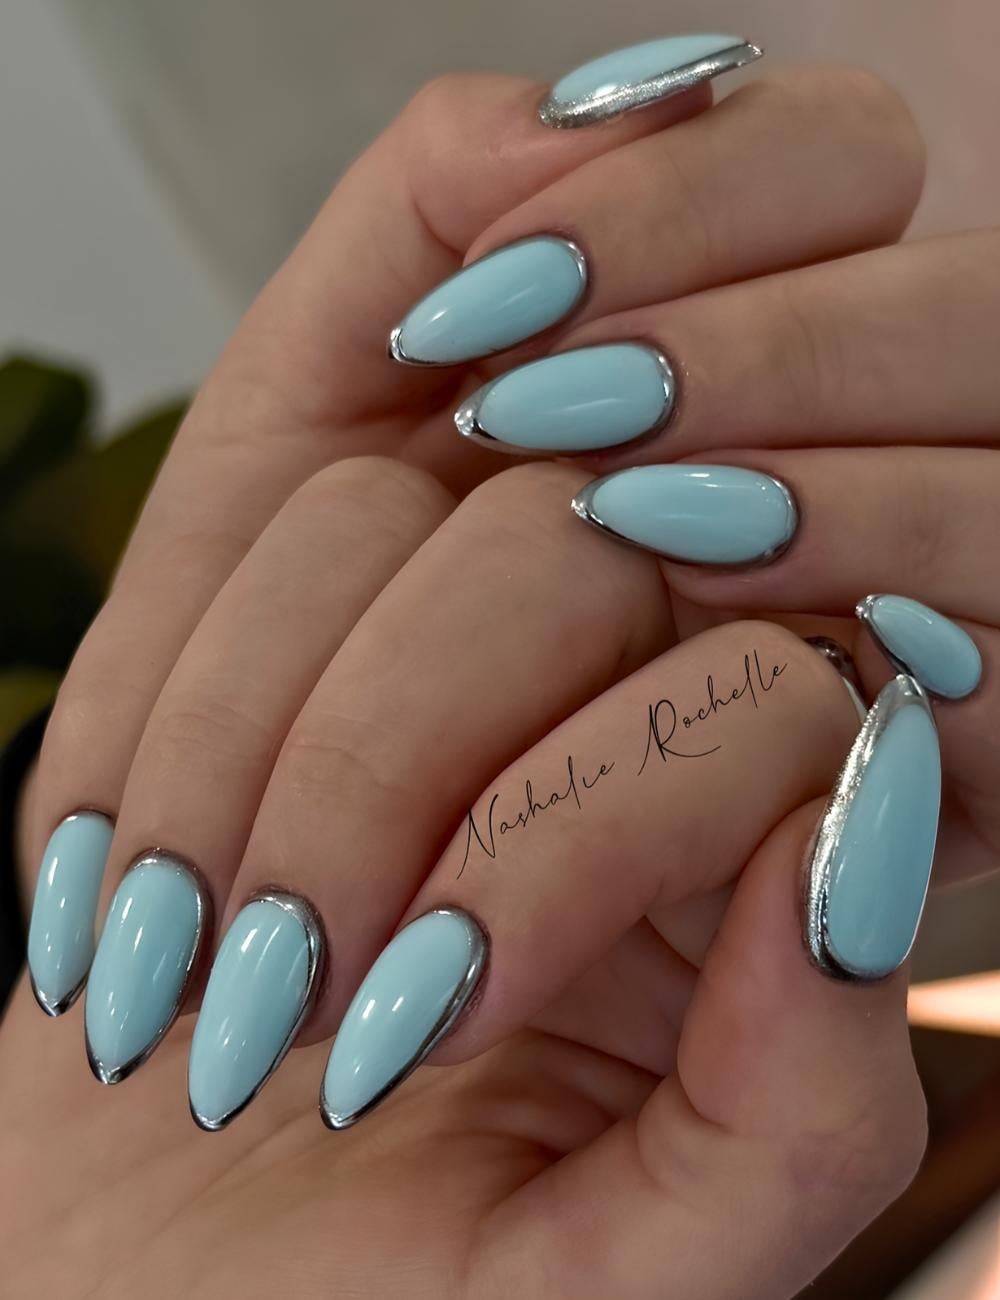
For a solid frame, use a fine nail-art liner brush and an opaque polish over your dry base. Rest your painting hand on the table, mark a few tiny guide points, and connect them in short sections: cuticle curve, sides, then tip.
Turn your finger as you work instead of forcing your wrist into increasingly ridiculous positions.
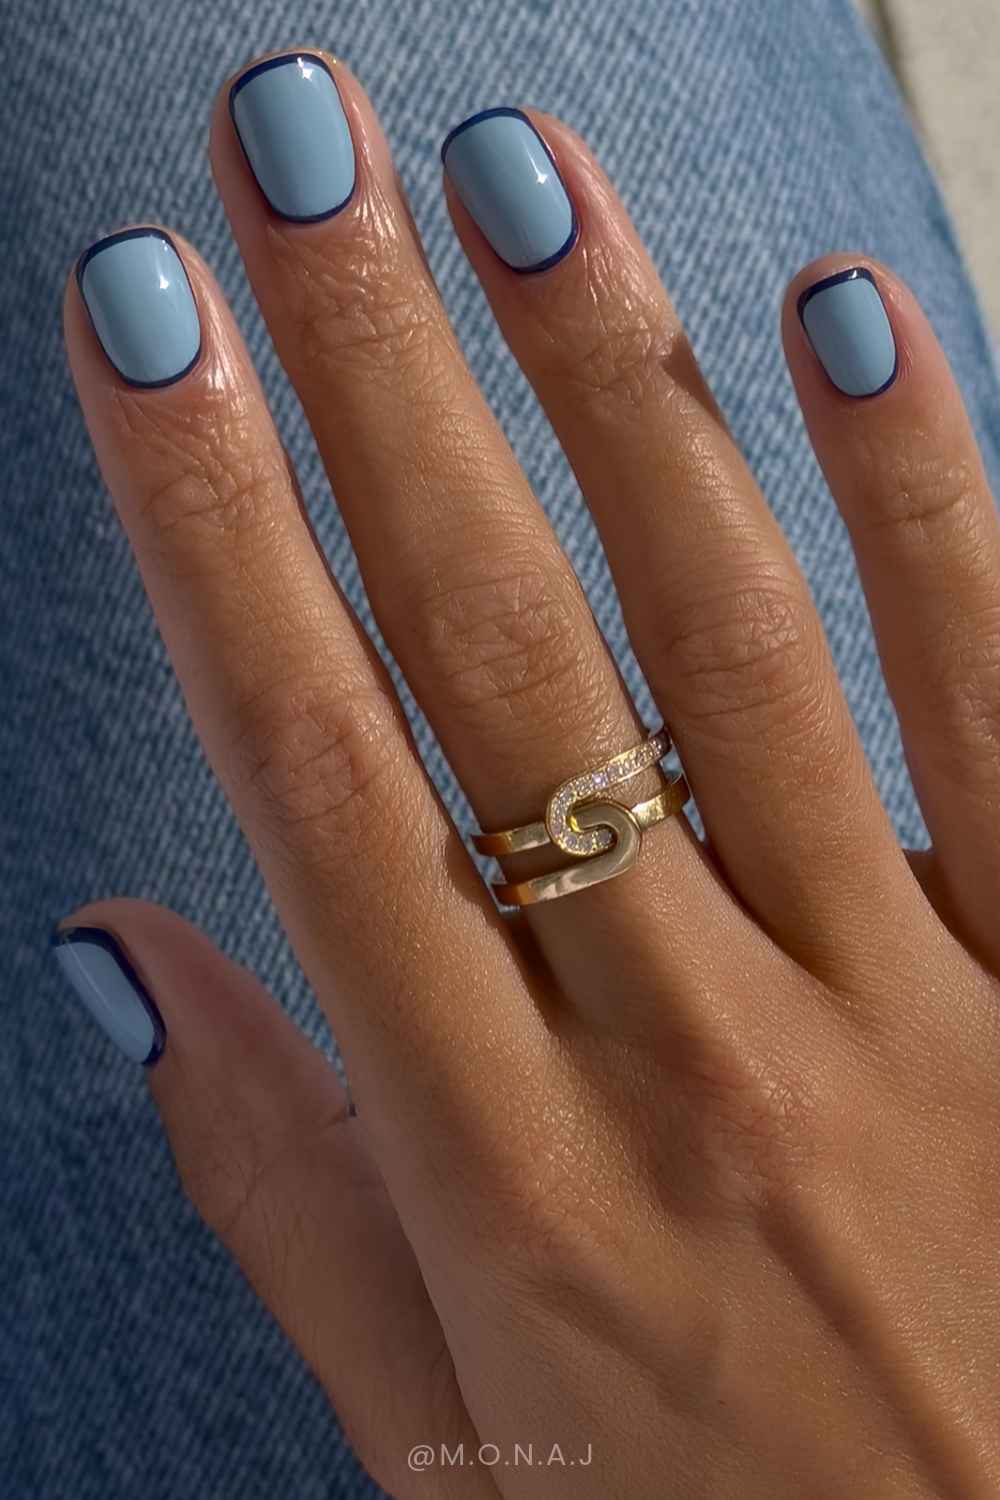
Start with a narrow border and build it up where needed. Keeping the center spacious helps the frame look deliberate, especially on shorter nails.

An opaque silver or gold polish is the straightforward at-home option for a metallic border. For that highly reflective salon chrome, pigment is typically rubbed onto a prepared gel surface and sealed afterward; it’s a separate technique.
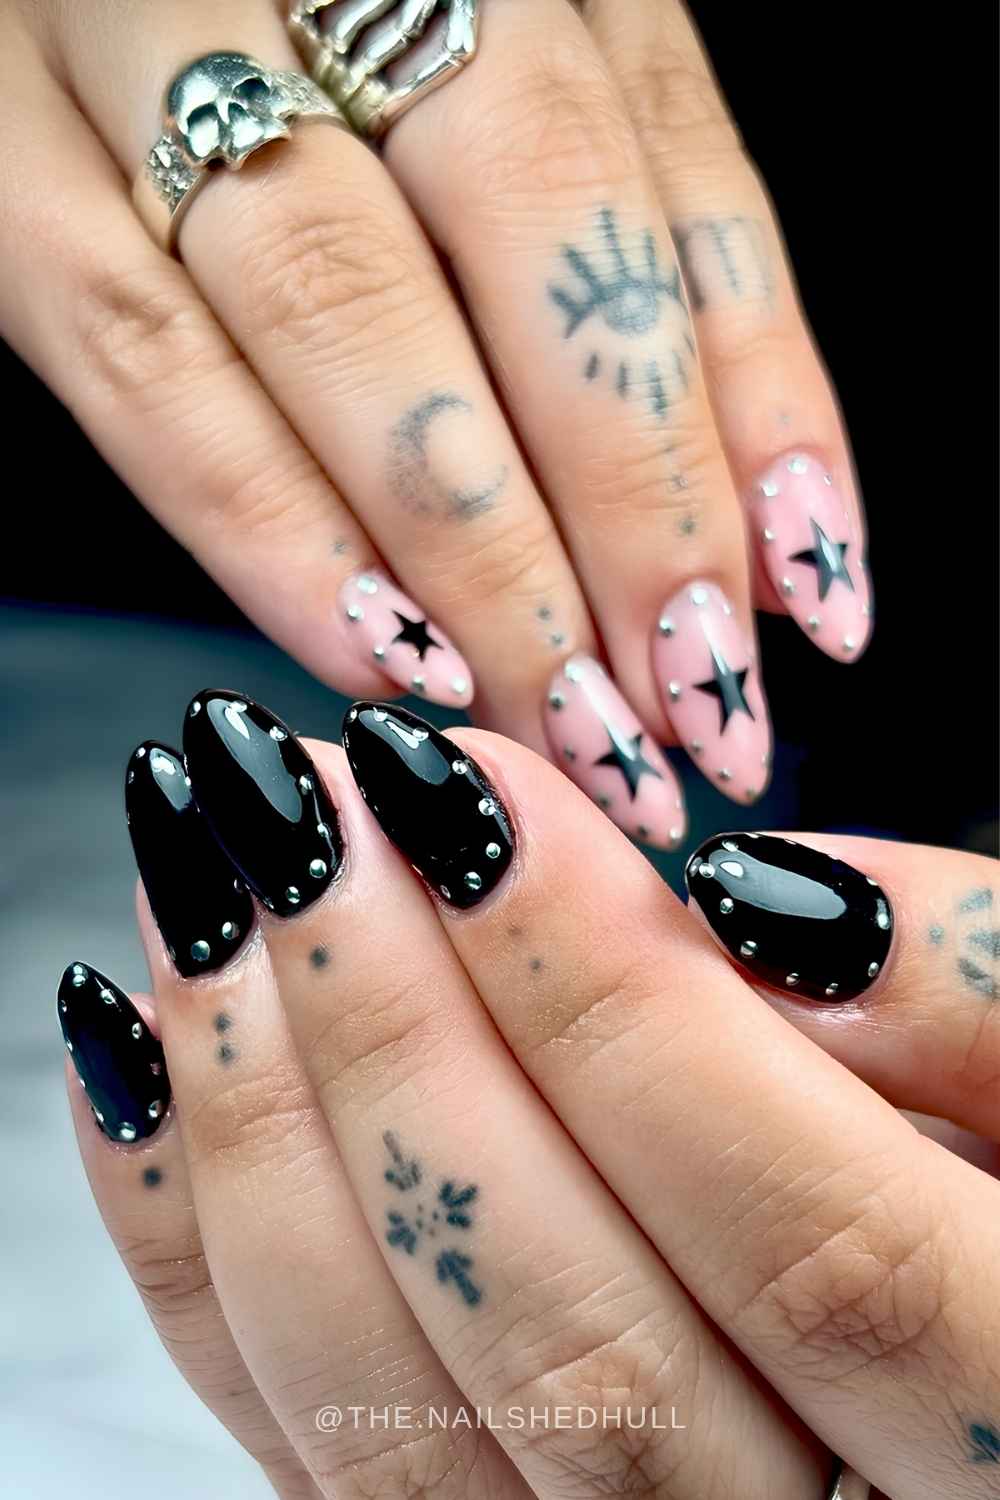
I’d take the mirror-chrome and micro 3D stud versions to a nail tech, especially if the reference has a very fine outline.
How to style halo nails
Start by deciding how much contrast you want. A light base with a dark border - or deep polish with pale dots - makes the halo crisp and graphic. For a softer tonal look, keep the base and outline in the same color family and fairly close in depth.

As a certified color nerd, I’d go high contrast when the frame is the point, and tonal when you want that cute little detail people notice up close.
Go soft with lights and pastels
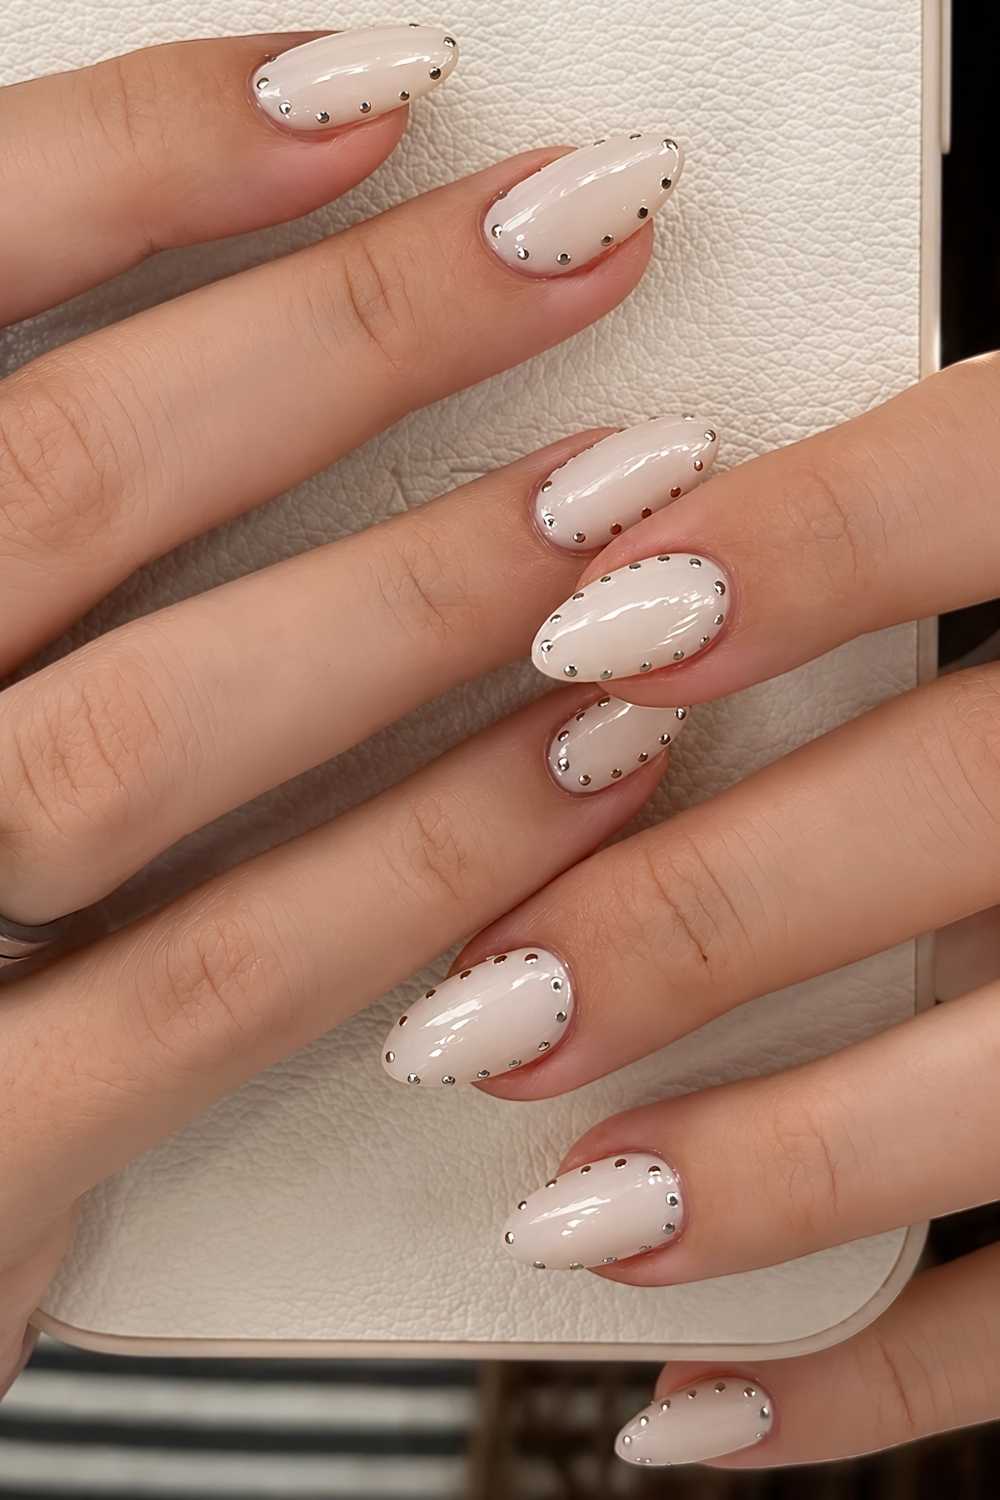
Milky shades, pale neutrals, and pastels make a pretty base for a delicate halo. A fine metallic outline adds shine while keeping most of that soft color visible. For something more playful, try a brighter border or multicolored dots around the edges.
Add detail to darks and earthy neutrals
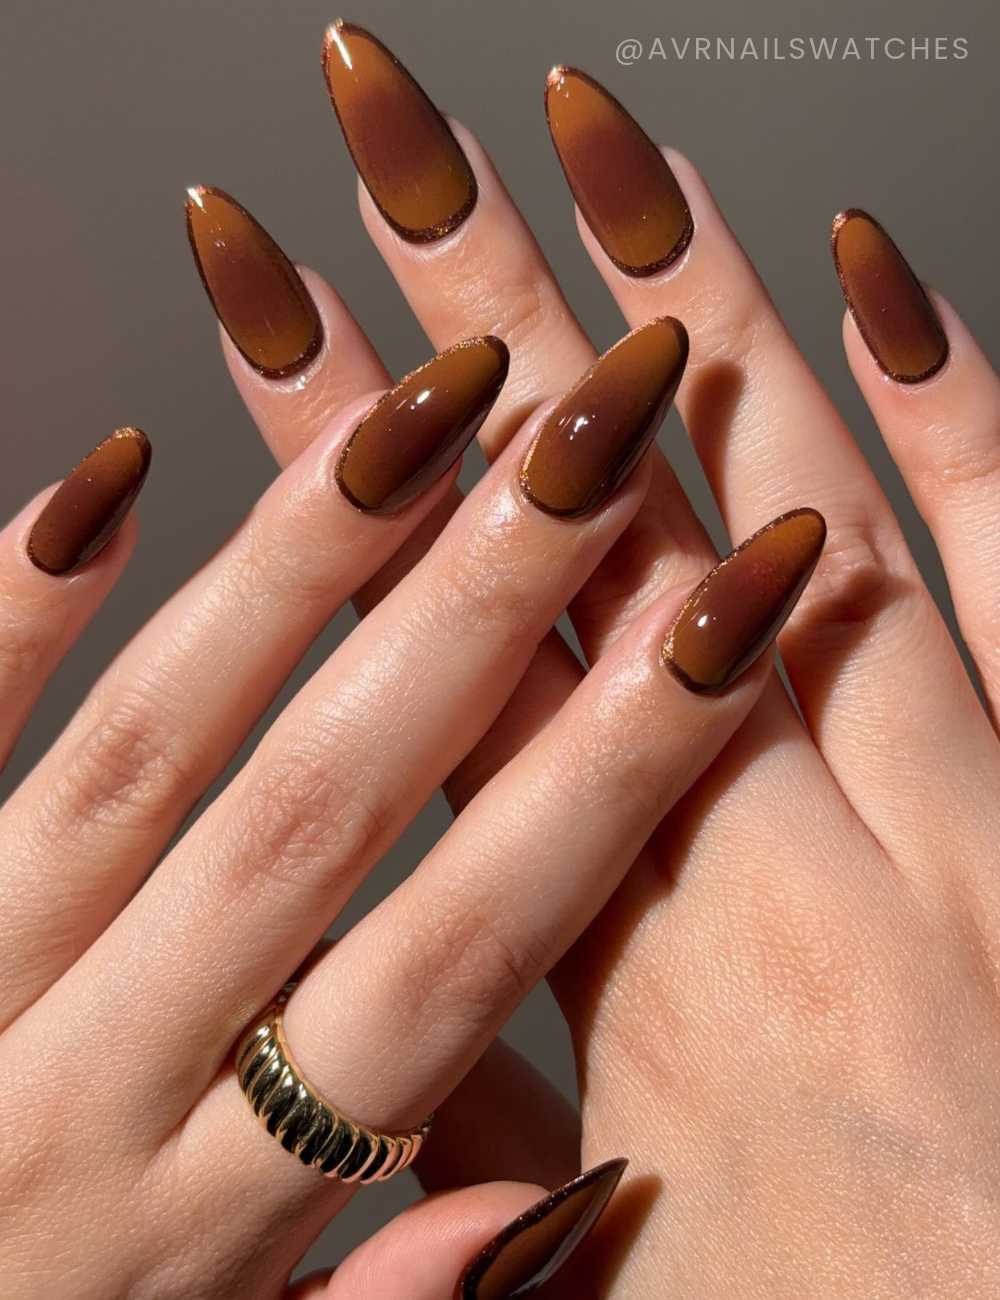
Deep shades make reflective borders easy to see, so even tiny metallic dots or micro studs can carry the design. Earthy neutrals also look good with a slightly deeper outline from the same color family. You still get the full frame, just with a gentler contrast.
Get creative with the border color
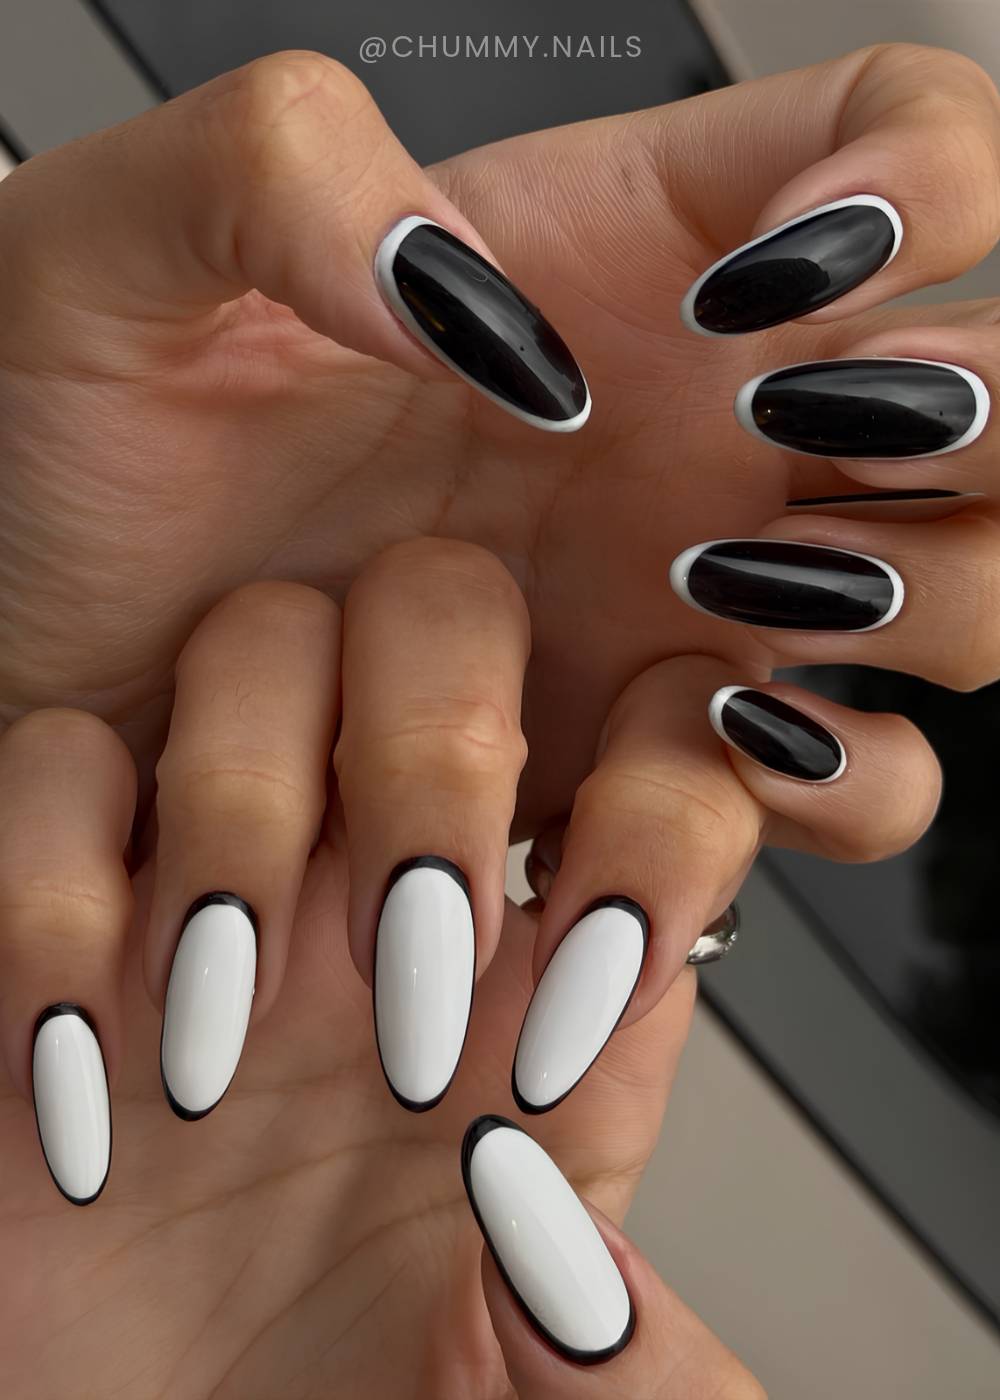
Silver and gold are only the starting point. Colored chrome lets you match the border to your base or pair two completely different shades.
You can also reverse their placement across your hands: light base with a dark border on one, dark base with a light border on the other. Two polishes doing excellent work.
Work with your nail length
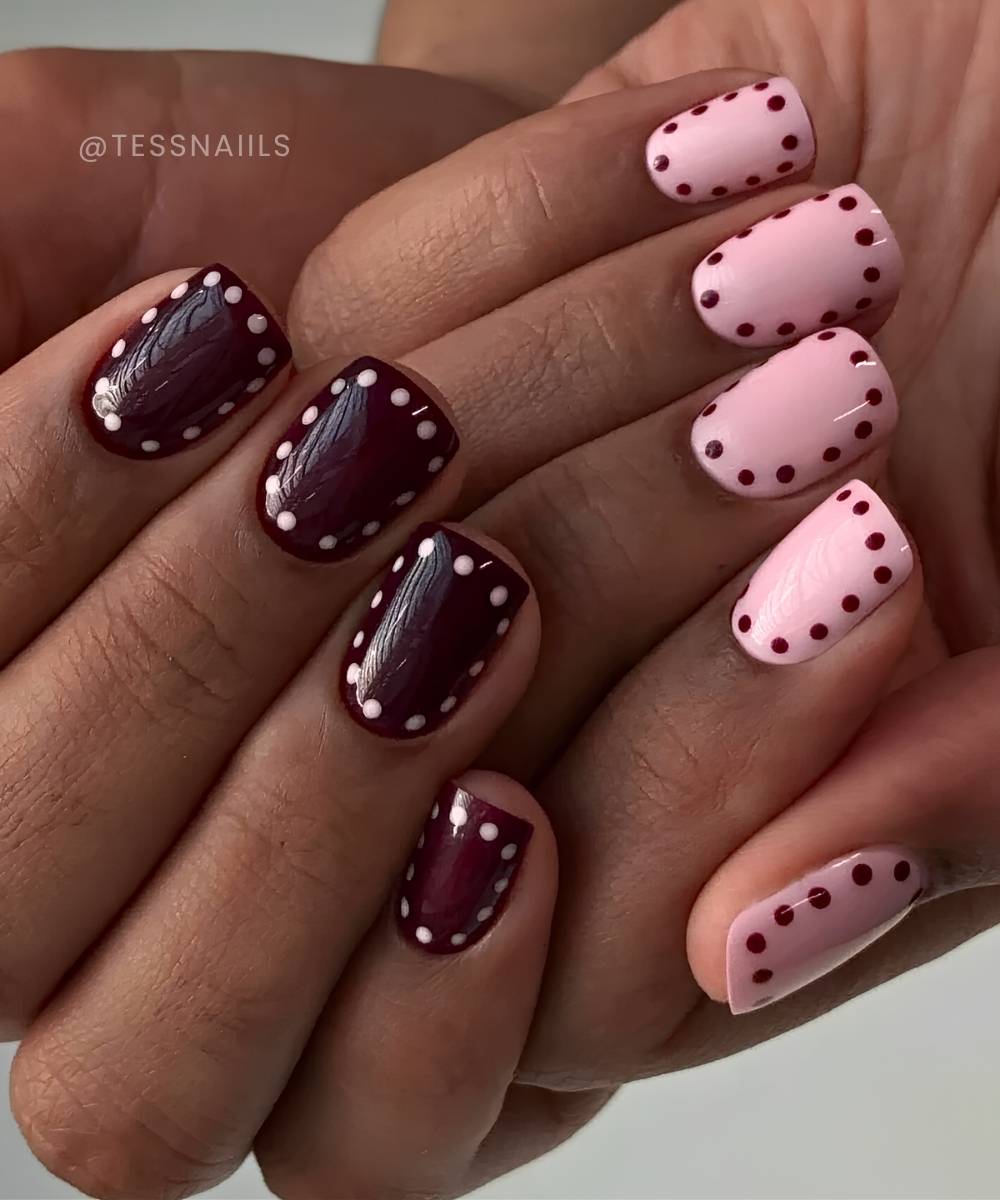
Short-nail girlies are fully included. A slim outline or small, spaced-out dots leaves plenty of room for the base color, whether your nails are round, square, or squoval.
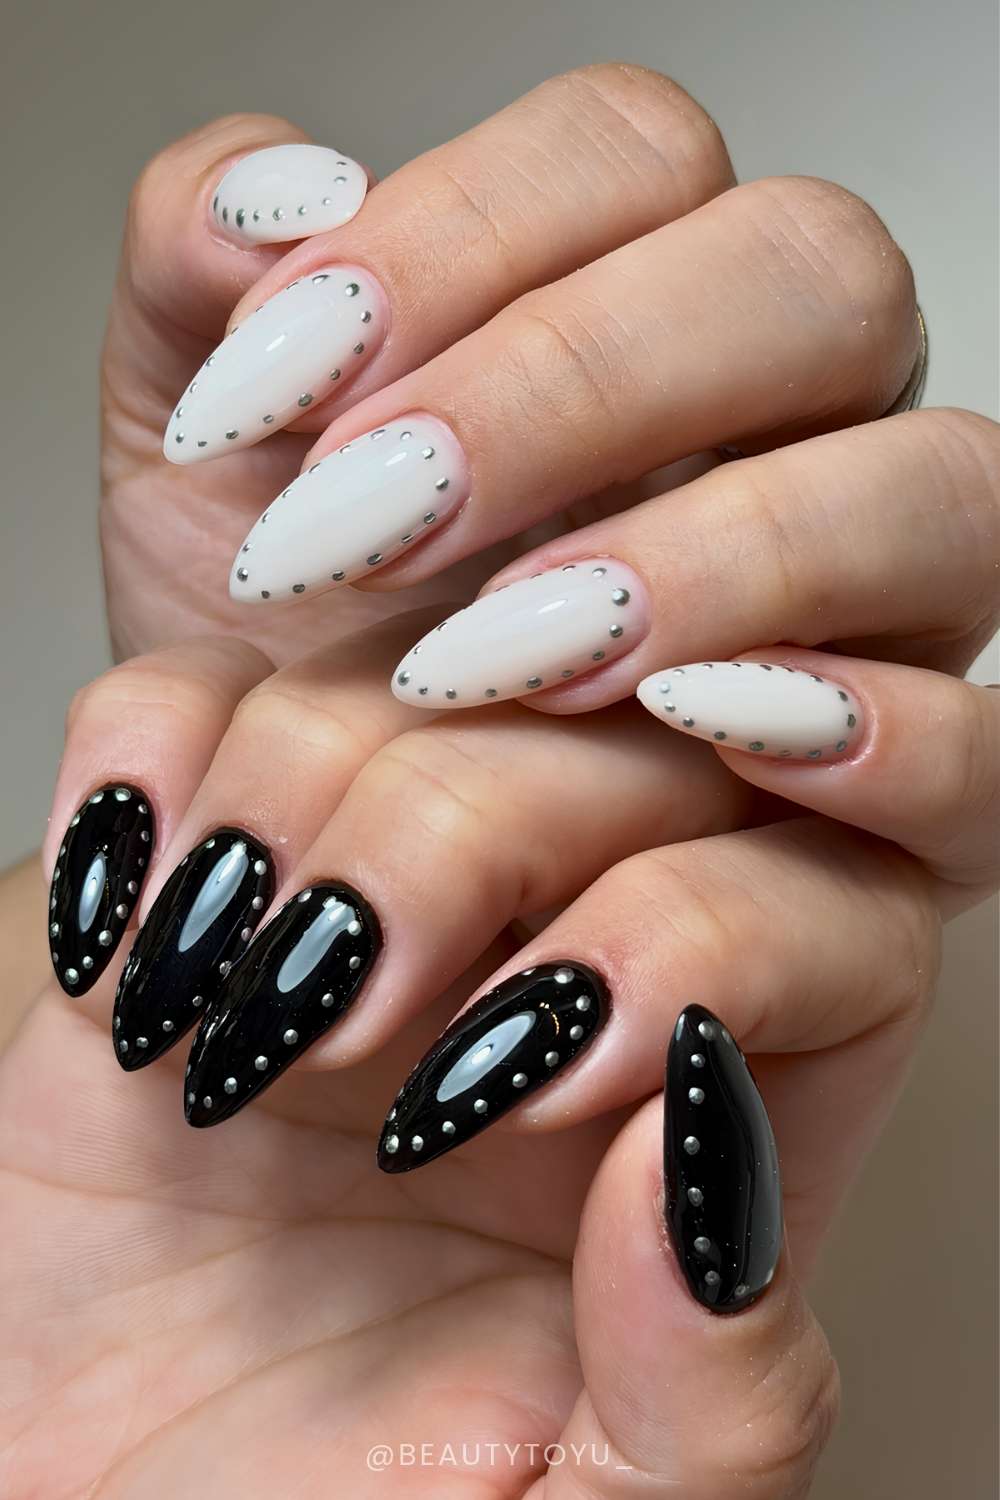
Longer nails give you more space for thicker metallic rims, larger dots, or extra artwork inside the frame. Follow your nail’s actual shape, and adjust the border width to suit how much detail you want.
Frame an aura or cat-eye base
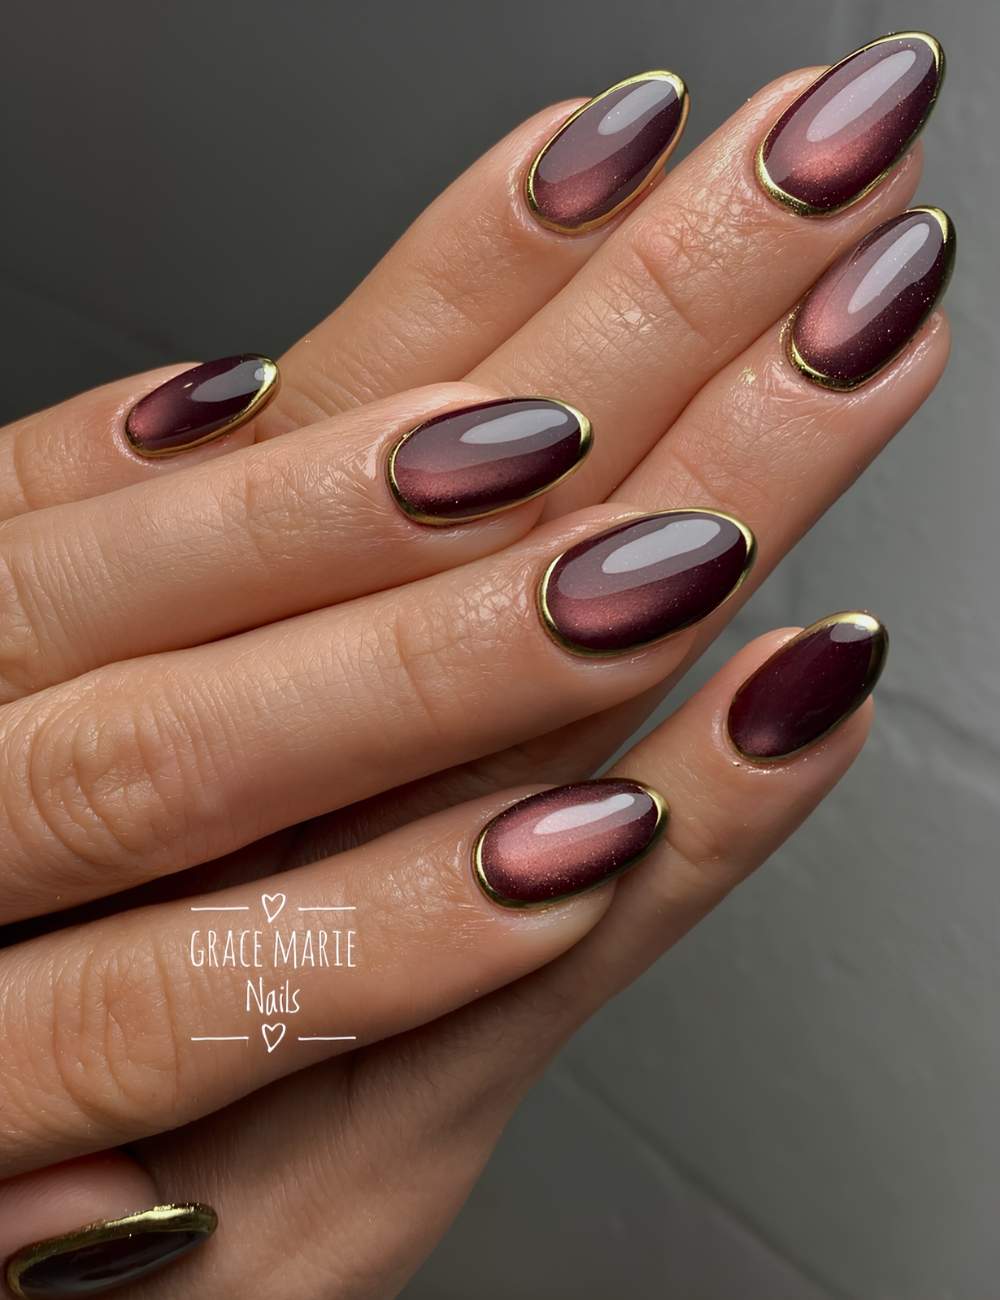
A halo looks especially good around a soft aura fade or a shimmery cat-eye finish. The defined edge gives all that blended color and shifting light a little structure. I’d keep the border fairly simple here so you can still appreciate the effect underneath.
Mix halos with other nail art
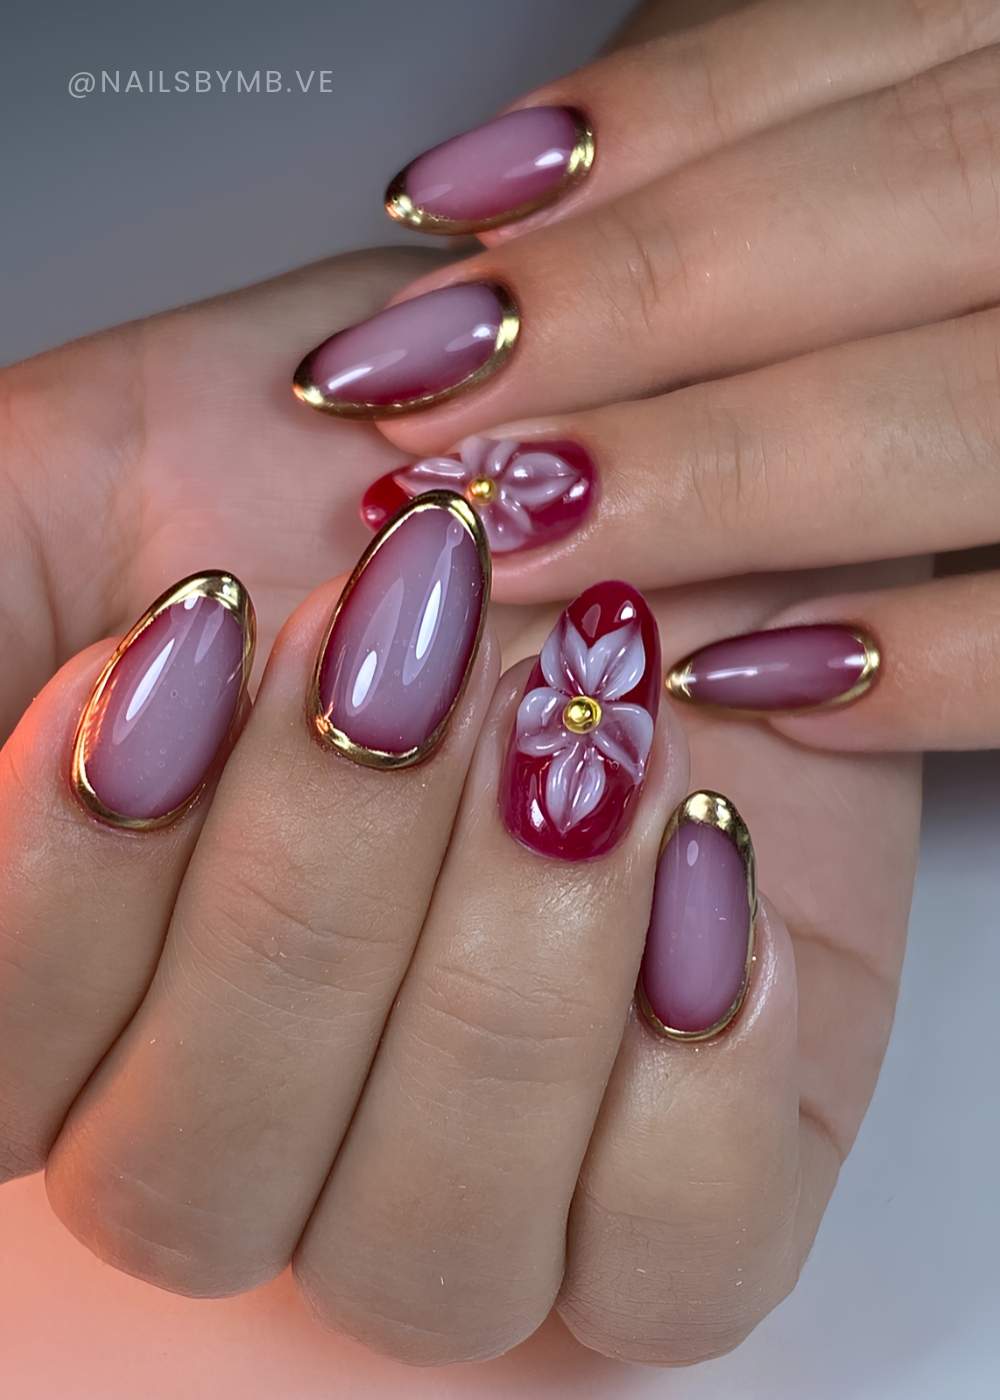
Use the halo design on a few accent nails alongside stars, florals, or other patterns, and repeat the border color elsewhere to connect the set. Or outline almost every nail and leave one or two for a bigger design.
Dotted halos also leave room for small motifs in the center - just give the artwork and border a little space.

That’s the halo nails assignment: pick a base you love and give it a border worth saving. Now go comment your fave, and share this post to support our work and pass along the nail inspo.