The nail corner of the internet falls for a new finish every summer, and this year jelly took the crown. The appeal is obvious: color that glows from within instead of lying flat, plus a hit of pure 90s and early-2000s nostalgia. Jelly sandals, see-through butterfly clips, gummy candy – that whole world, back on your fingertips. No wonder it’s become the default signature of warm-weather manicures. So let’s break down what jelly nails are, how to wear them, and 20+ looks worth saving.
So what actually makes a nail “jelly”
Jelly is a finish, not a design – there’s no set shape or art you’re recreating, just a specific way the color sits on the nail. (They do get used as a base for creative designs all the time, but more on that in a minute.)
The look comes down to specialized semi-sheer polishes that let light pass through, keeping the natural nail subtly visible underneath, then sealed with an ultra-glossy topcoat for that plump, wet, glass-like effect.
The polishes are built to be layered: one thin coat gives a sheer, glassy tint; two or three deepen the color without losing the see-through, three-dimensional depth.
That’s the whole mechanism. And because it’s a finish rather than a fixed look, you can wear it solo at any intensity or use it as a base under almost any nail art – which is where most of its range comes from.
Where the jelly trend comes from
Jelly nails come out of South Korea, an offshoot of the same K-beauty obsession behind glass skin – that lit-from-within ideal, jumped from skincare to the nail bed.
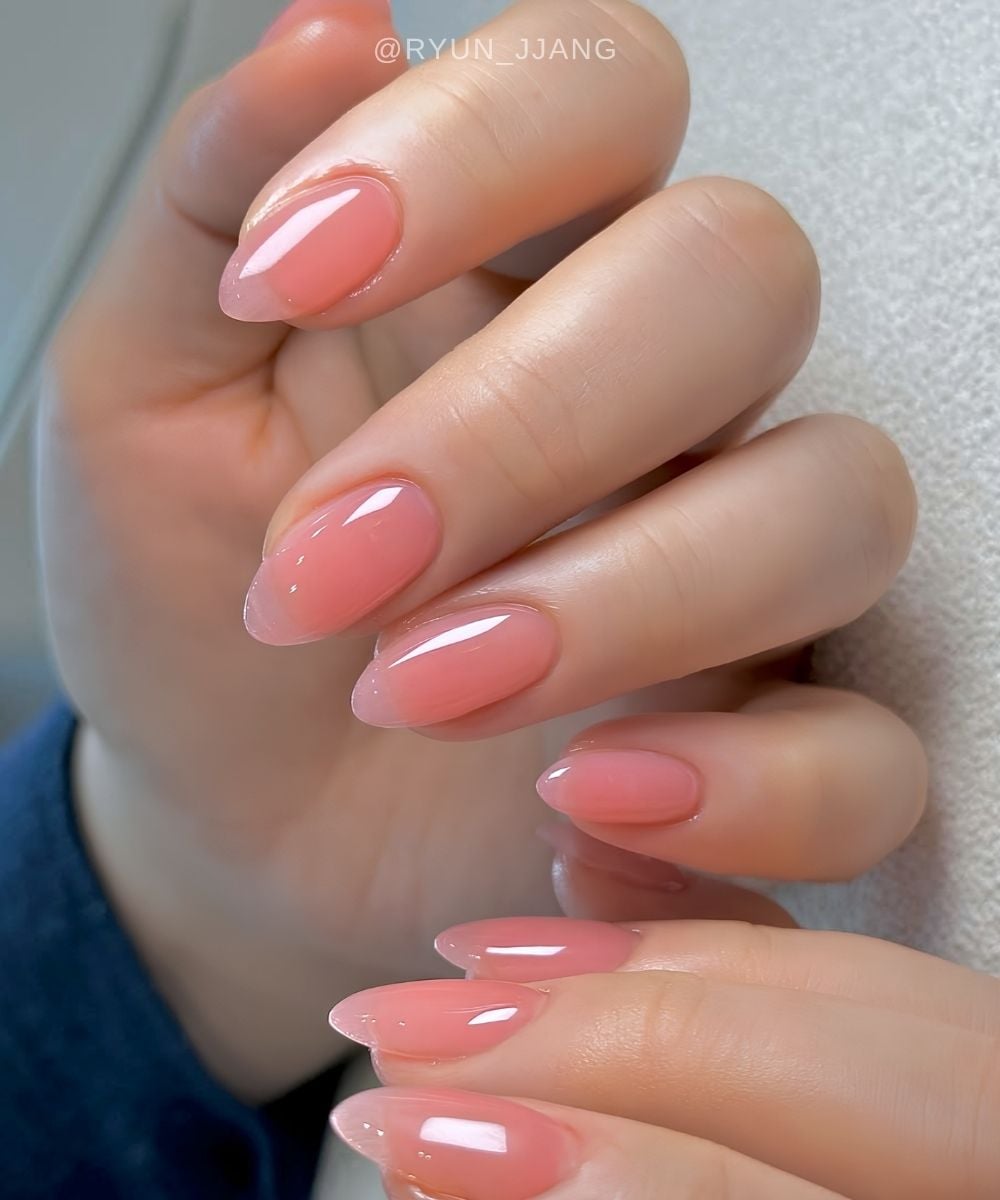
The Korean version, often called “syrup nails,” looks rounder and fuller than what you’ll see elsewhere, and that comes straight from the product: syrup gel, a category Korean and Japanese brands developed for thick, self-leveling, highly translucent polishes.
Western brands don’t widely make syrup gels – differences in chemistry, regulations, and demand – so they usually have to be imported from Asian or specialist retailers. But no worries, you can get a very similar look with what’s available wherever you are.
How to wear it, loud or quiet
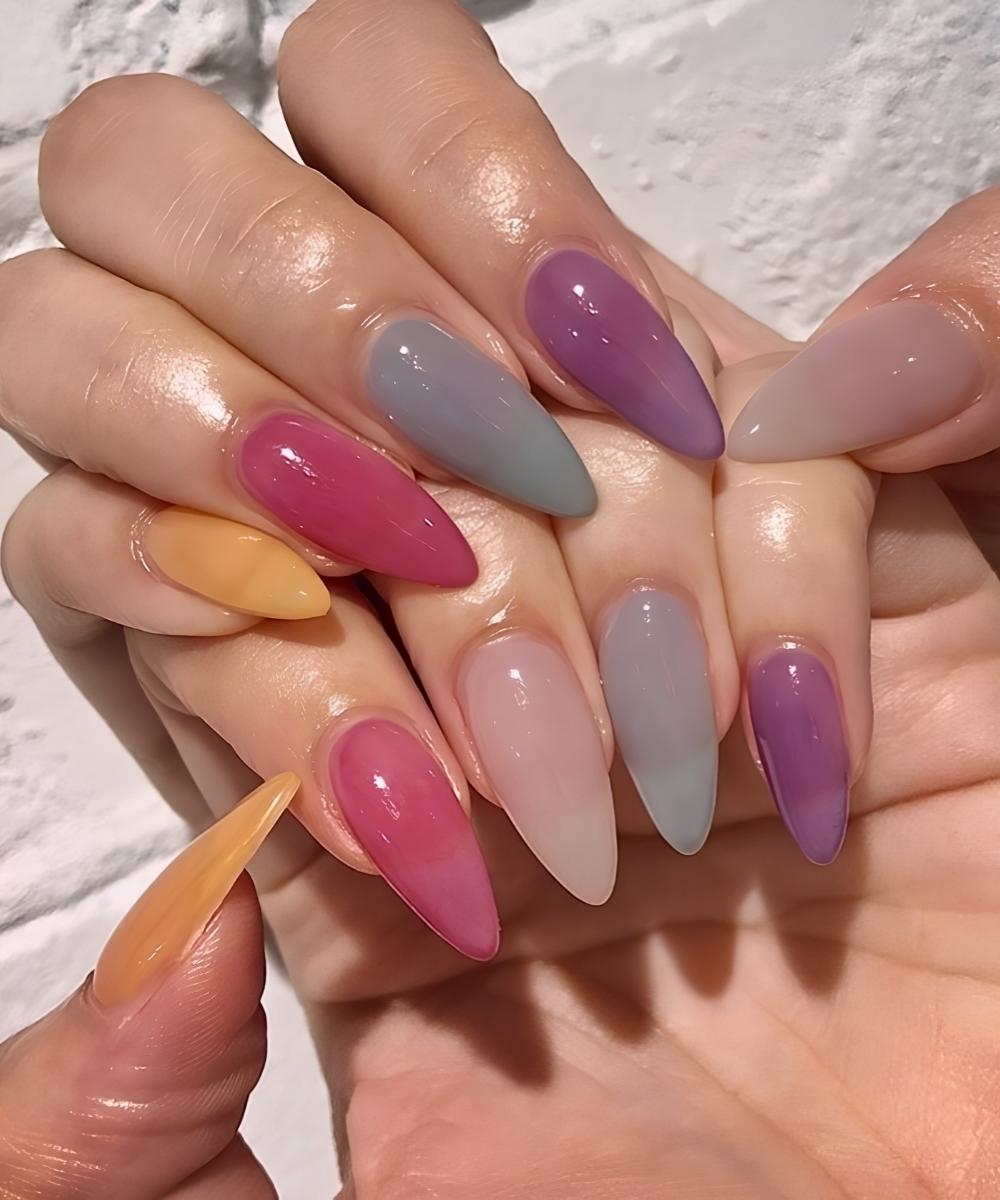
Because jelly is a finish and not a fixed look, it has serious range – and it really does split into completely different personalities depending on the shade you pour it over.
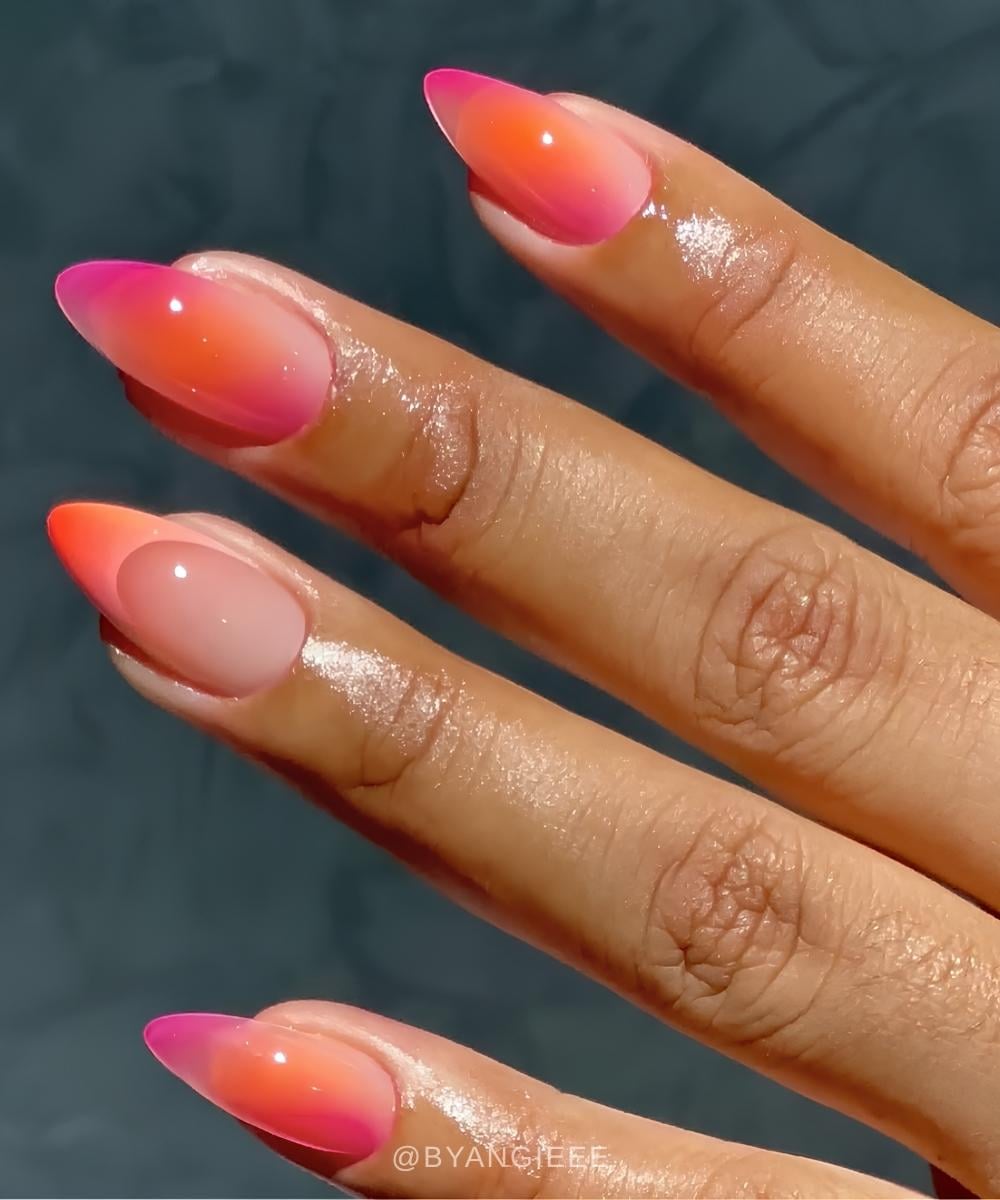
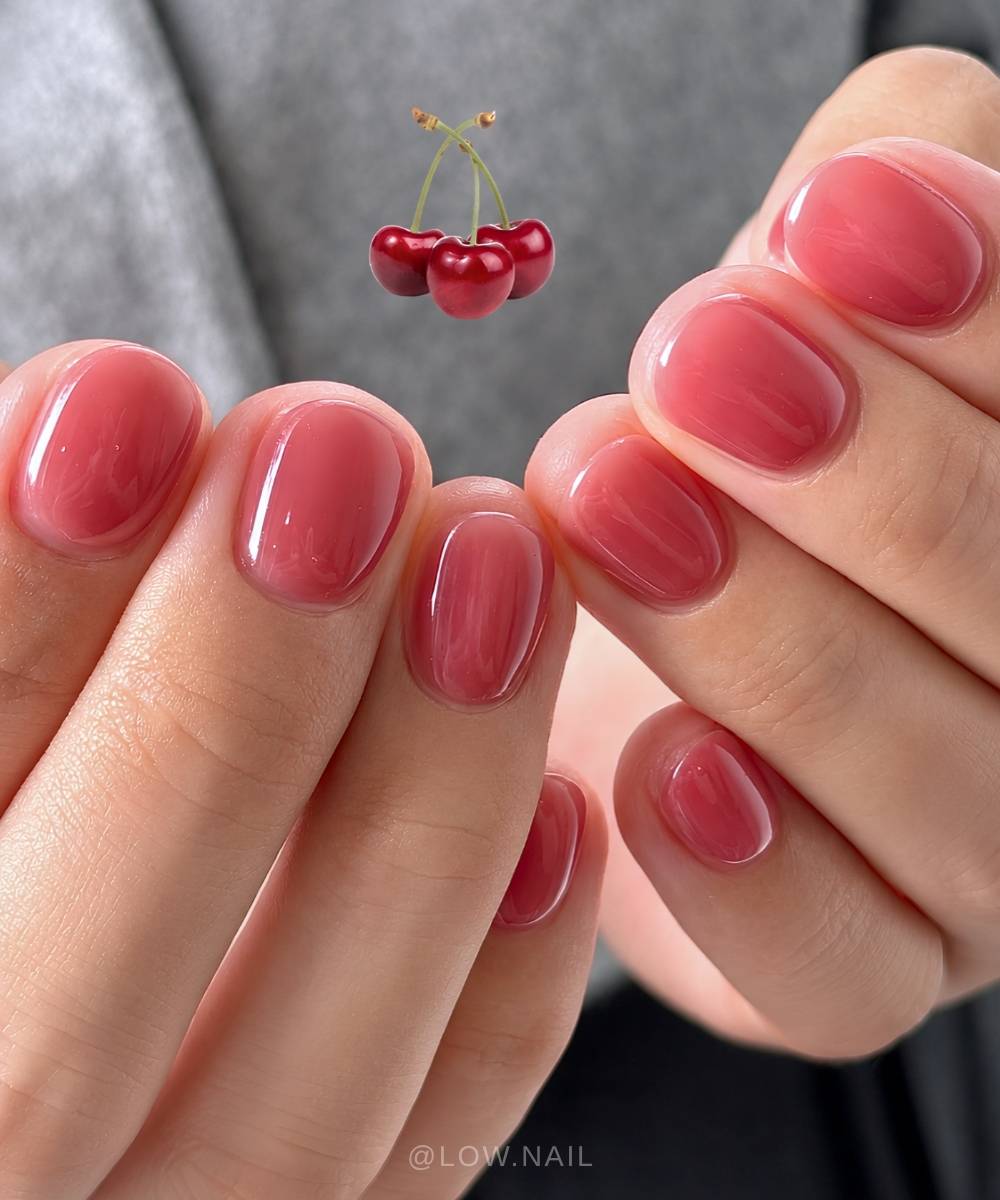
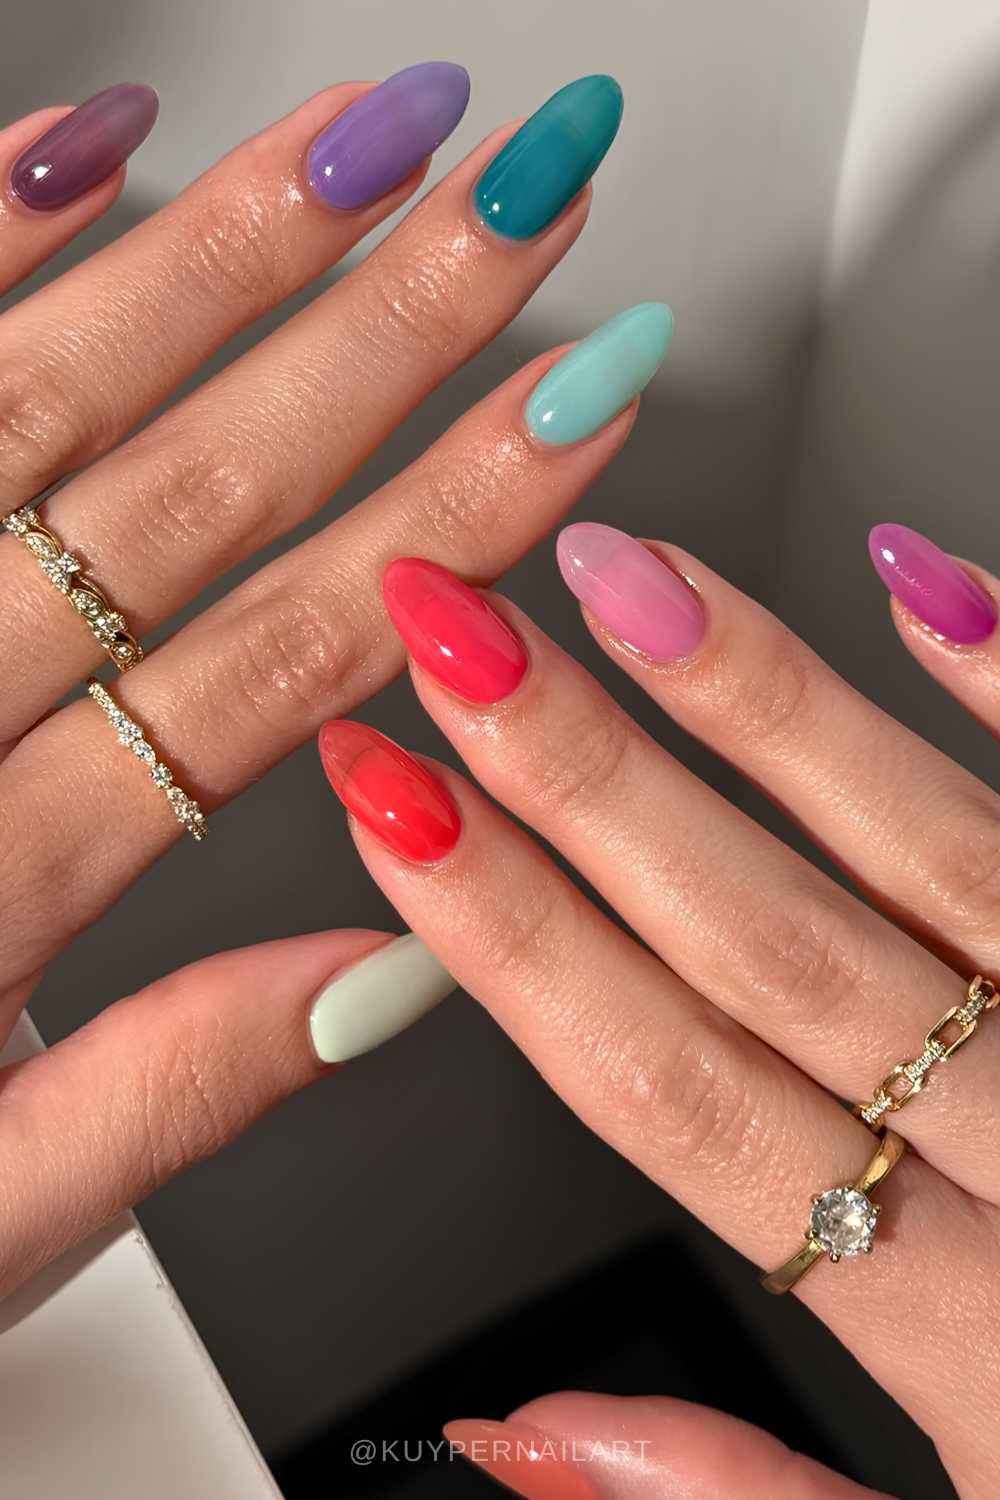
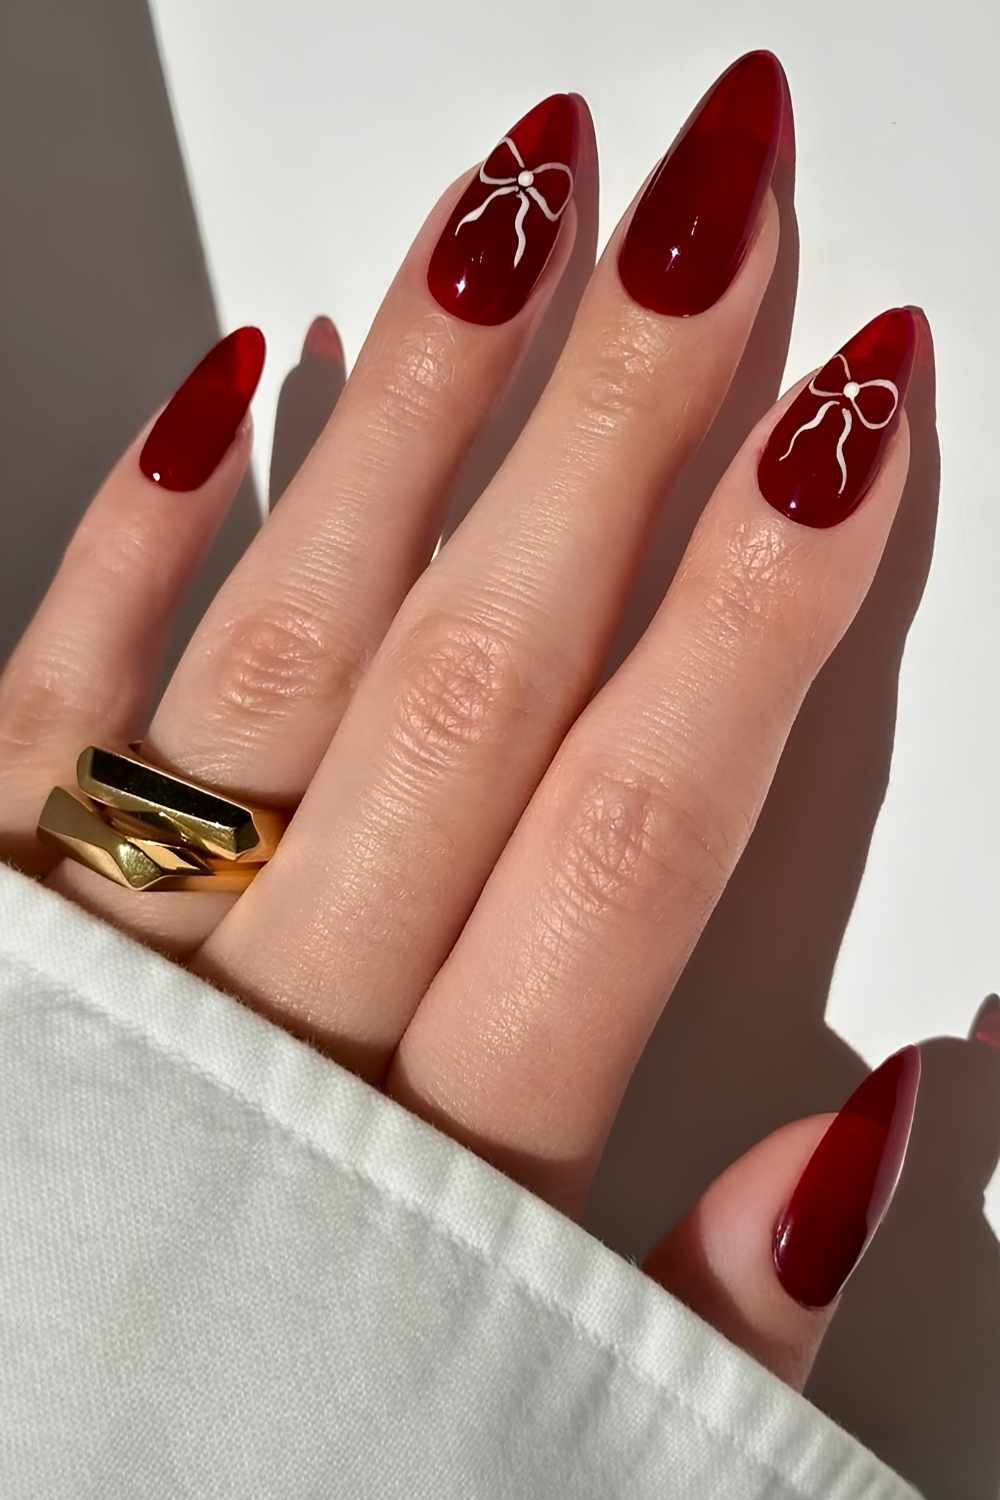
Juicy is the loud one – bright, saturated, full popsicle energy. Strawberry red, watermelon pink, bright orange, sunny yellow, ocean blue, done solo, skittled across every nail, or blended into color-blocked gradients.
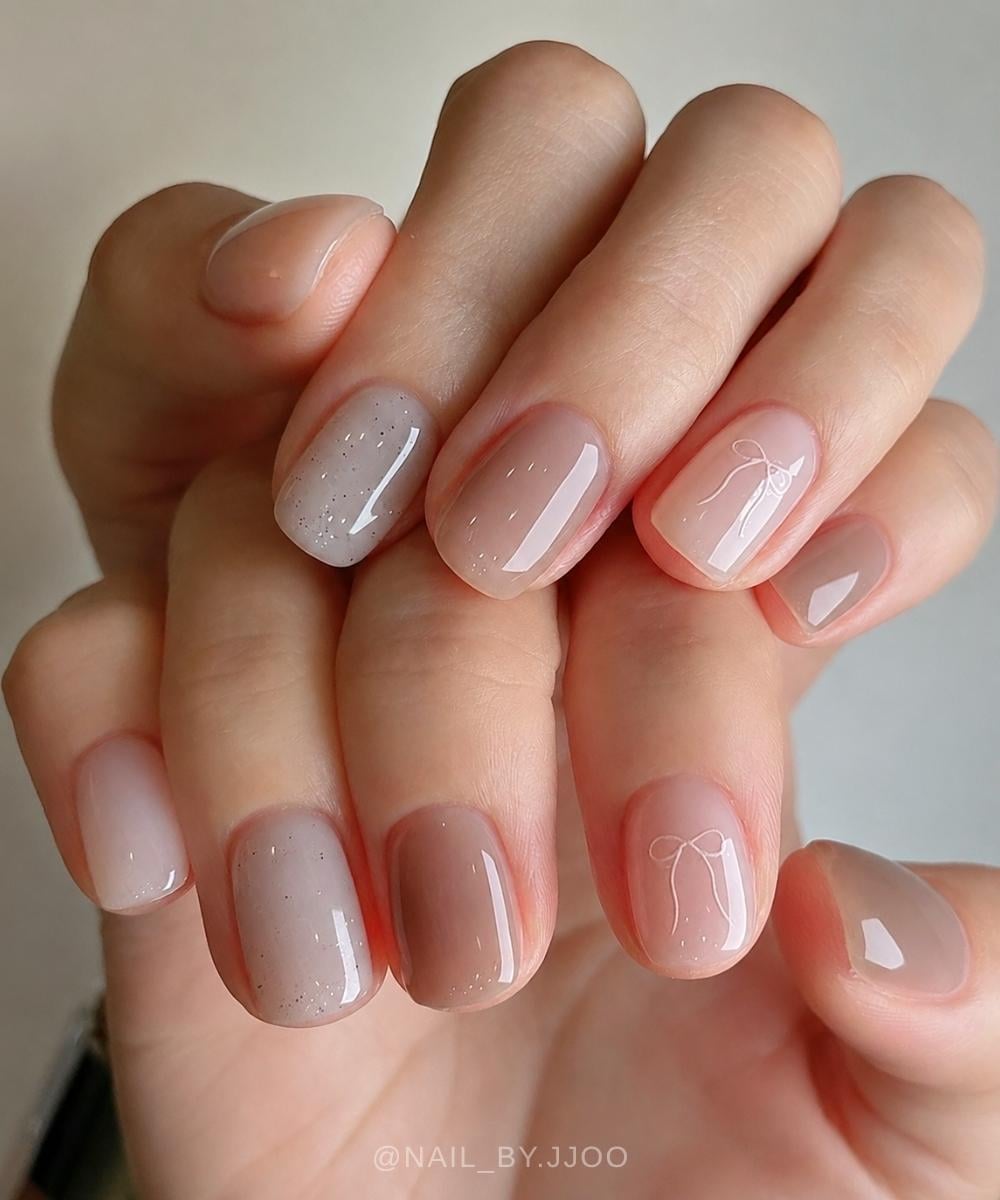
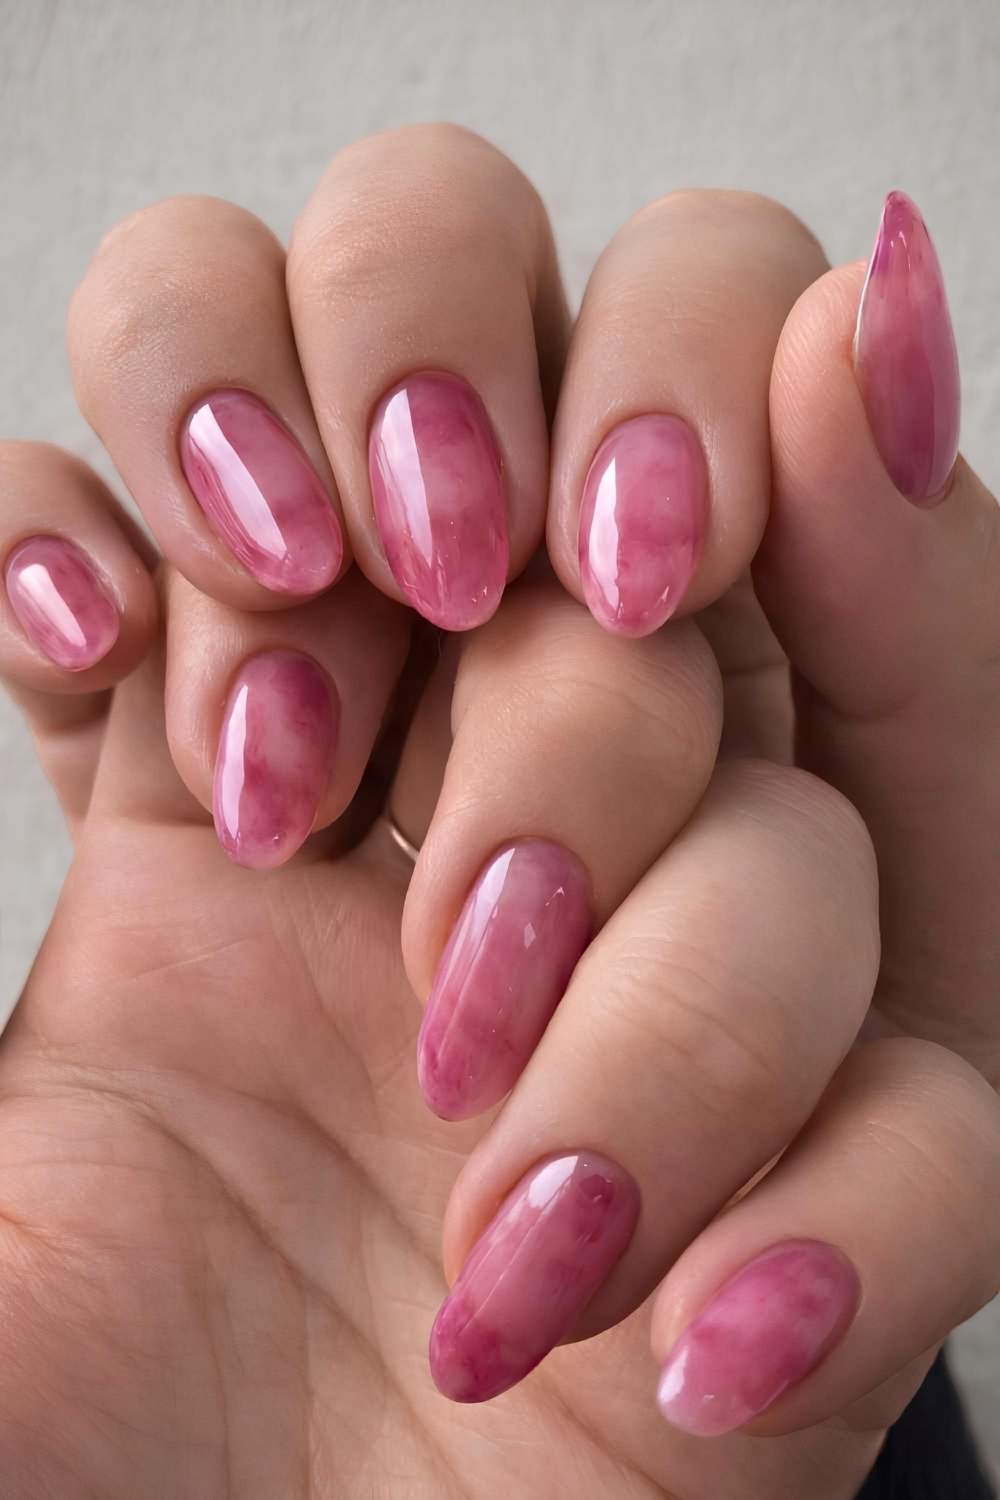
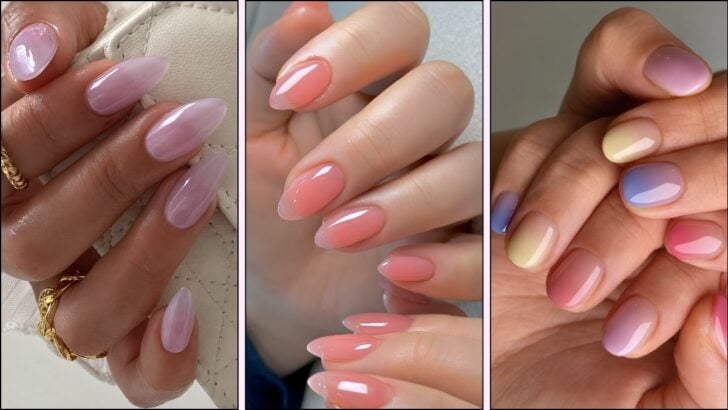
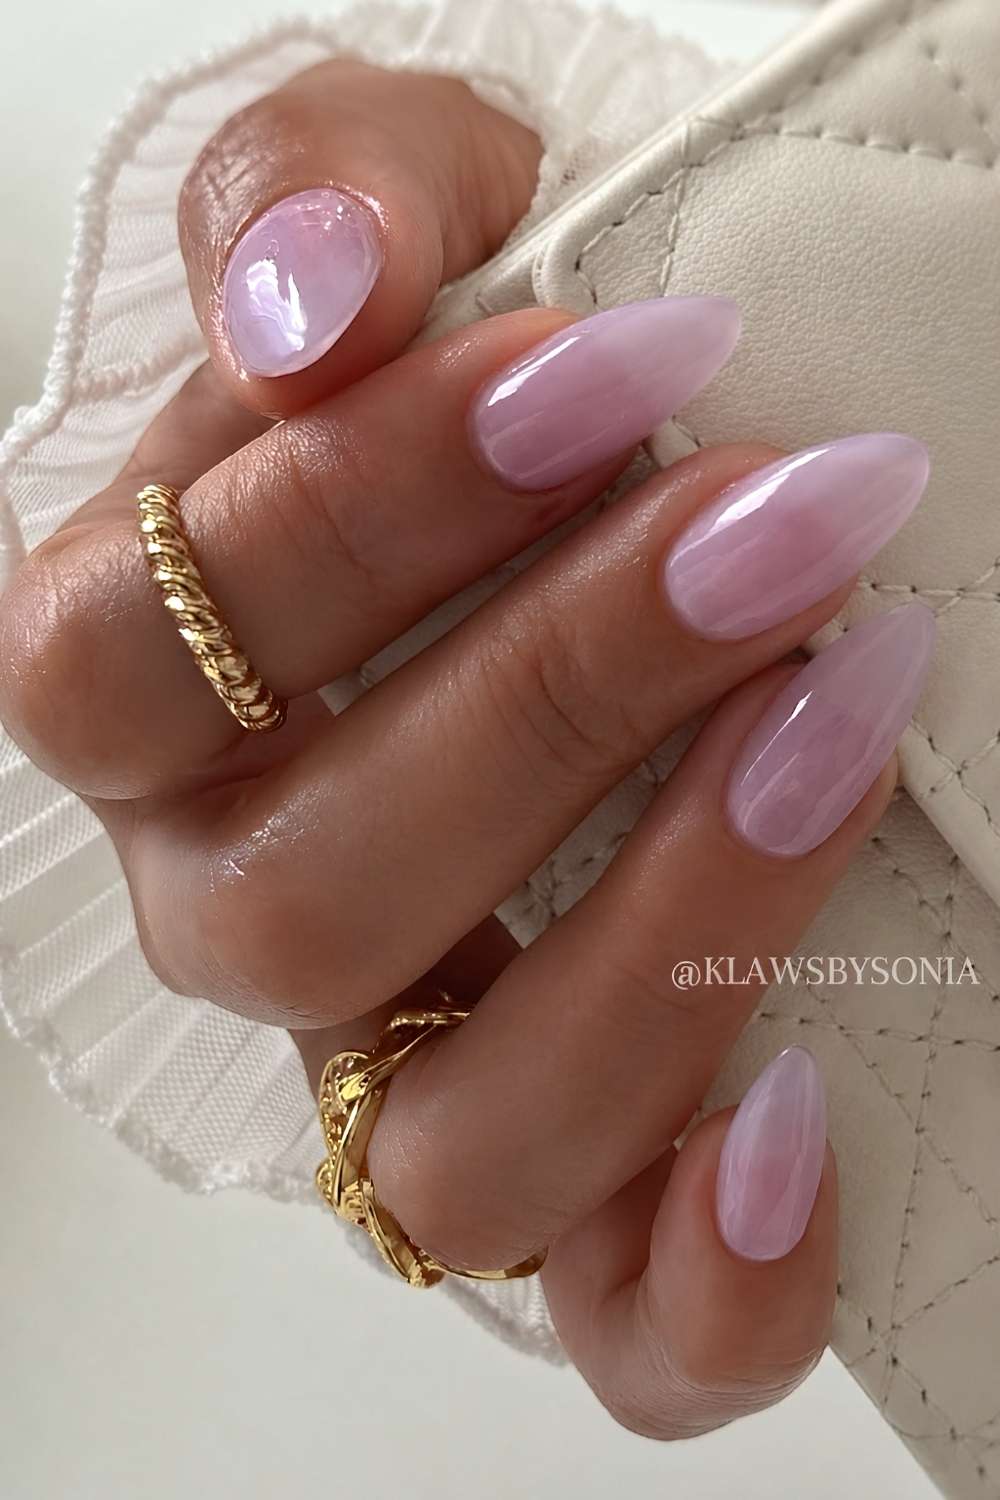
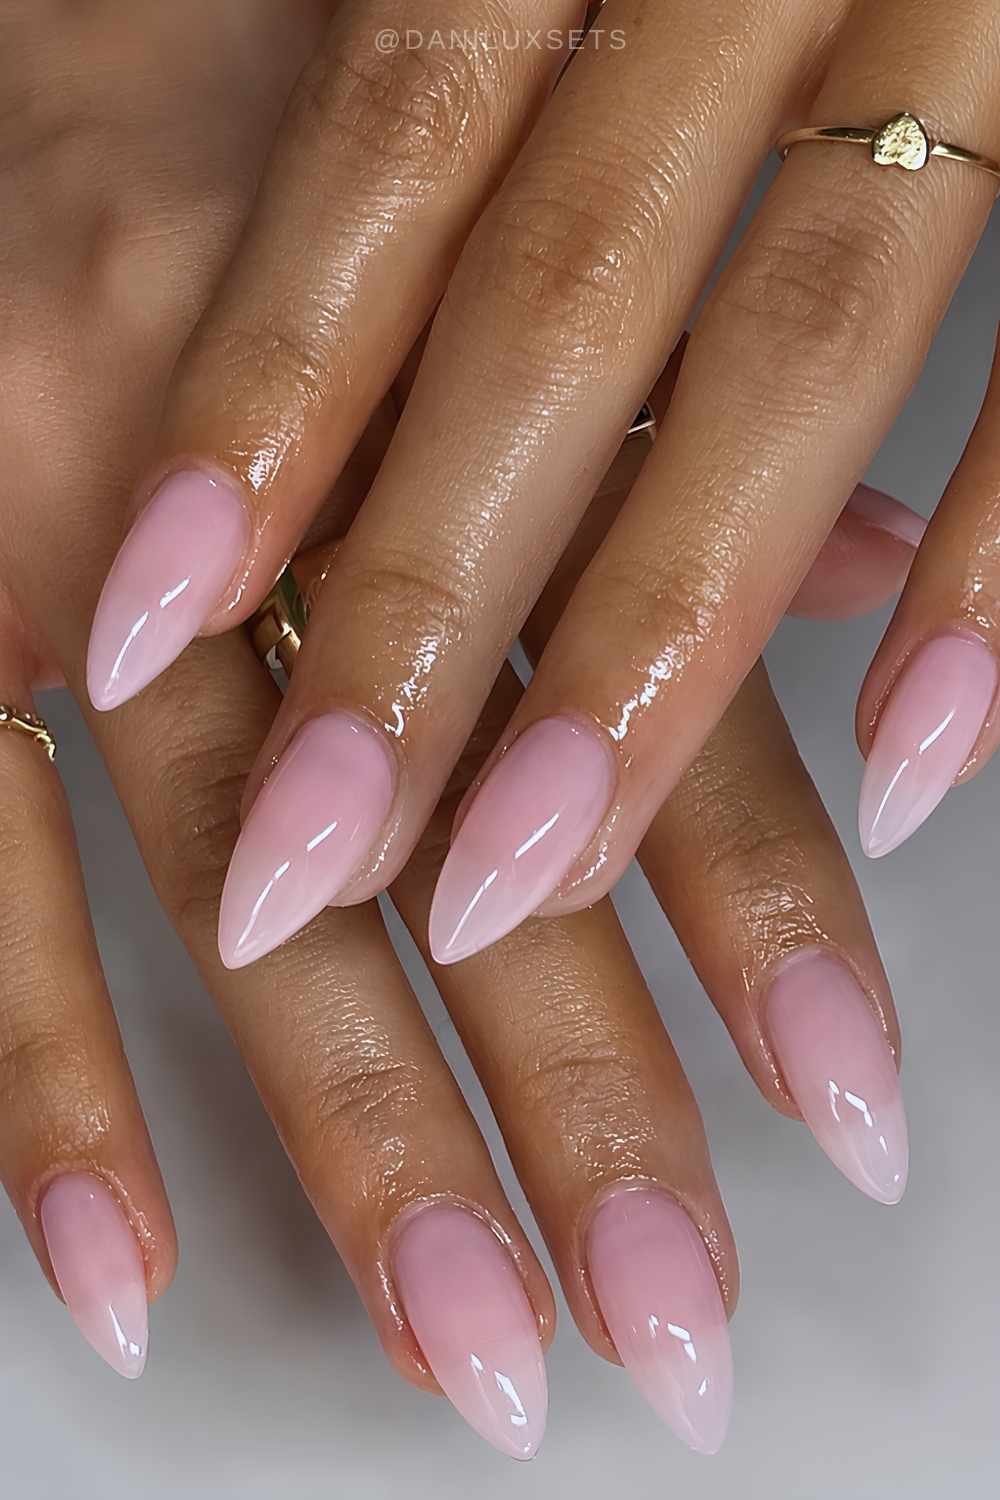
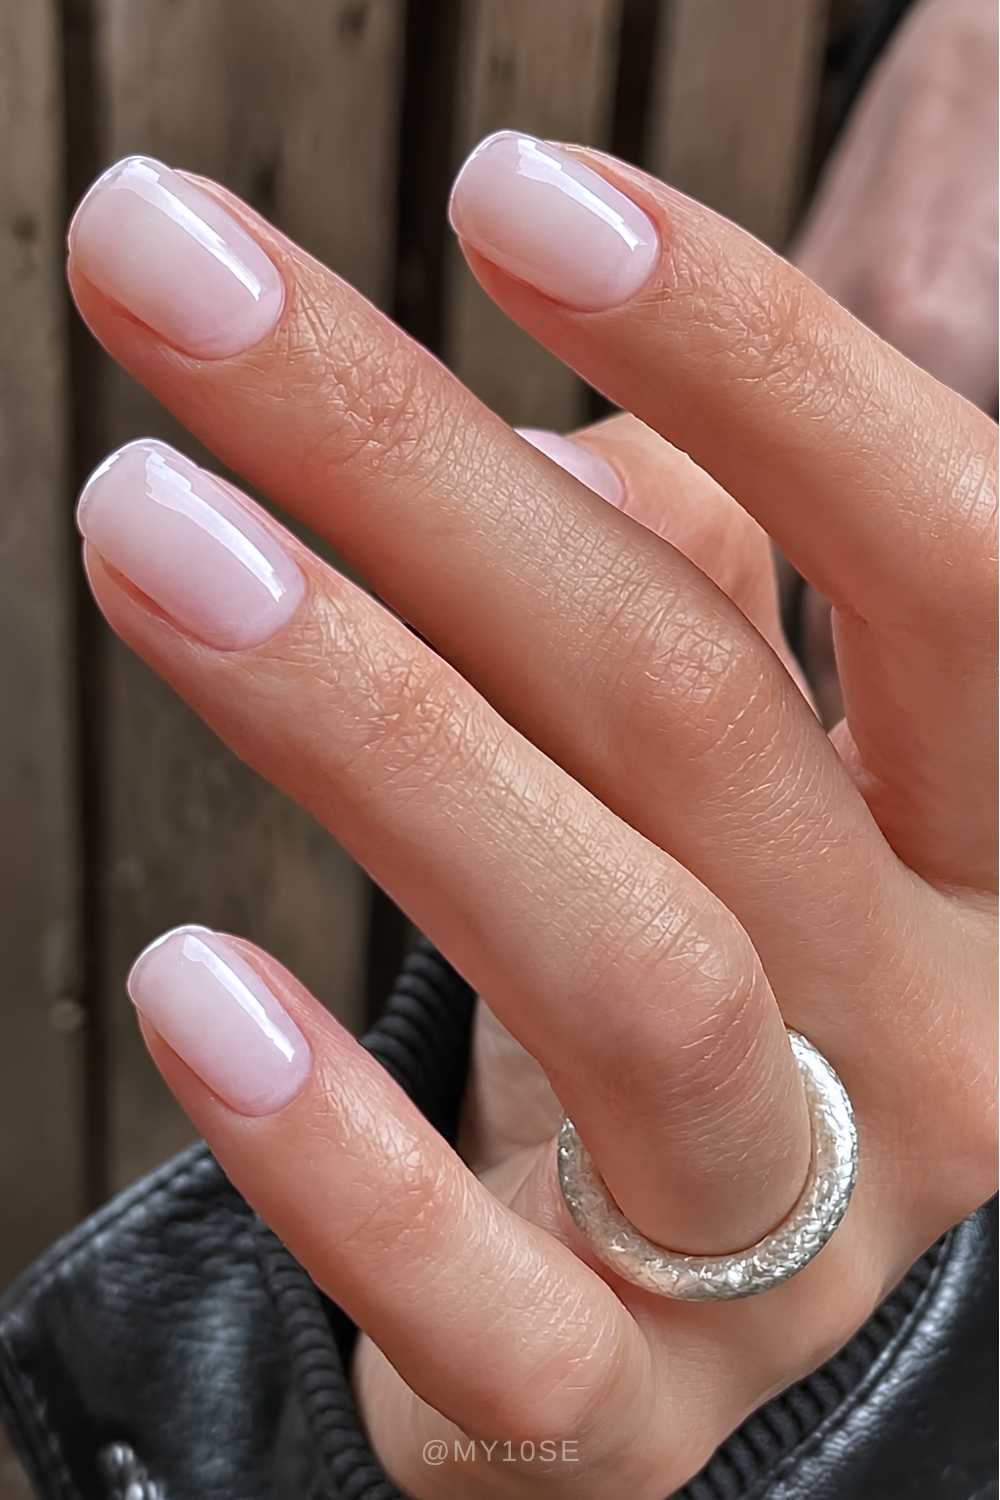
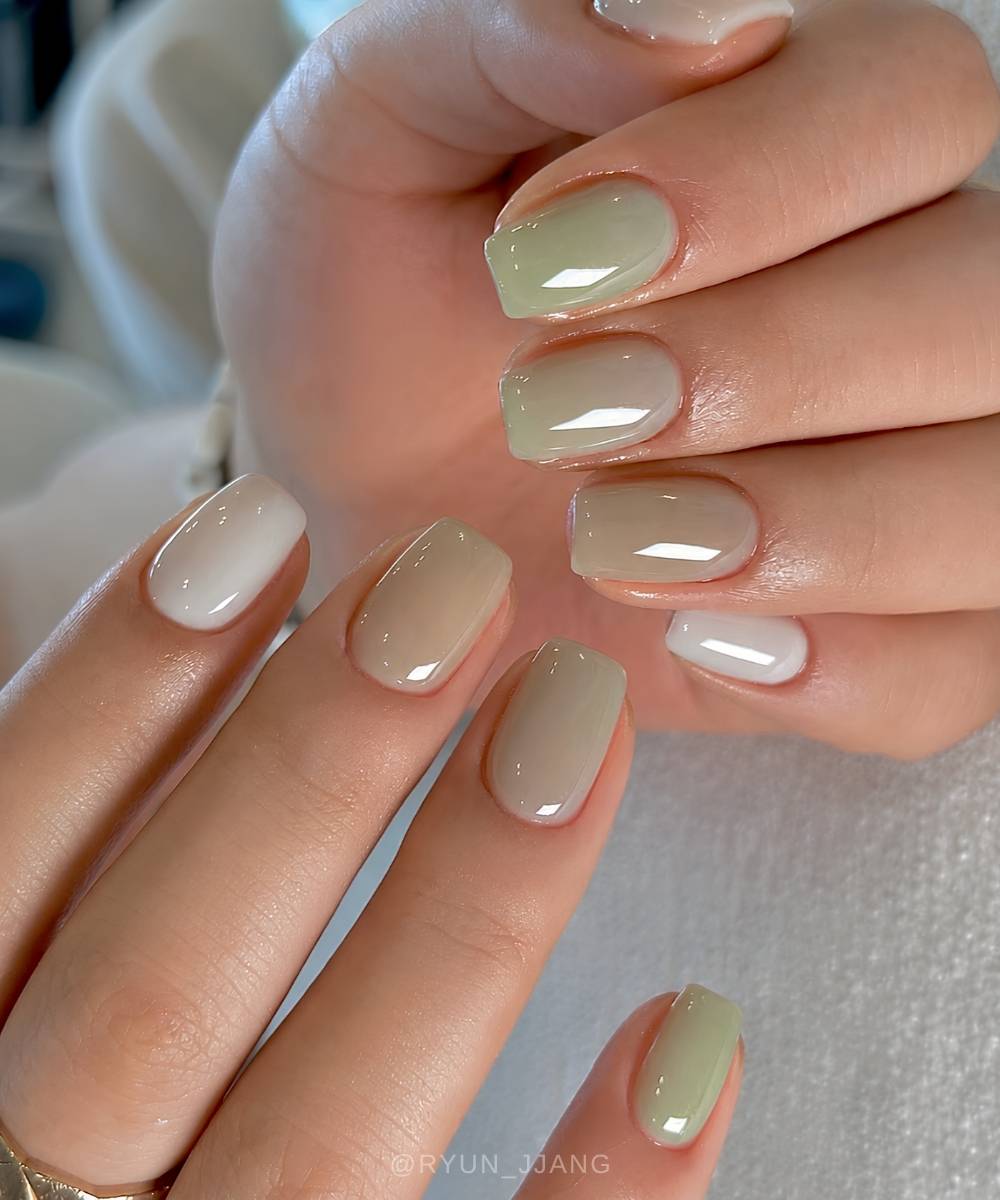
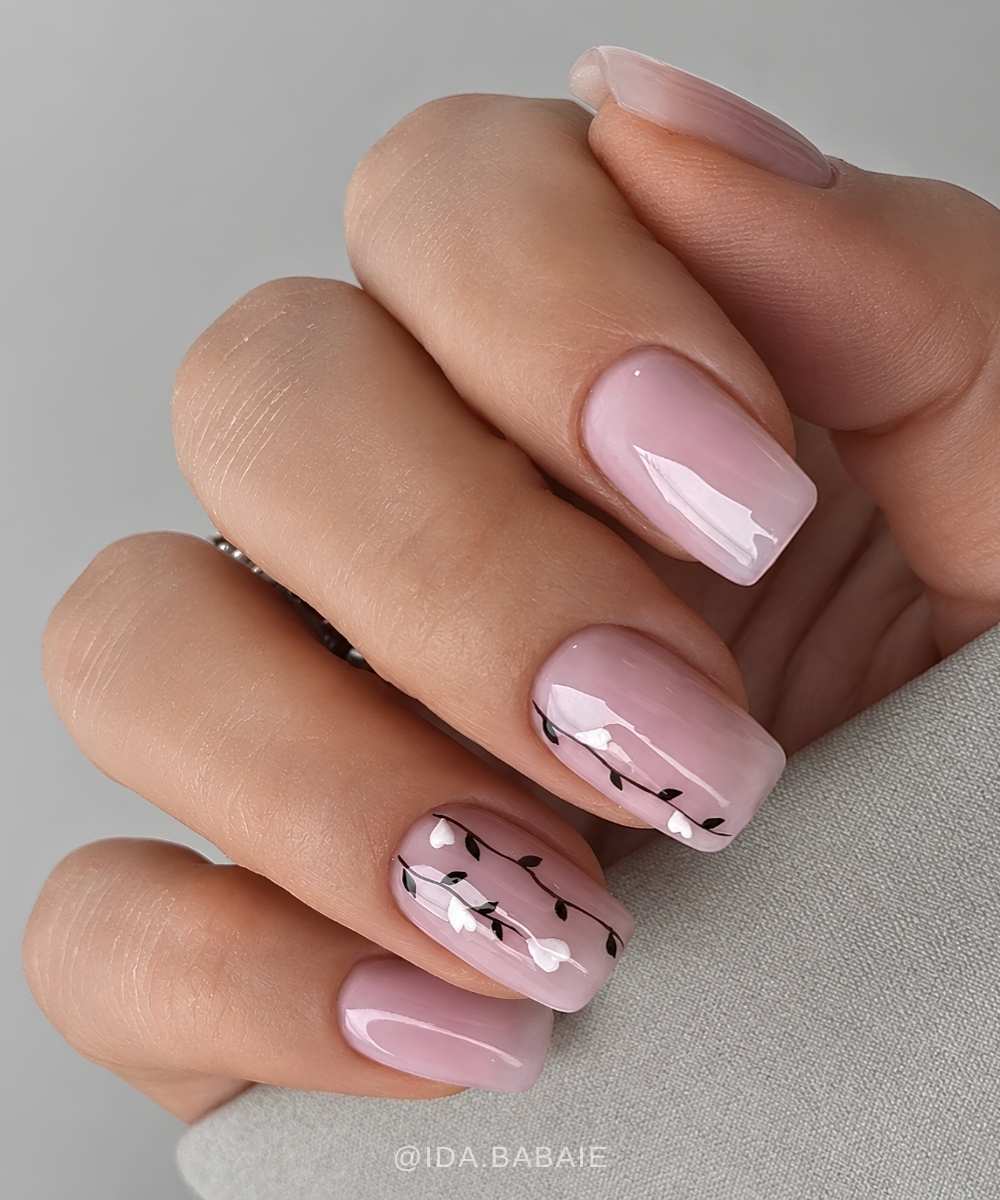
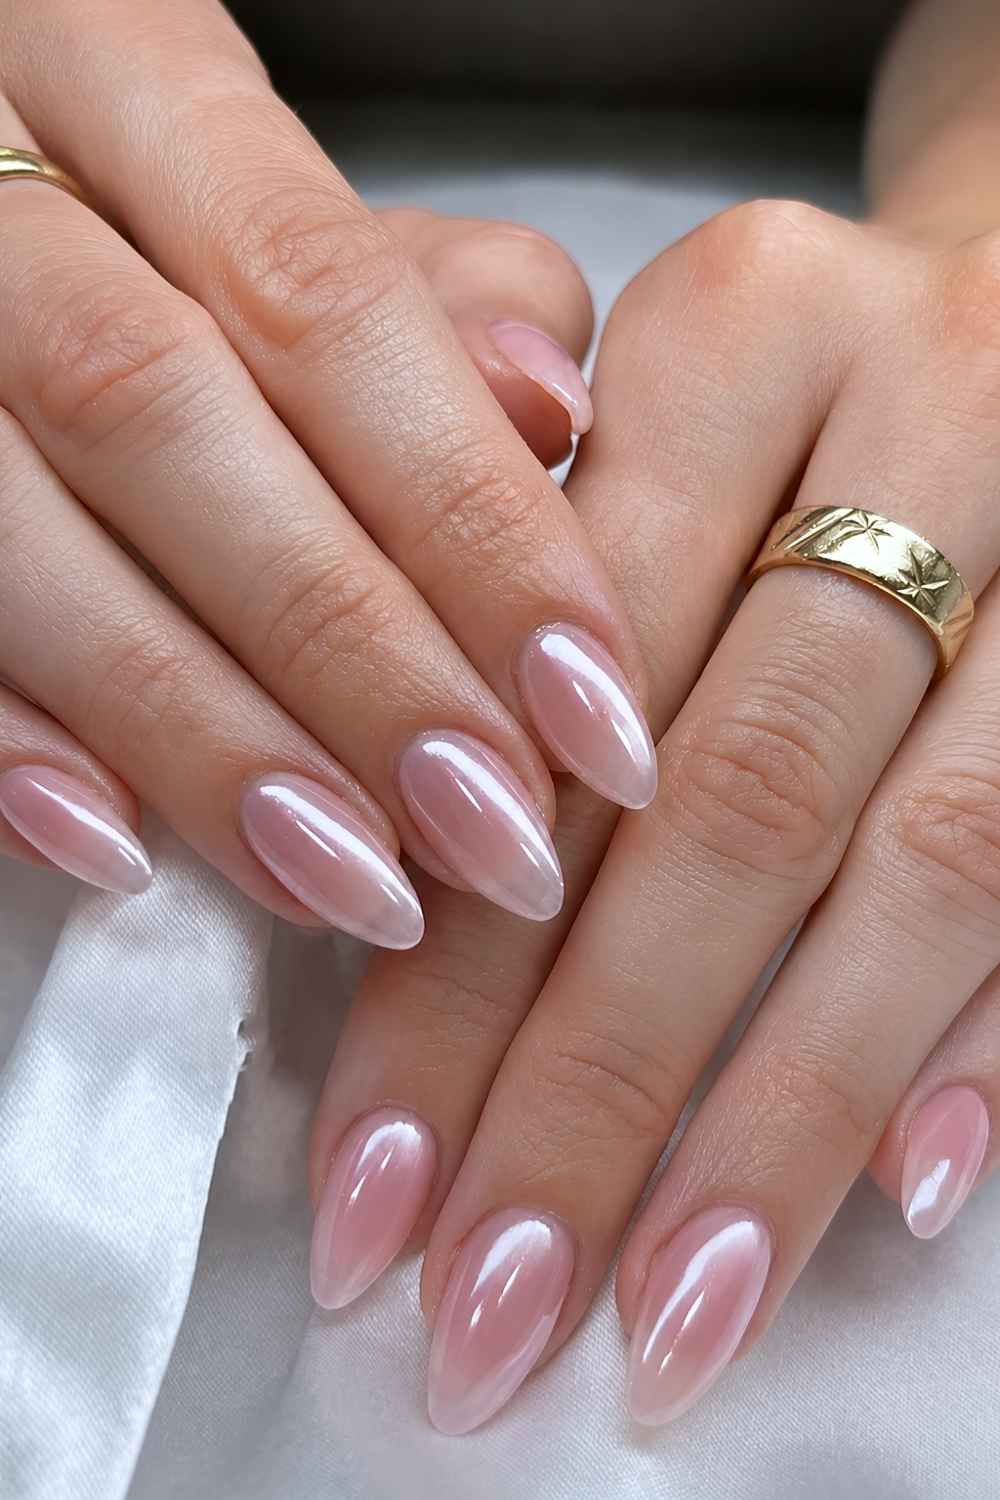
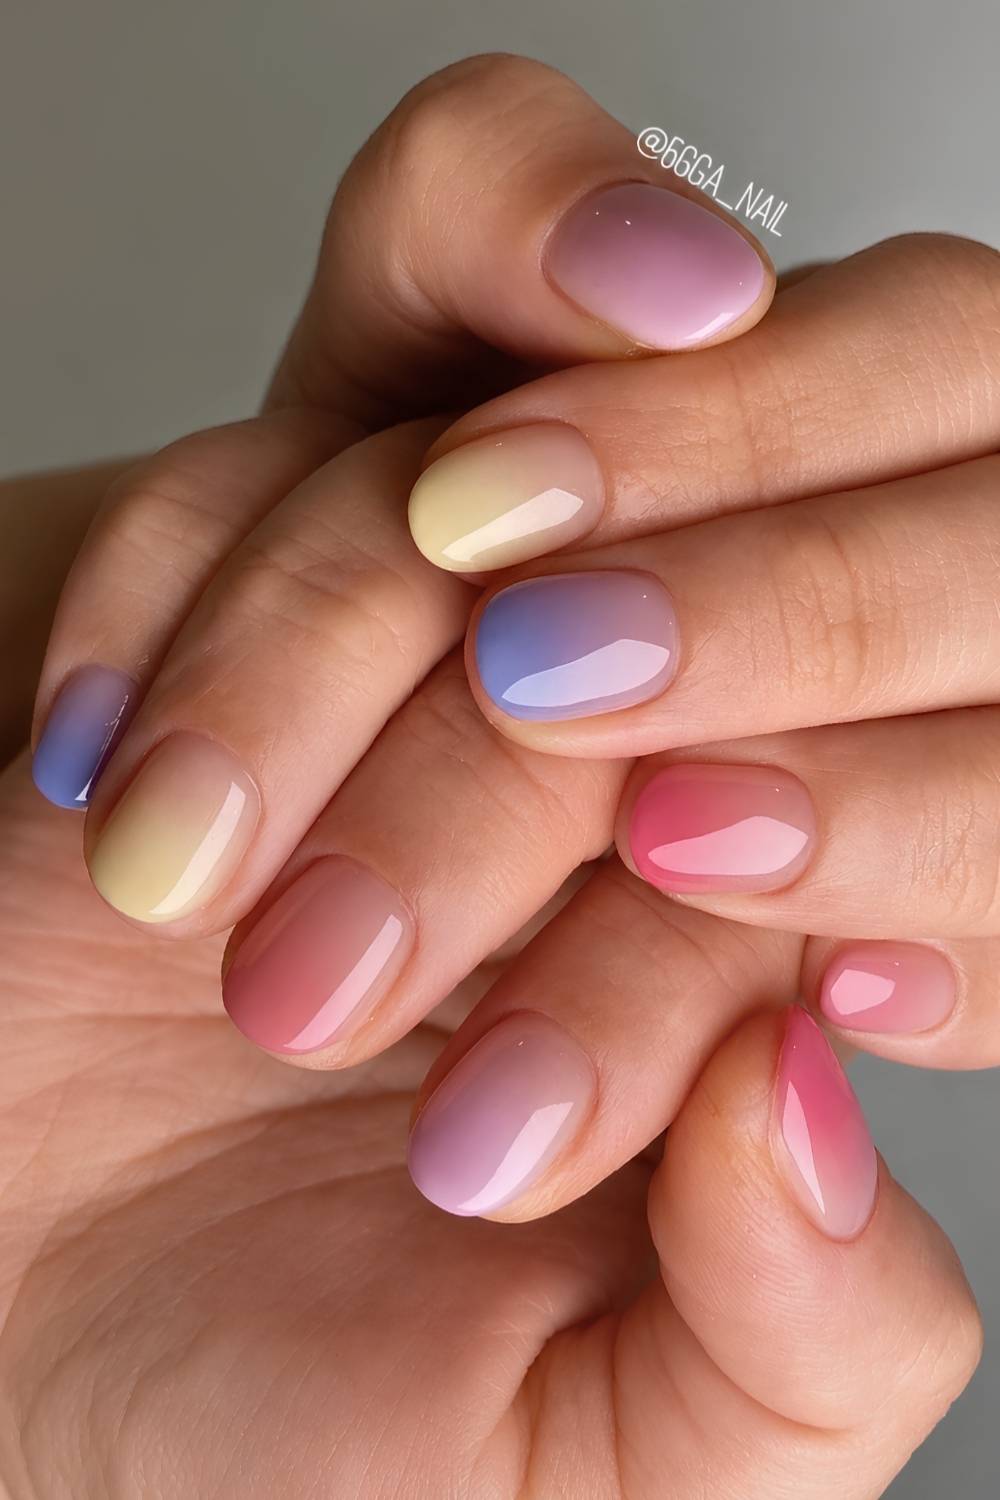
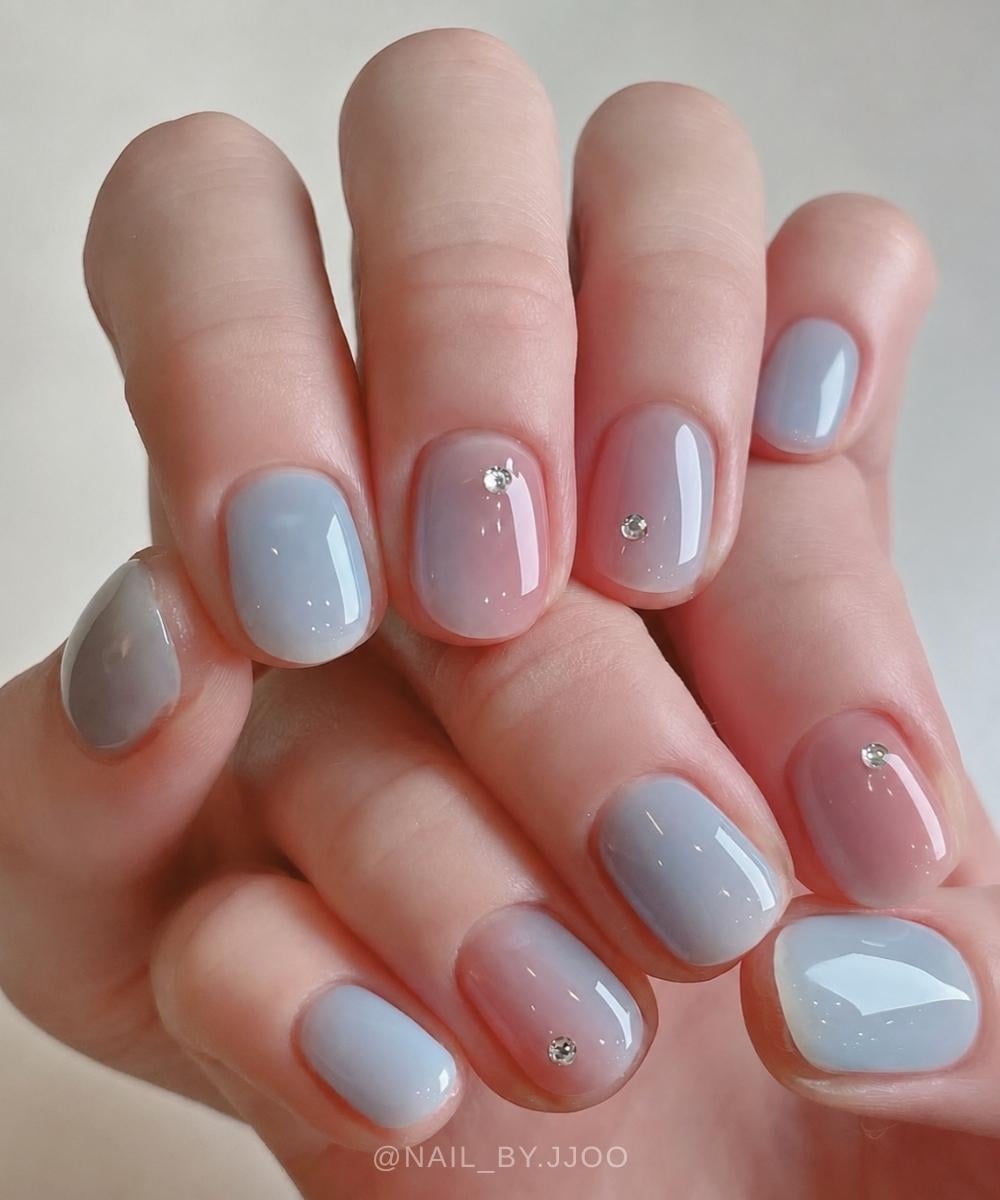
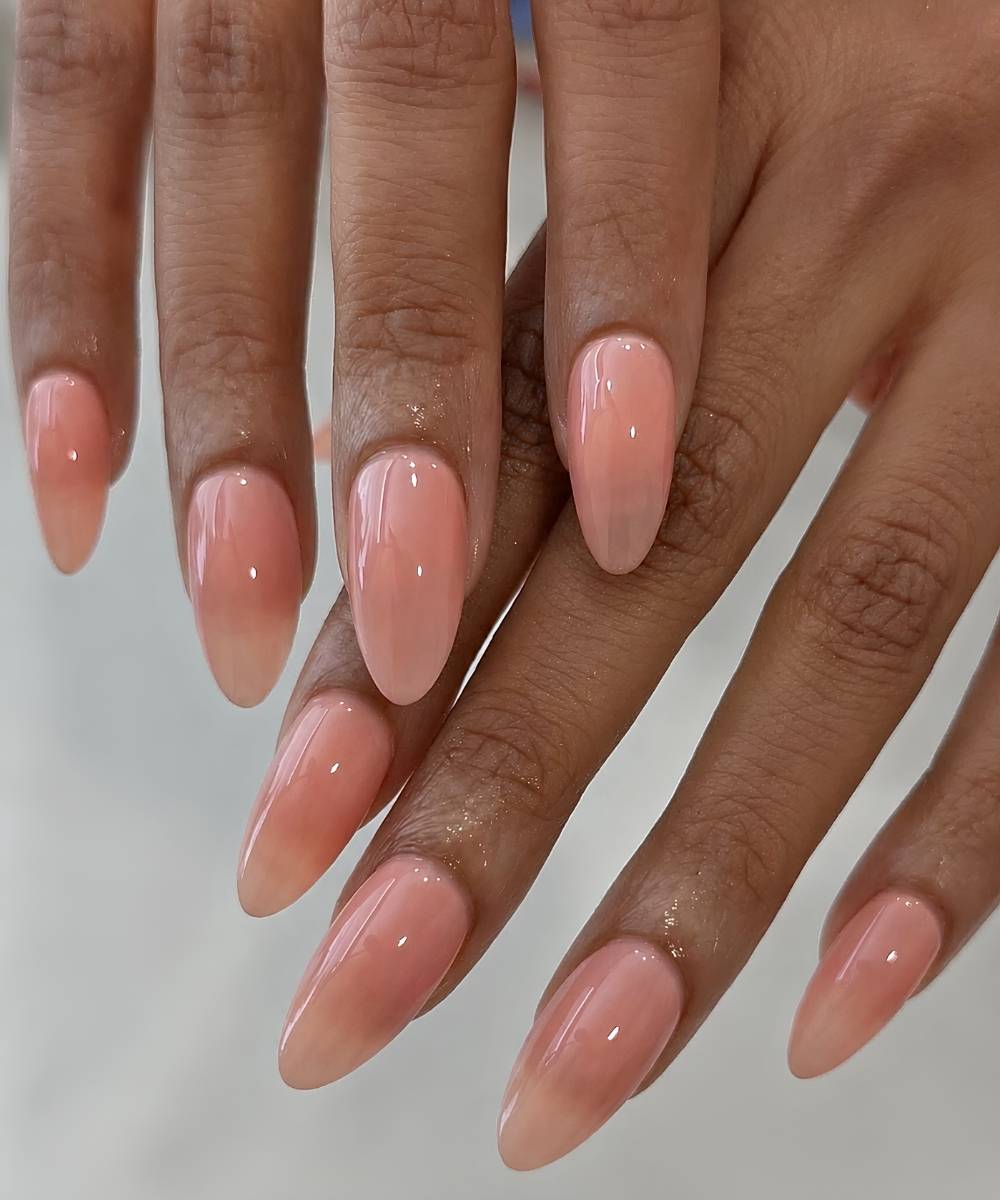
Soft is the quiet one. Milky nudes, soft whites, ballet pinks, peachy tones, airy blues, and the viral mid-tone greys, lavenders, and dusty pinks. Clean and minimal but never flat, because the finish carries the dimension on its own. Soap nails – the nearly colorless, ultra-glossy version – live here too.
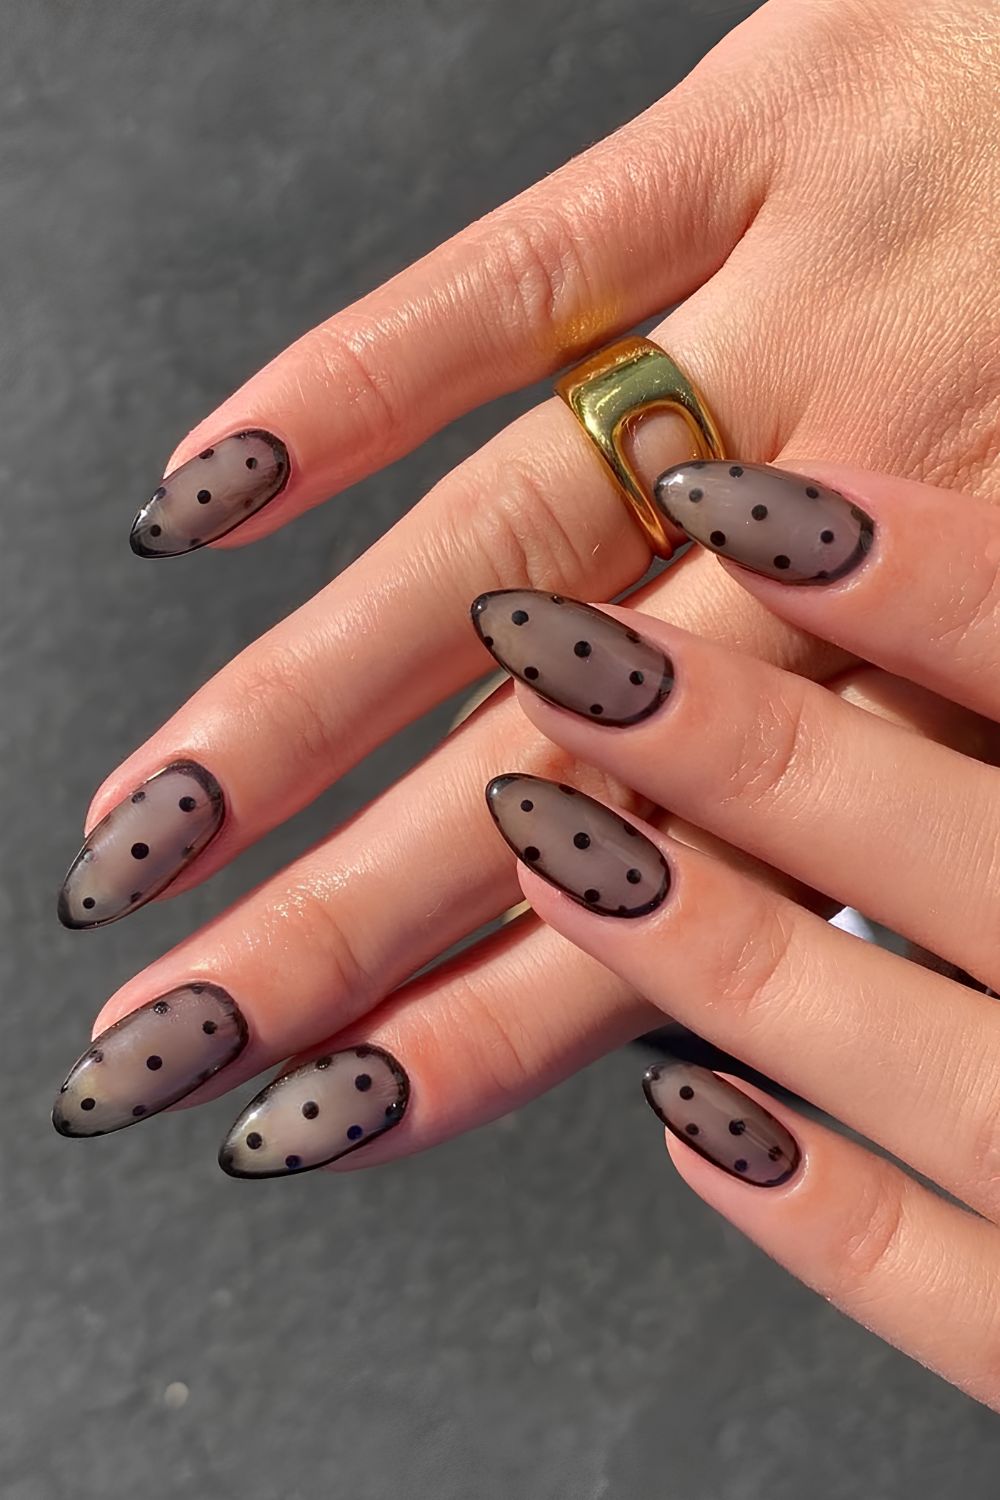

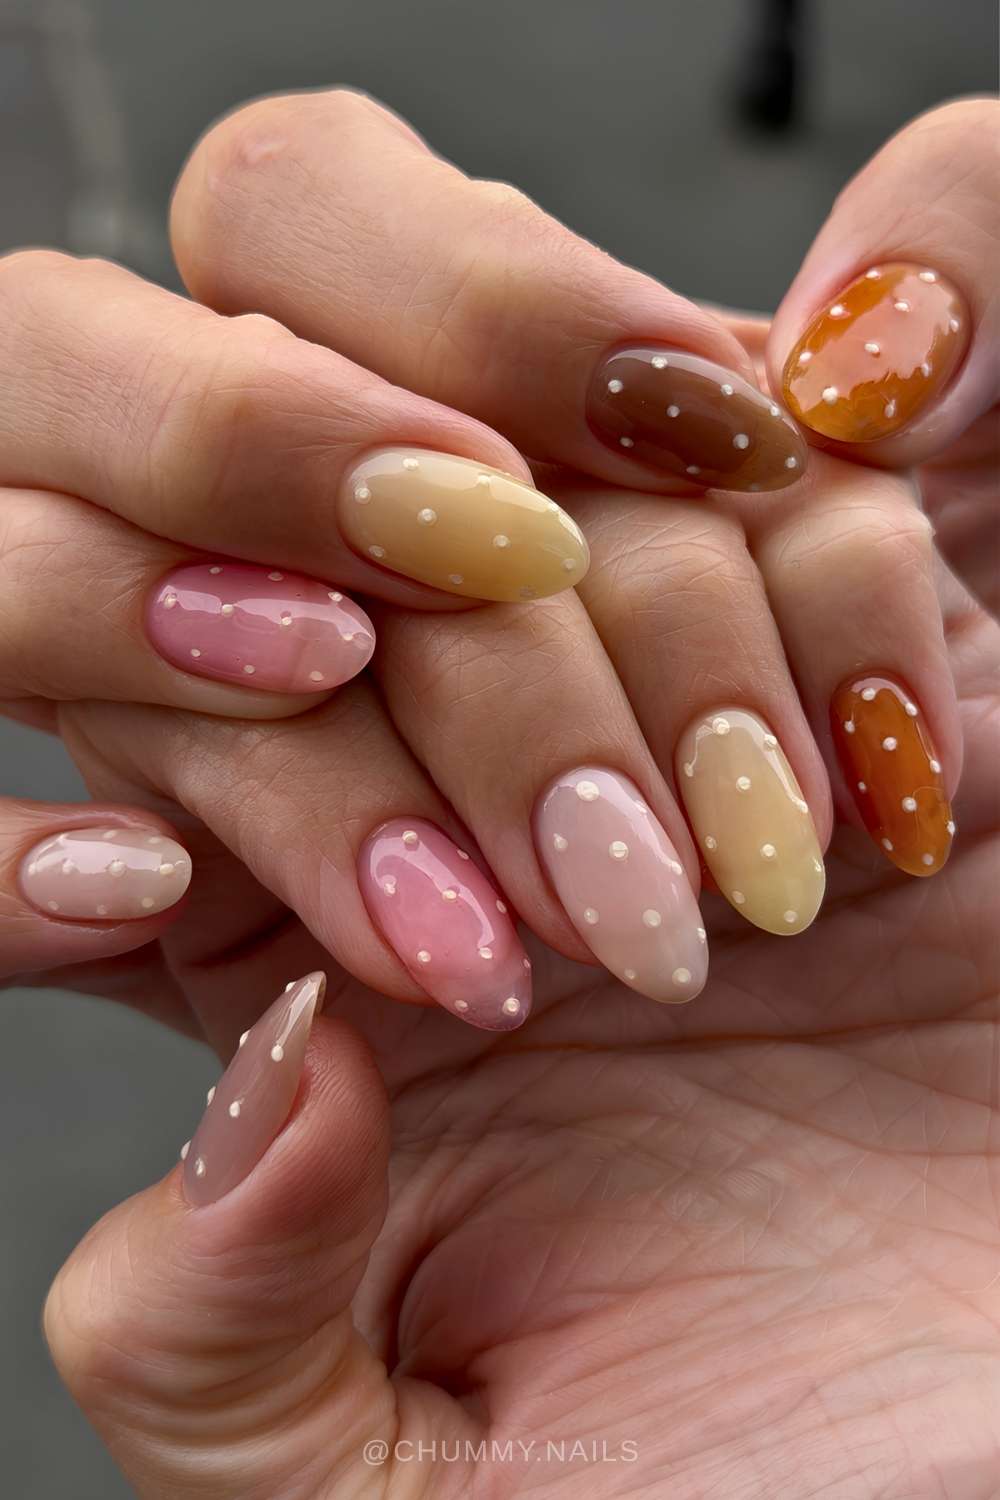
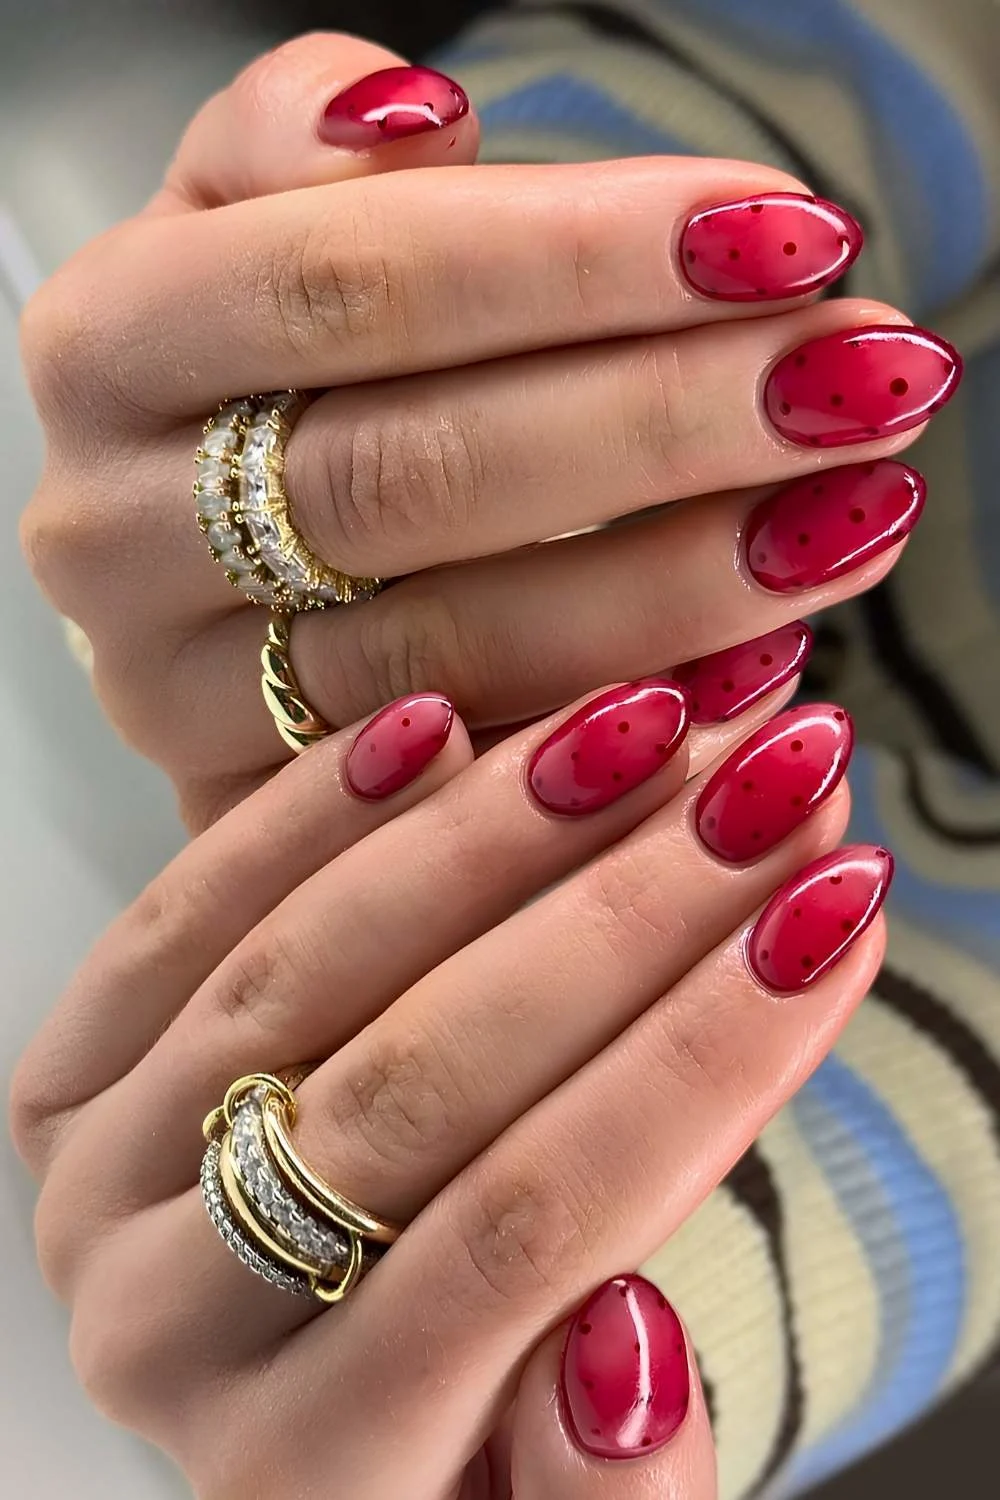
Dark is the underrated one. Browns, blacks, deep greens, moody purples. These look best built up in layers, and they’re stunning with art on top – florals, polka dots, whatever. Full transparency, my honest take: I’d rather wear a dark shade at full opacity in one or two coats than babysit three or four layers of jelly to get there.
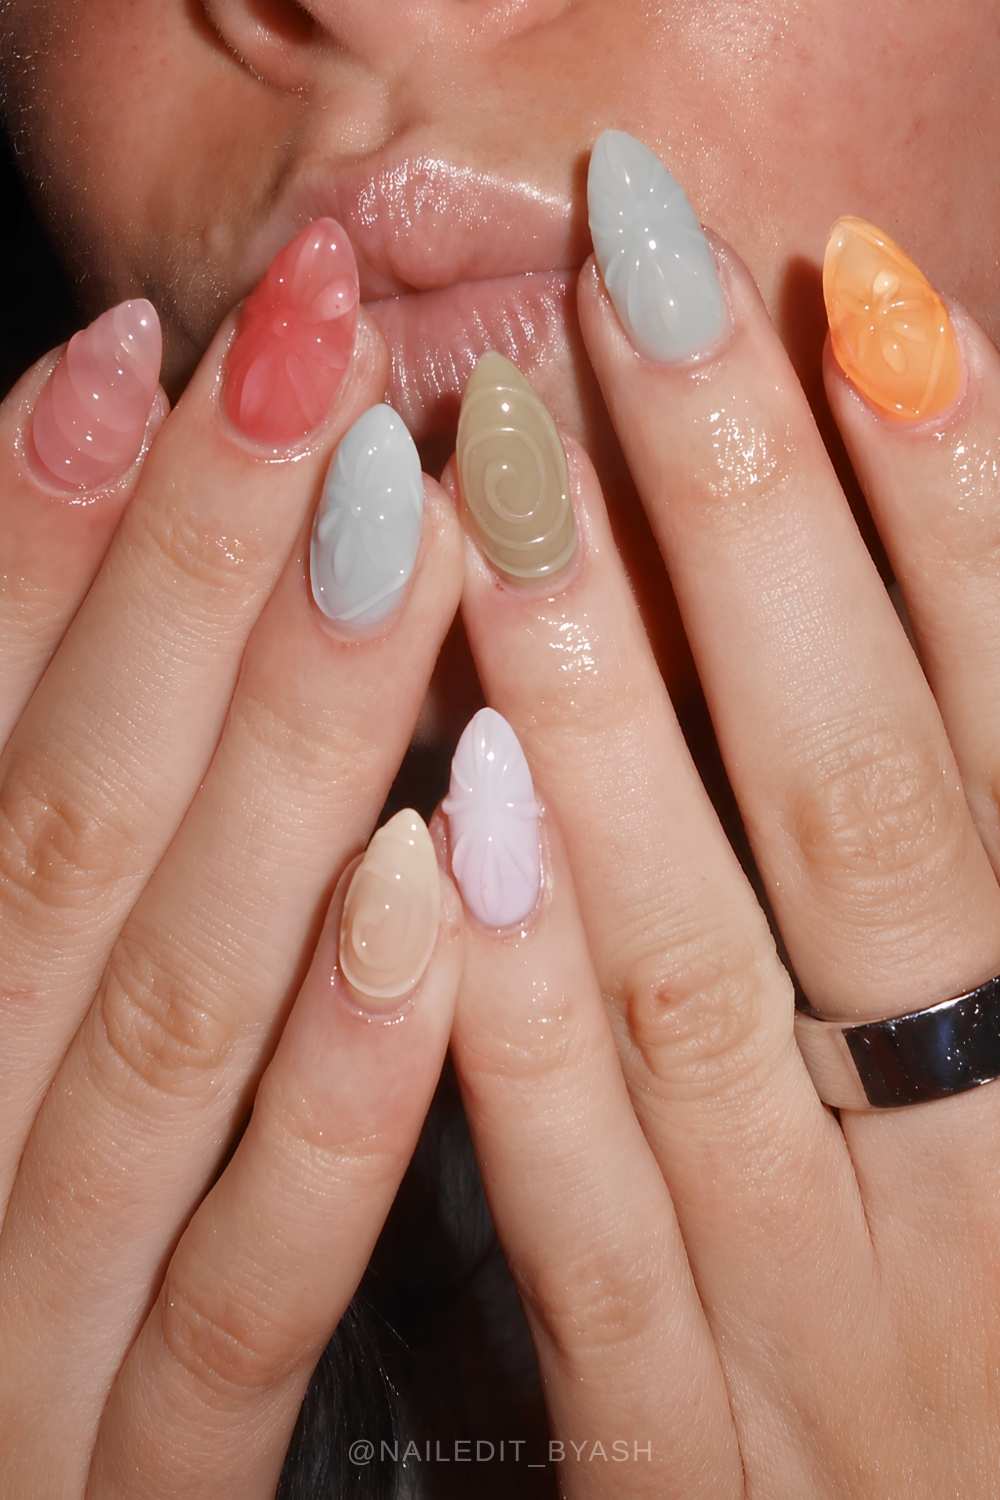
And since jelly is a base as much as a color, the designs are where it gets fun:
- Sandwiching – layer glitters, flakes, or foils between coats of jelly polish for a built-in 3D effect.
- Velvet, cat-eye, or chrome – float a magnetic or sheer chrome topper over or under a jelly base for extra depth.
- Sculpted accent art – stack sculpted florals, gel swirls, rhinestones or metallic beads on top for texture.
- Stained-glass art – use the tinted transparency to build intricate stained-glass or marbled designs.
How to Build the Color and Which Polishes Actually Deliver
Jelly polish is built to be see-through, so one pass reads as a barely-there tint rather than the saturated set you saved off your feed – that’s the formula doing its job, not failing at it. The exception is a naturally loud shade like red, which punches through faster.
For everything else, you layer: each coat deepens the color while keeping it translucent, and two to three usually lands the intensity you’re after. Then comes the non-negotiable – a glassy topcoat (I use OPI Infinite Shine Gel-like Top Coat). That’s what turns layered tint into the wet, plump finish the whole trend is named for.
As for what to actually get: I trust two brands above the rest, because formula is what separates a clean jelly from a streaky mess. Cirque Colors and Cracked both build evenly and never go patchy on me. These are my personal favorite jelly polishes:
- Cracked – Strawberry Jam (strawberry red) and Bubblegum Yum Yum (candy pink).
- Cirque Colors – Sherbet Jelly (coral orange), Curaçao Jelly (turquoise green), Guayaba Jelly (guava pink) and Lucky Jelly (true red).

Still find jelly too see-through after all that? Then a crelly is your answer. It sits halfway between a jelly and a crème – enough concentrated pigment packed in to read translucent rather than transparent, so you get more color in fewer coats but keep that glassy, dimensional jelly quality. The compromise pick, basically.
My go-to crelly polishes are all Cirque Colors: Lemon Drops (butter yellow), Smitten (lilac) and Milk Glass (off white).
And that’s a wrap
Jelly nails are the rare trend that’s genuinely easy to wear and hard to mess up – sheer color, glossy topcoat, build to taste.
Loud or soft, plain or stacked with art, with a good formula under it (you know mine now), it’s the glossiest, juiciest your hands will look all summer.