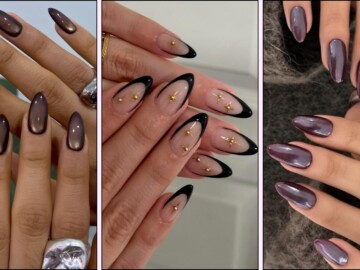
Ribbed Glass Nails: The Magnetic Trend You Need to Know About
Follow The Pink Issue on Google.
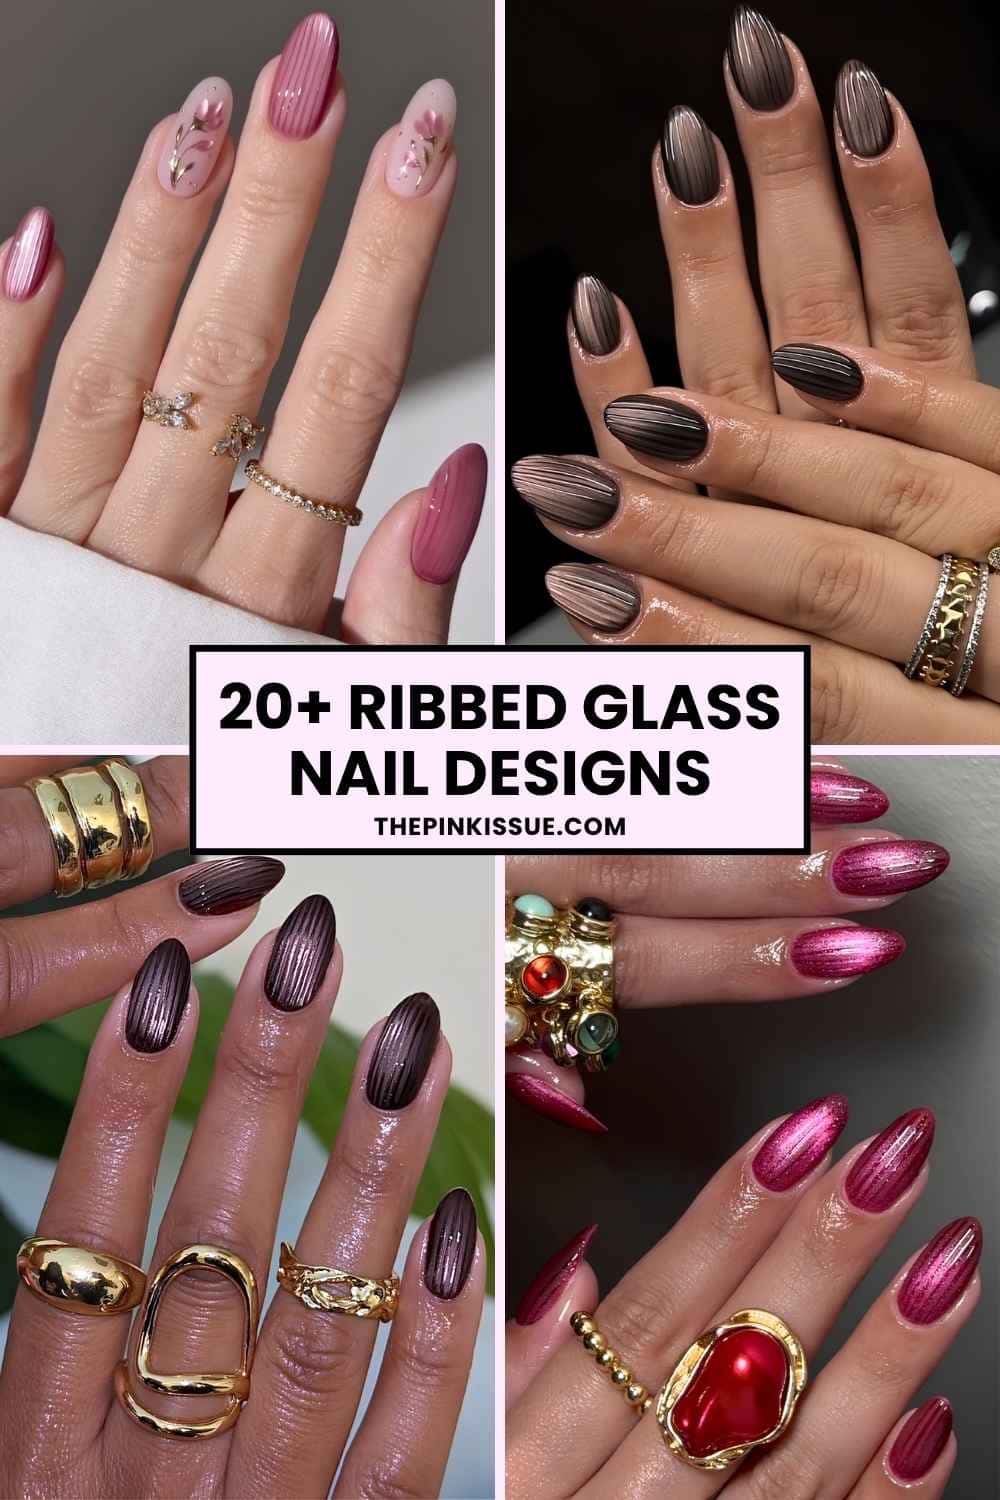
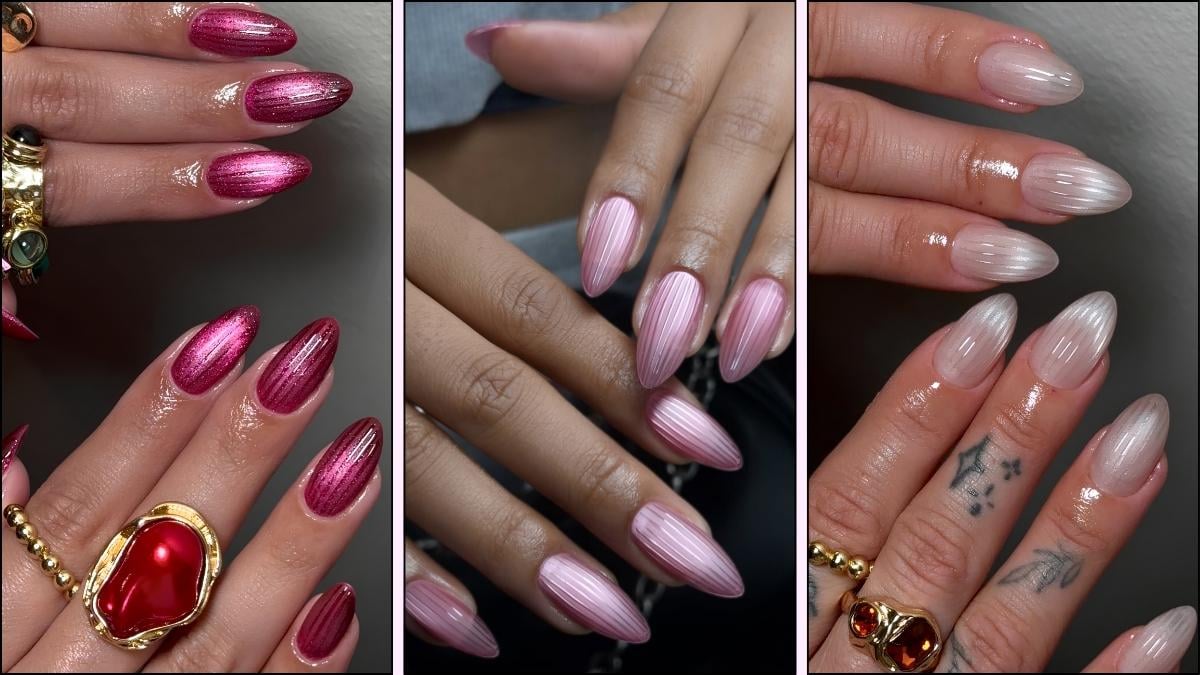
I have been loyal to cat-eye nails for years. Then ribbed glass landed on my feed, and suddenly I was booking an appointment to have tiny clear lines drawn over my perfectly good manicure. It keeps all the shifting magnetic shine that made cat eye impossible to quit, then adds glossy raised ribs that catch the light separately every time your hand moves. Cat eye did not get dethroned. It got architecture.
What ribbed glass nails actually are
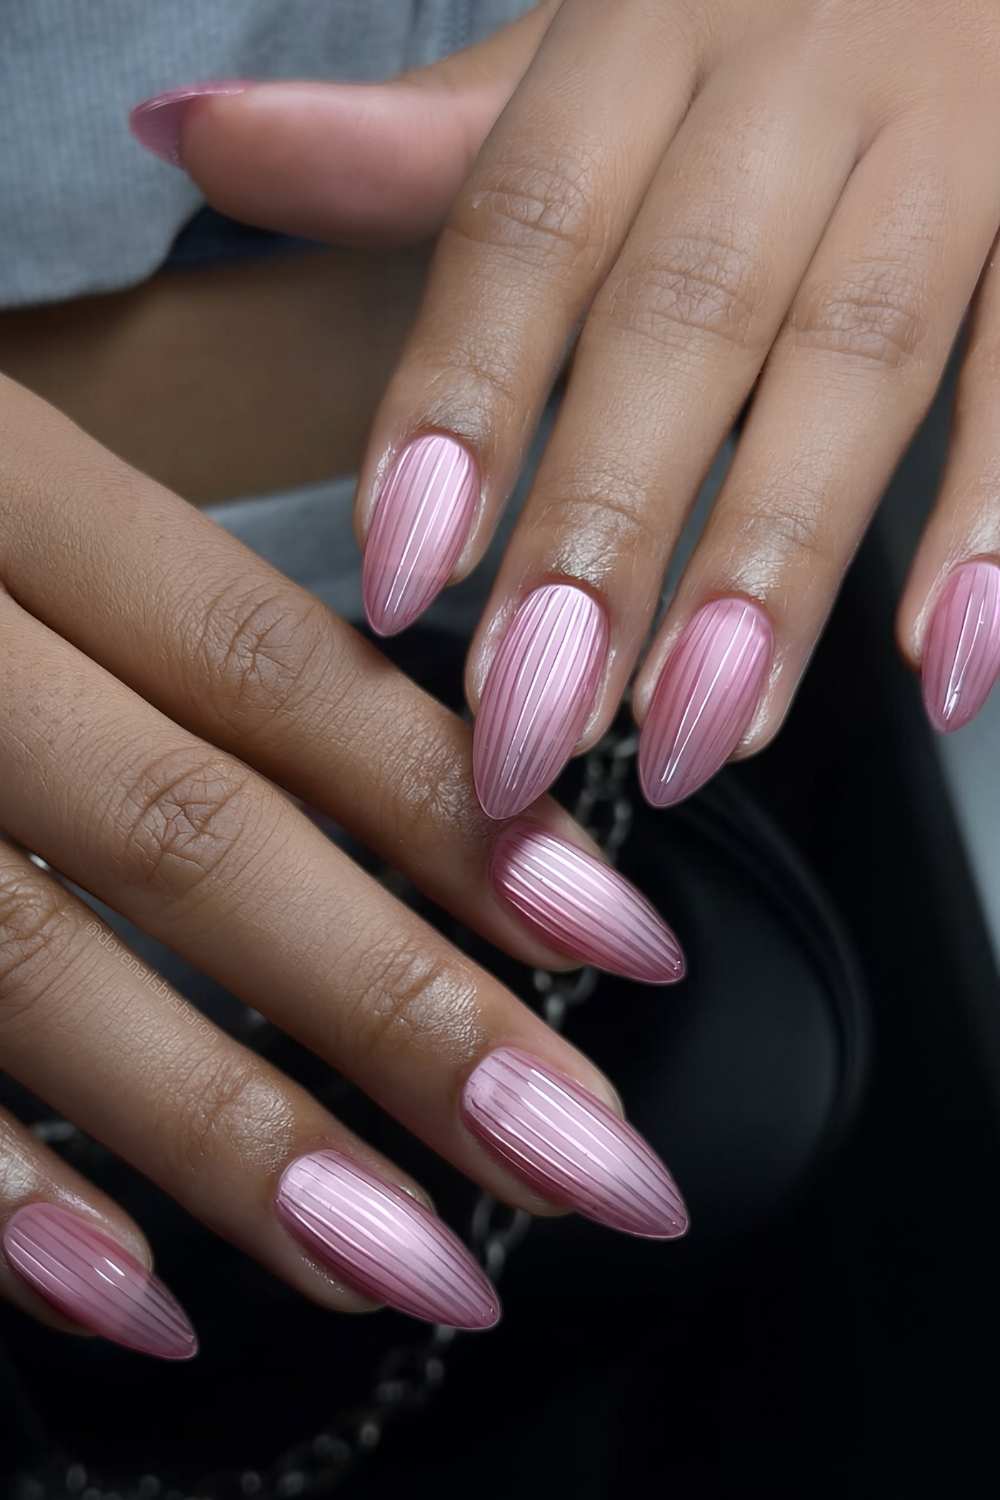
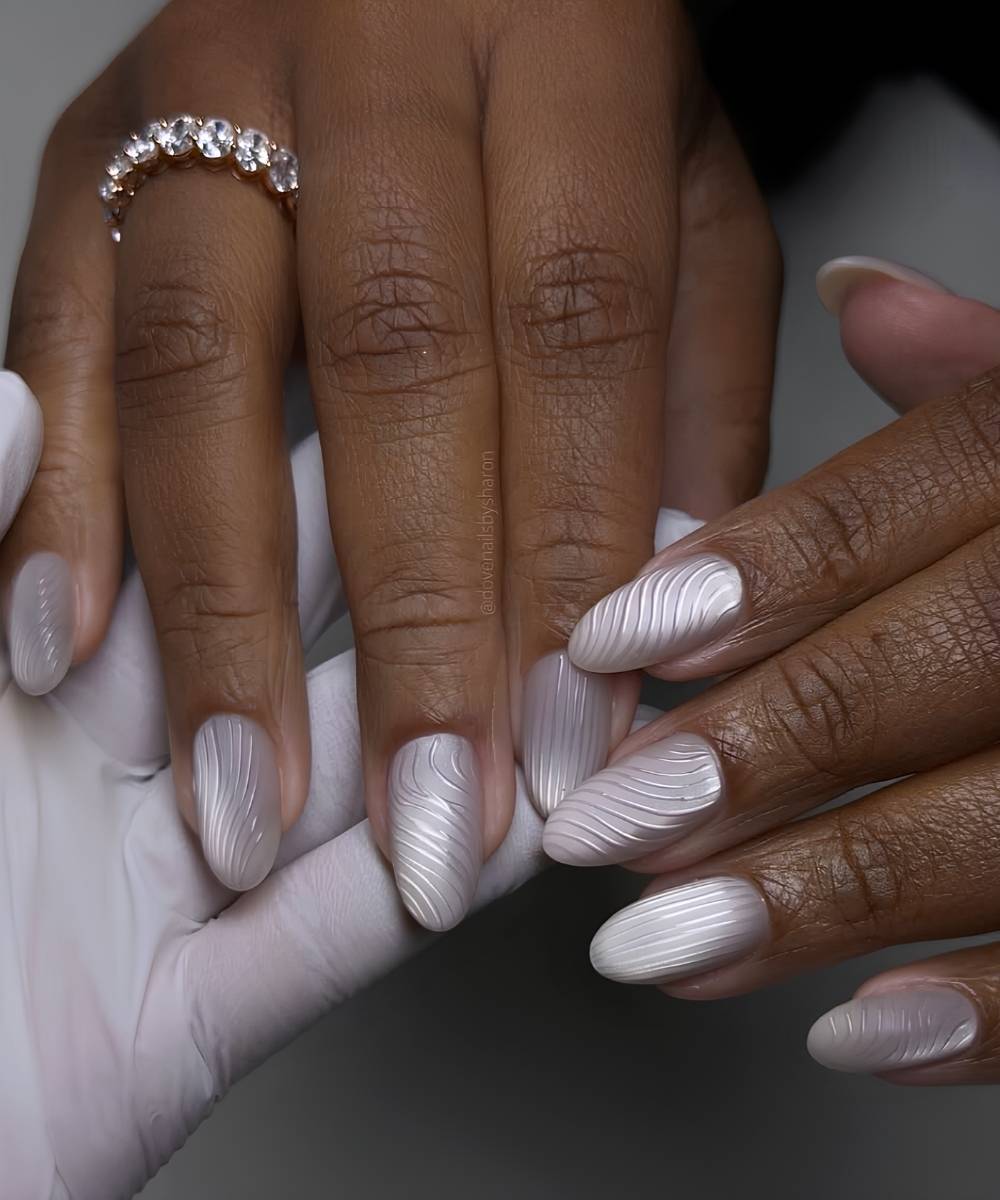
Three layers, three jobs: a diffused cat-eye base, a matte top coat, then thin glossy ribs of clear gel running from cuticle to tip. The reference is fluted glassware - the ribbed cups behind the “glass cup nails” and “iced coffee glass nails” social media tags.
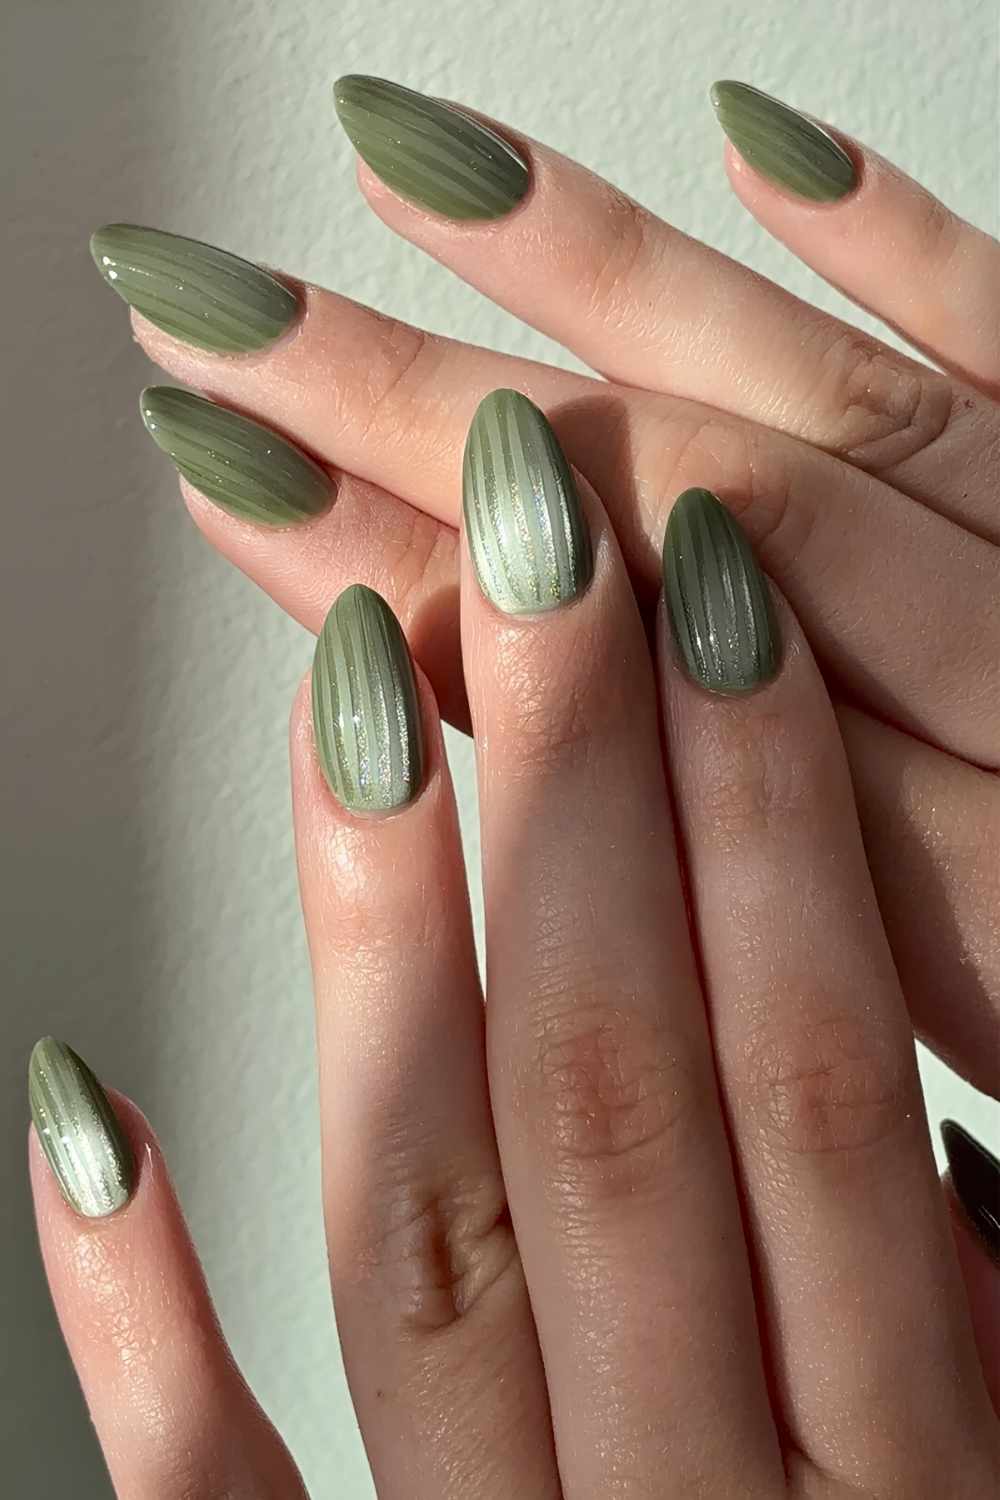
The look works because it stacks two massive salon trends: magnetic finish and raised 3D gel. Ribbed glass designs put one on top of the other, and the middle matte layer is the only reason they don't cancel each other out.
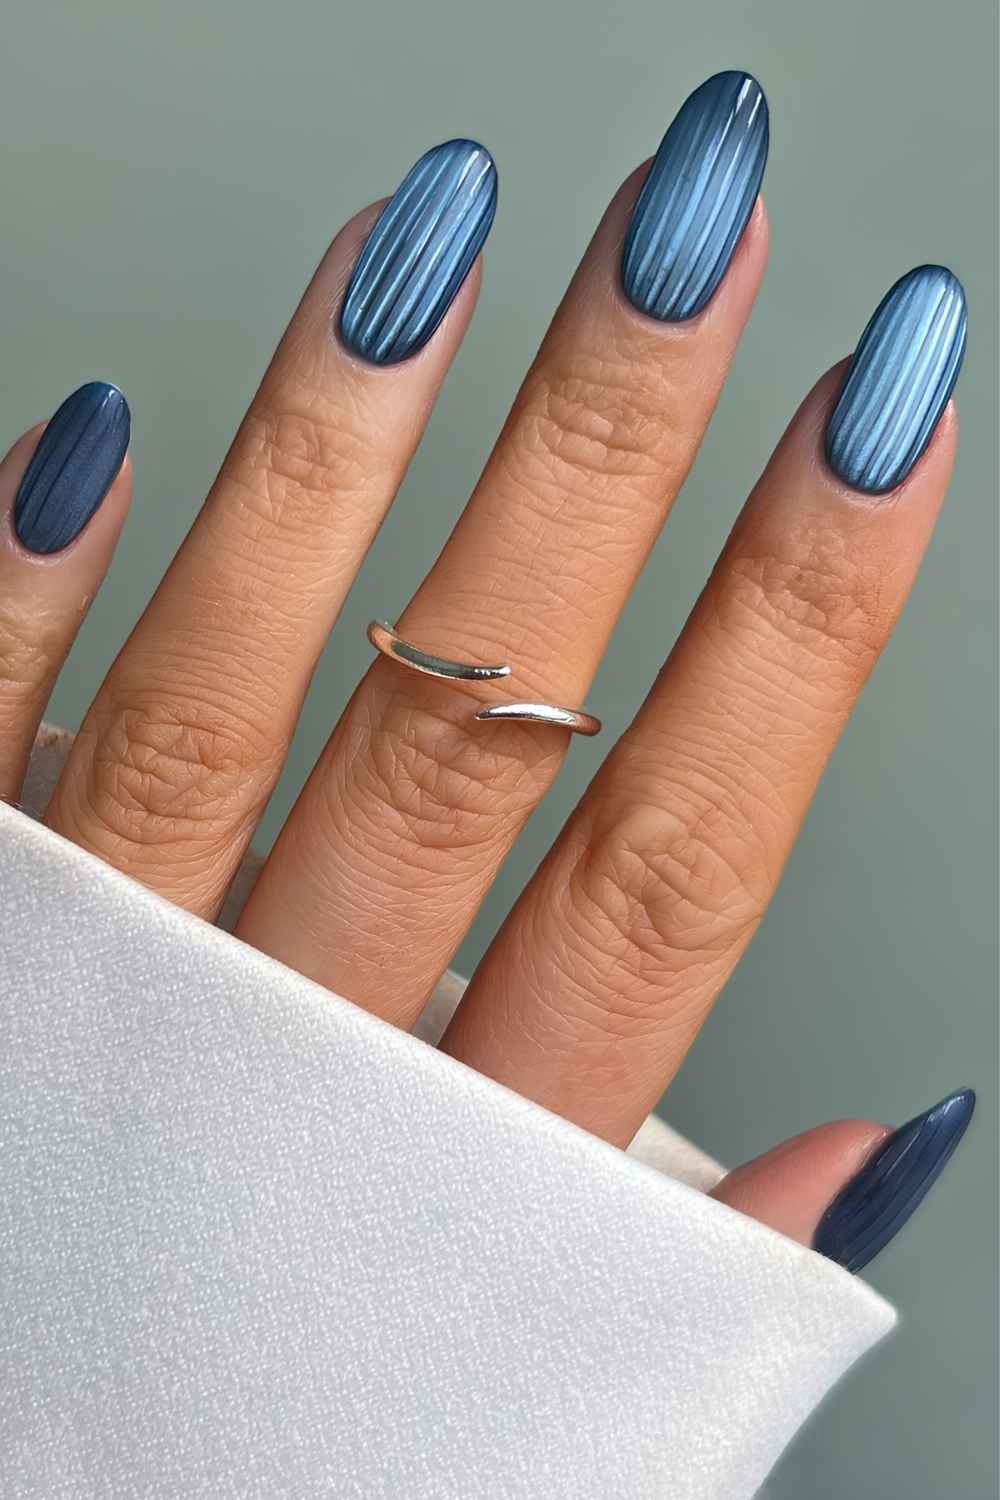
This also has more pedigree than a random TikTok experiment. The look went viral after nail artist Christina Duong created a black-and-gold ribbed metallic manicure for the Sergio Hudson show at New York Fashion Week, echoing the collection's pinstripe tailoring. That's the DNA.
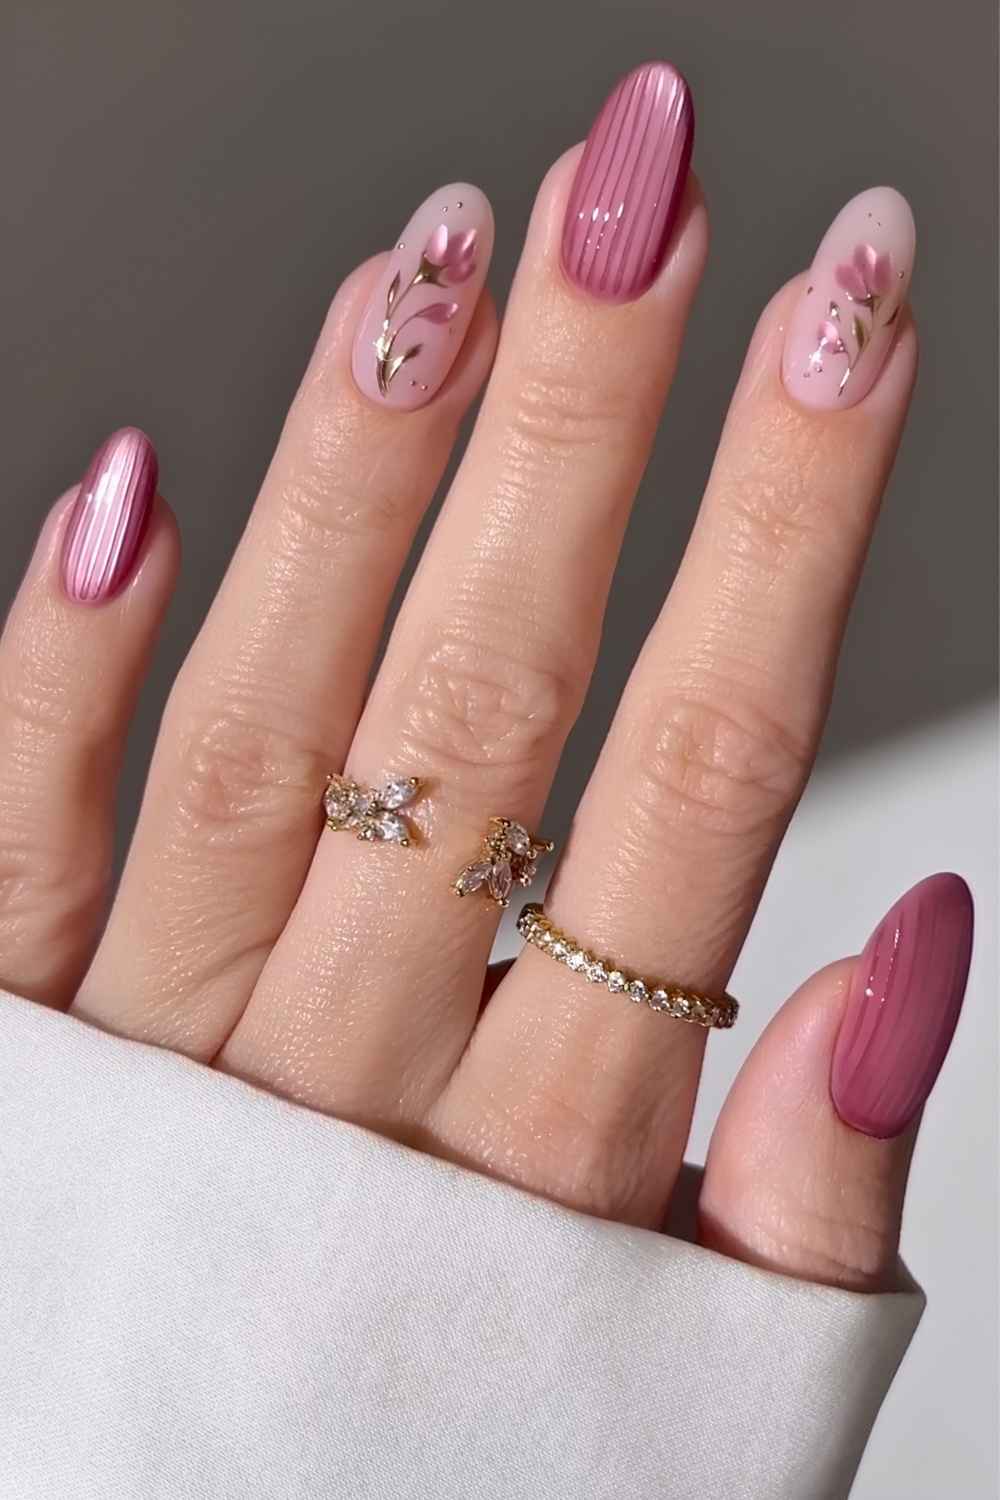
How ribbed glass nails are done
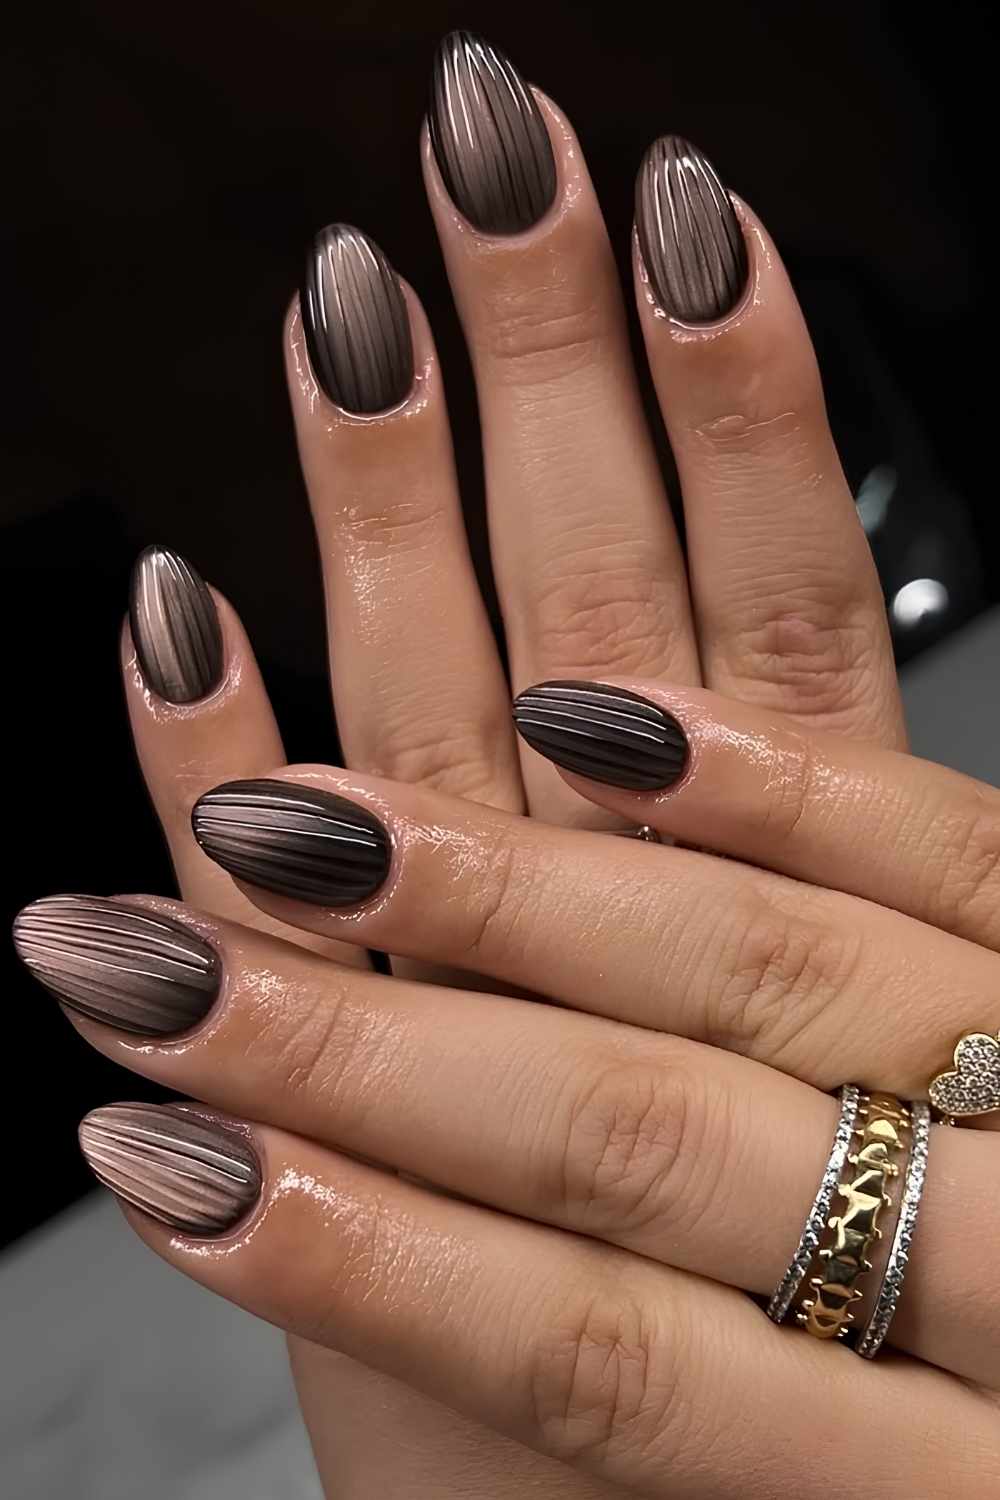
Step one: prep, base coat, then an even layer of cat-eye gel applied according to the brand’s instructions. Work the magnet close to the uncured gel until the shimmer sits where you want it, then cure using the correct lamp and full cure time. No universal two-millimeter, fifteen-second equation exists. Gel brands enjoy making their own rules.
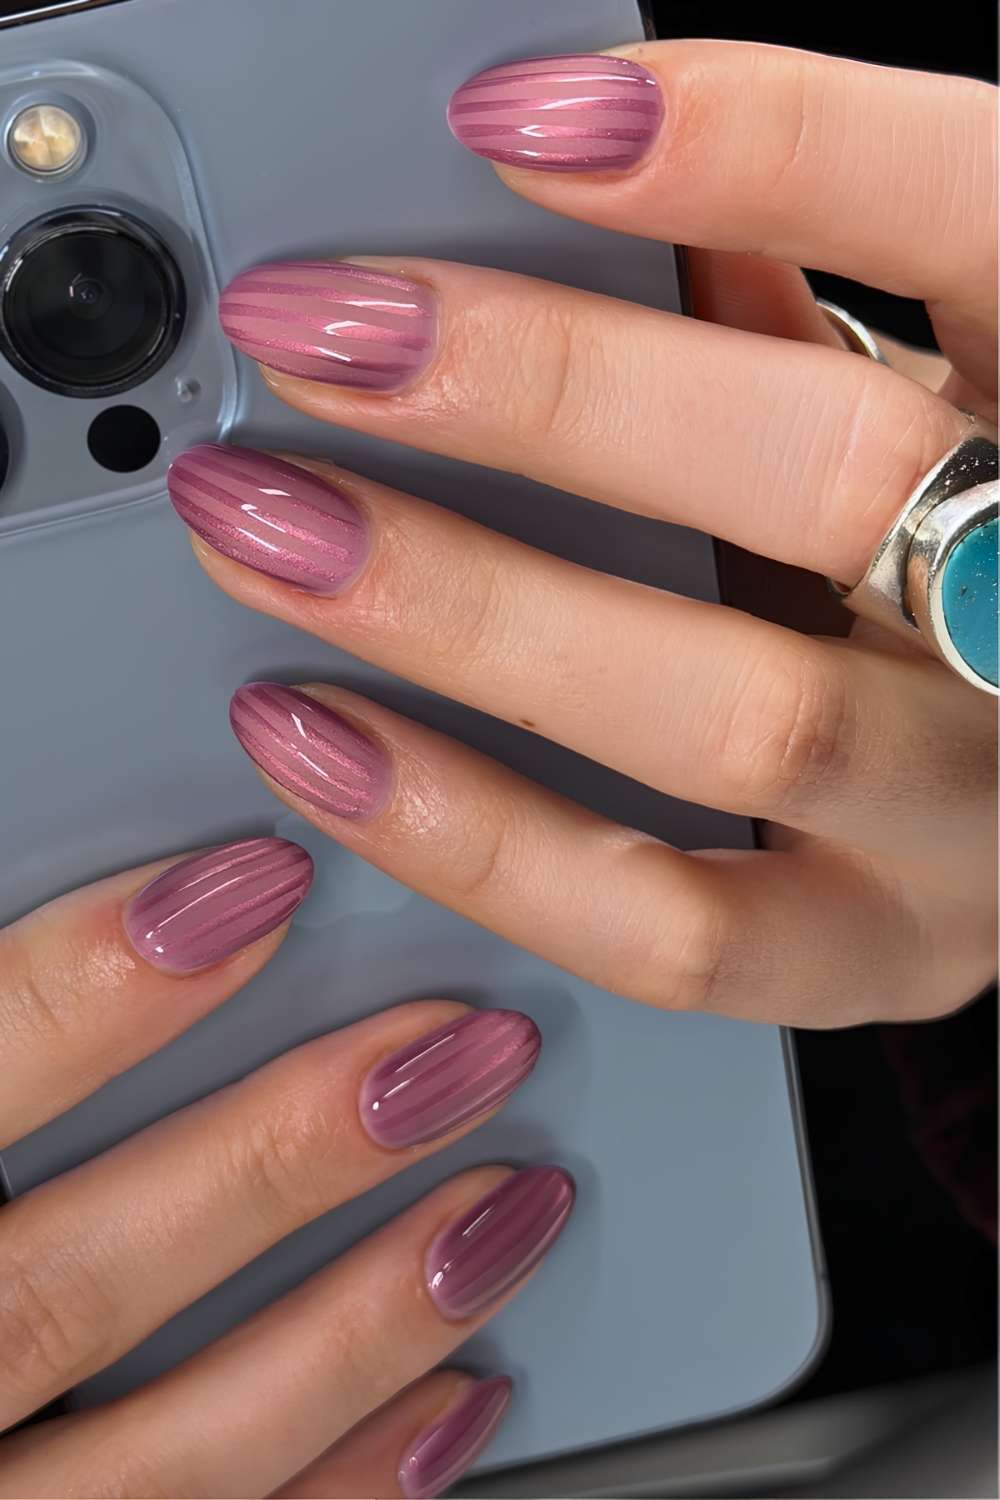
Step two: mattify. Apply matte top coat over the entire nail and cure as directed. A no-wipe formula makes life easier. If yours leaves a sticky inhibition layer, cleanse it only as the manufacturer instructs - not because the ribs will automatically refuse to grip and walk off the premises.
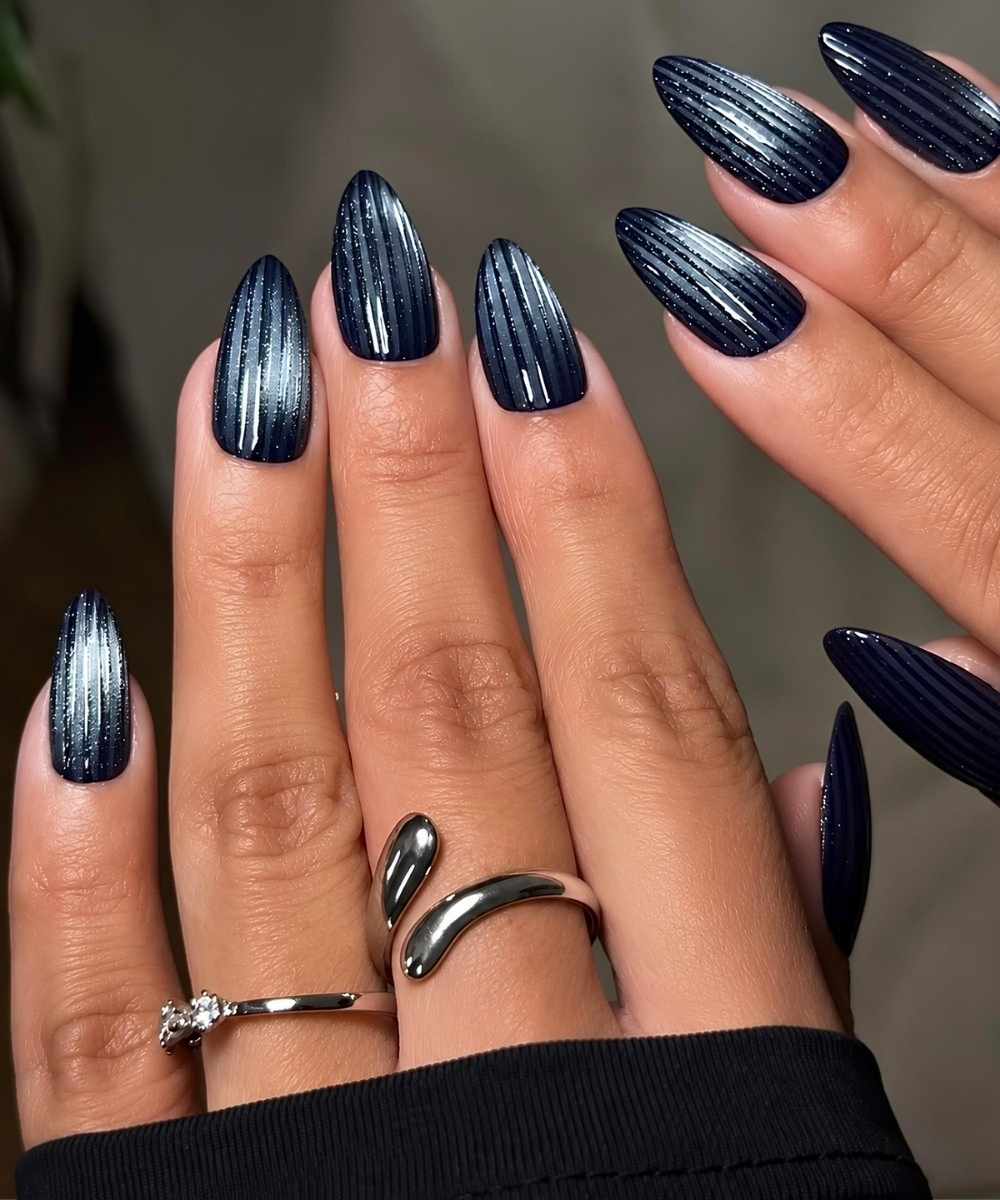
Step three: add the ribs using a long liner brush and dense, non-drip clear 3D gel. Starting with one line down the center can help keep the spacing even as you work toward the sidewalls. Keep the lines close without letting them merge. Regular runny gel will self-level into flat stripes, which is technically nail art but absolutely not the assignment.
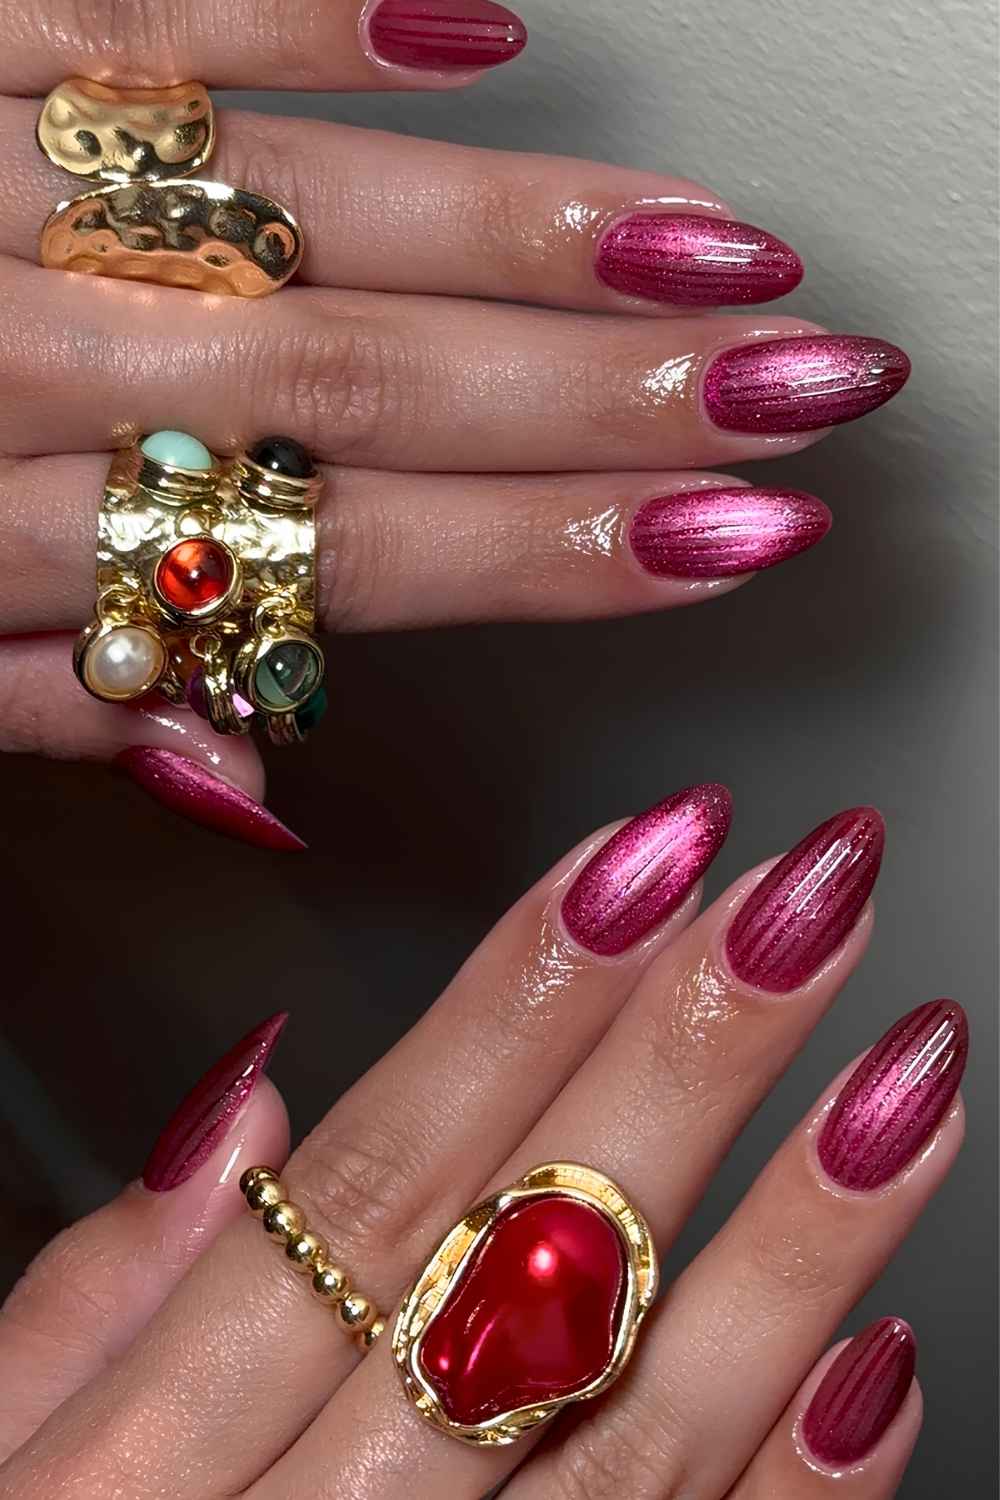
Cure the 3D gel for the full time specified by its manufacturer. A tech may flash-cure individual fingers to hold the design in place, but that is an optional working step, not a replacement for the full cure.
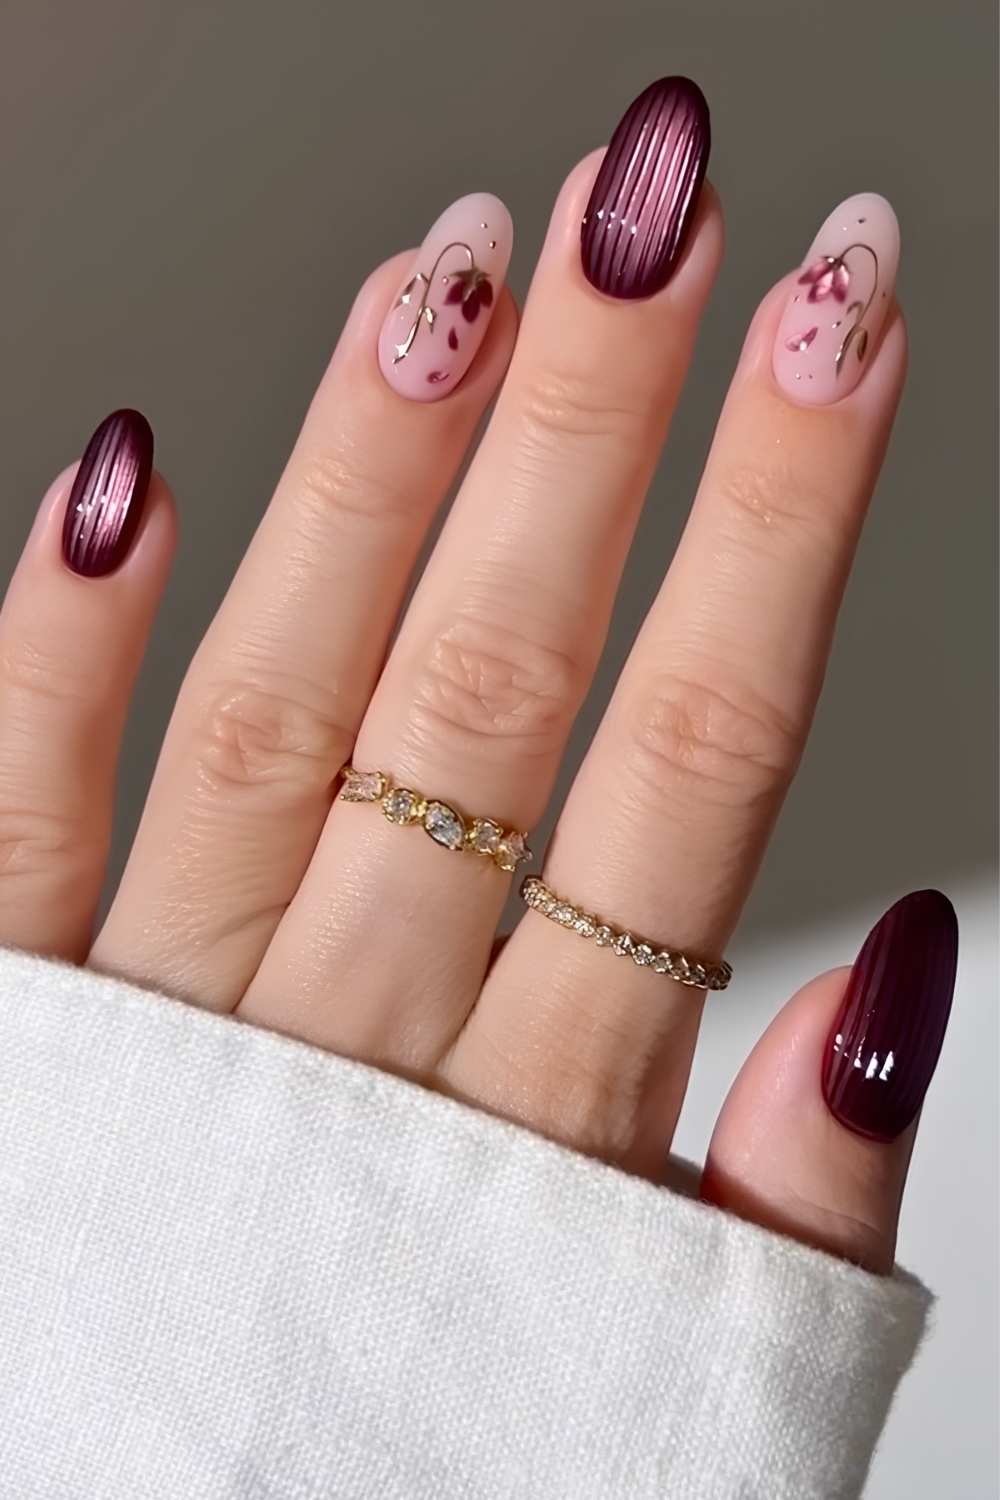
If you use a no-wipe product such as The GelBottle Clear 3D Studio Gel, stop there. It cures glossy and needs neither wiping nor another top coat. Other 3D gels may need cleansing or sealing, so follow that specific system. Swiping glossy top coat across the entire nail will erase the matte contrast and soften the grooves.
Colors, and what the matte does to them
Matte strips away the sharp surface reflection, which changes how every shade reads. Most look flatter and less saturated; some go deeper, while others turn chalkier. So if you chose the color from a glossy swatch, that's not exactly what you're getting.
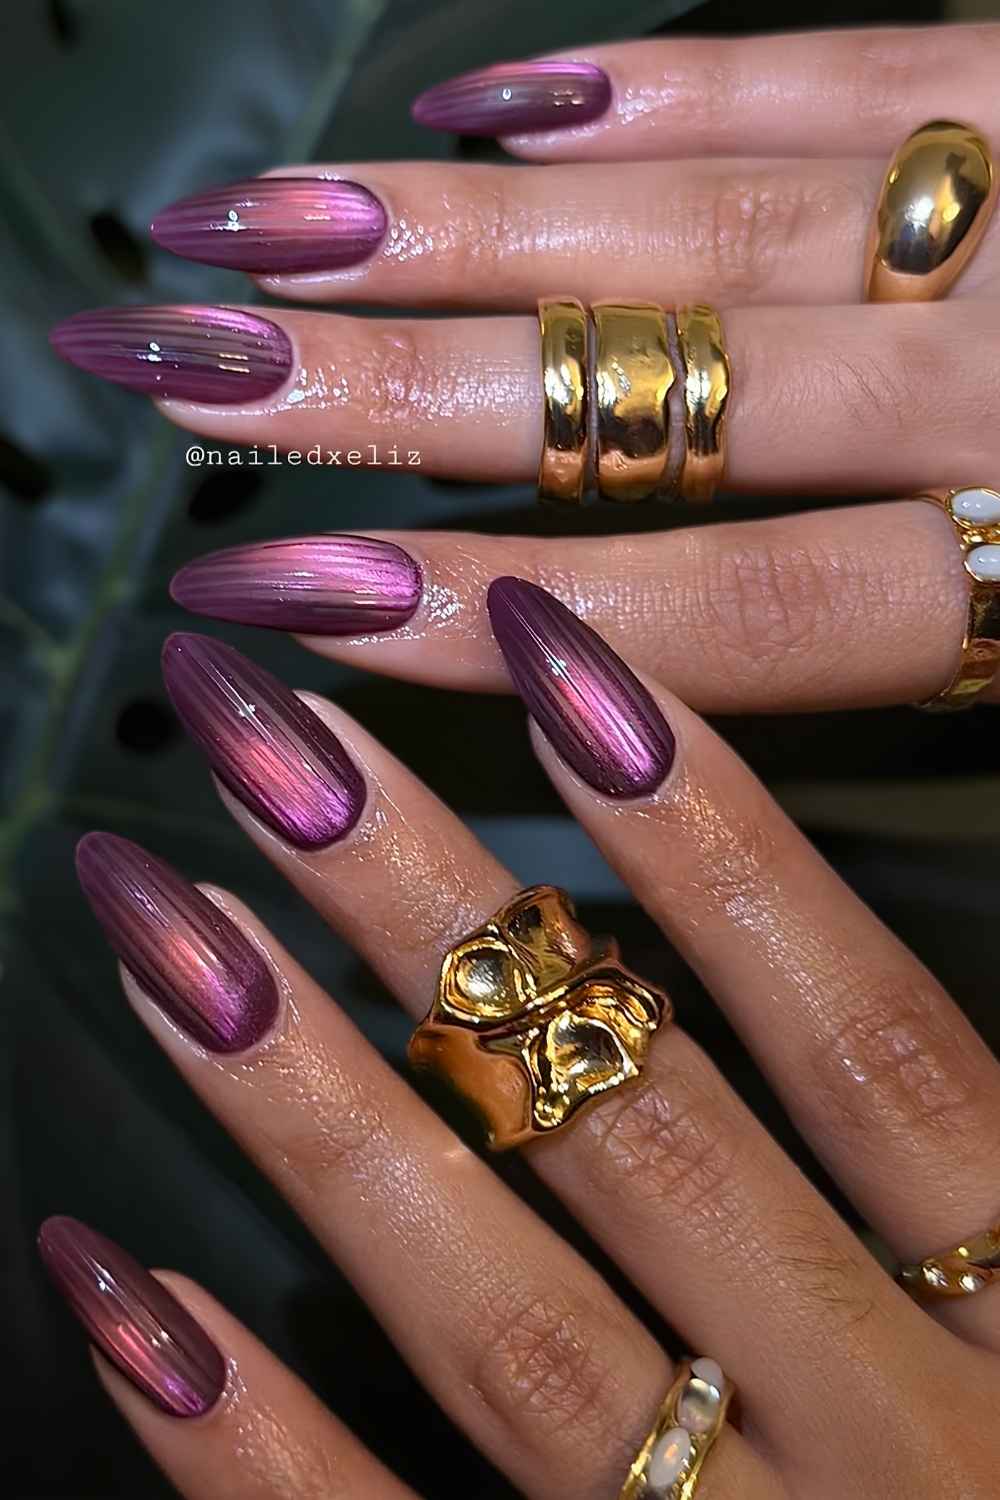
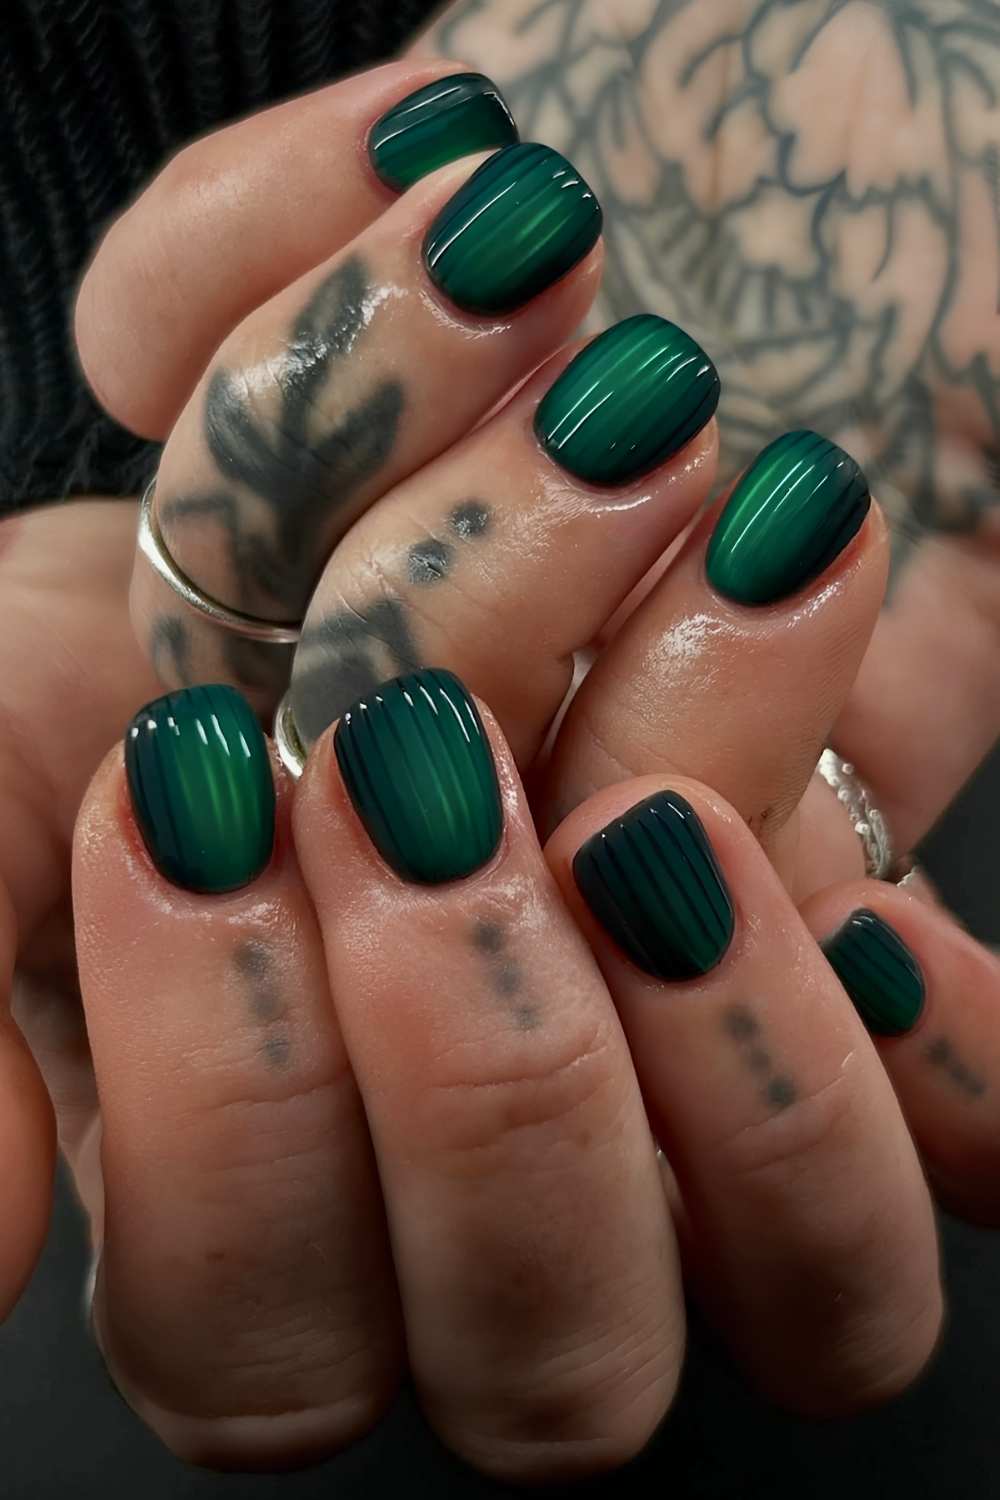
Deep shades - espresso, black, garnet, plum, emerald and oxblood - usually give the strongest contrast. The cat-eye shimmer sits low under the matte while the glossy ribs catch bright lines of light above it. Highest contrast, most dramatic, reads from across a room. The catch: black and espresso show every wobble.
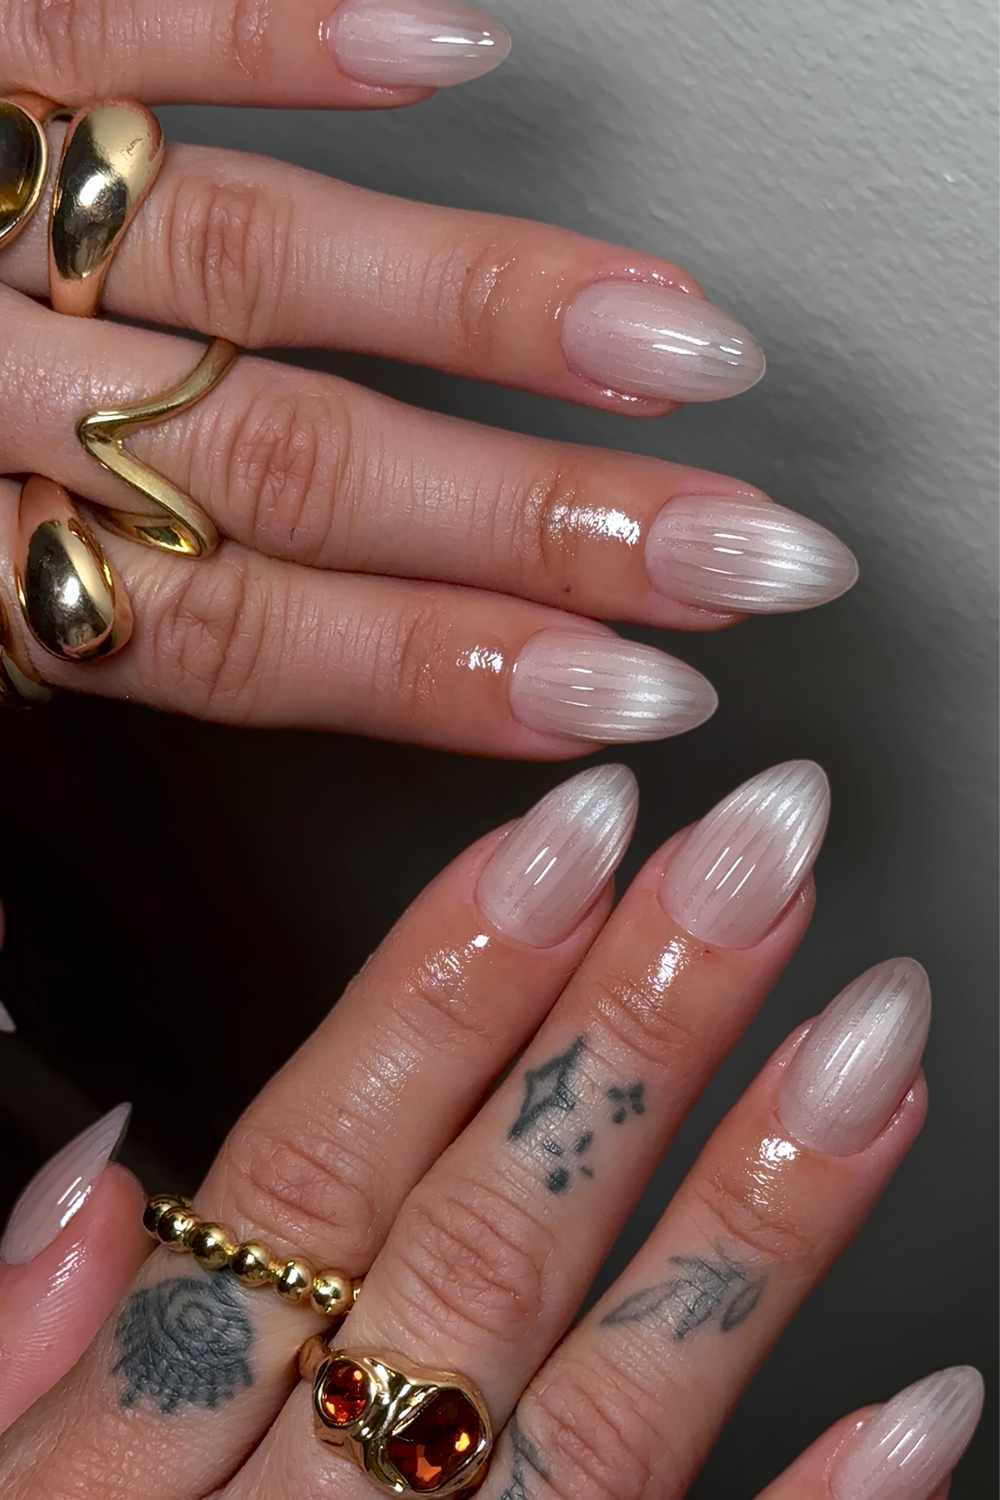
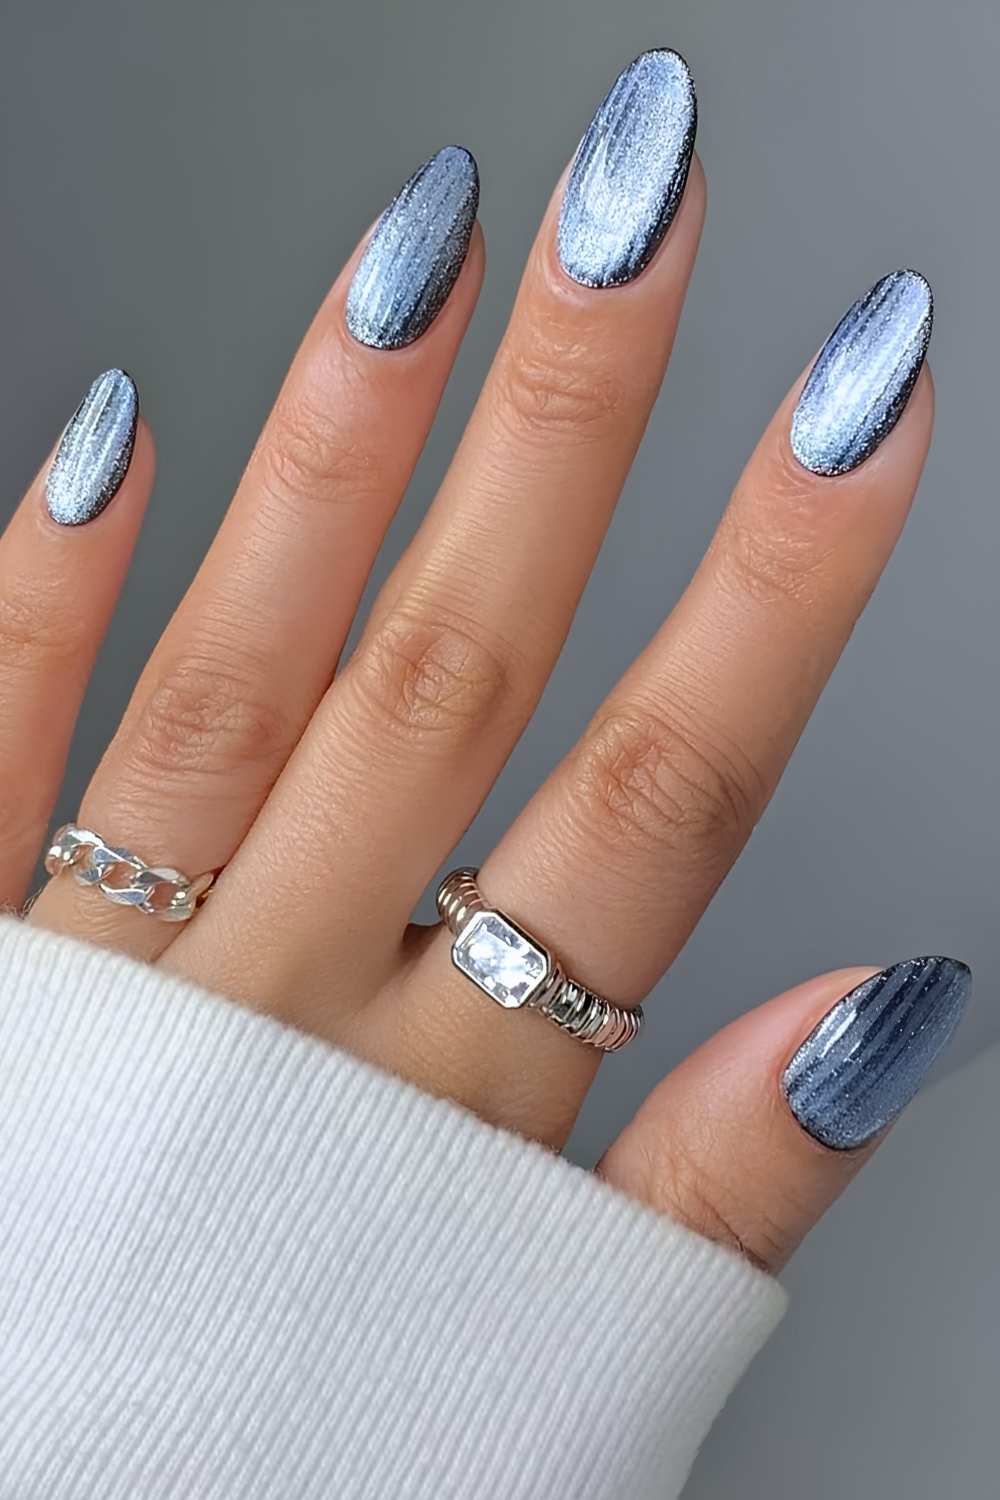
Milky white, sheer pink, soft gray and light blue put more focus on the texture. Less contrast between pigment and shimmer, so the glow goes quiet and the ribs carry the whole design. Sculptural, texture-first, and massively more forgiving of imperfect line work.
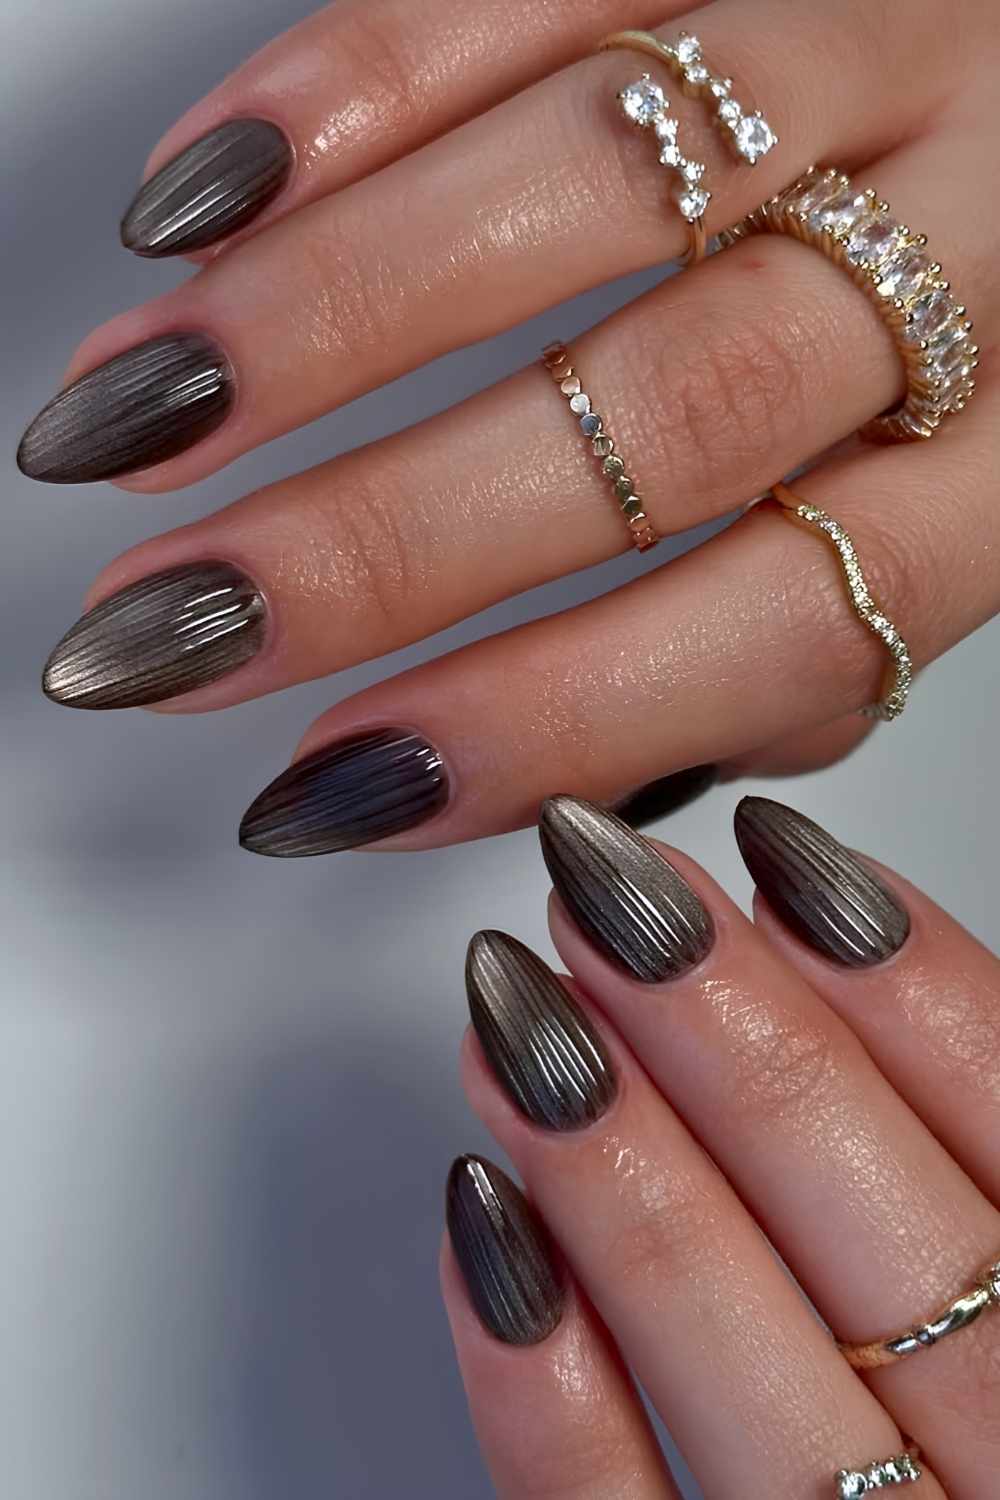
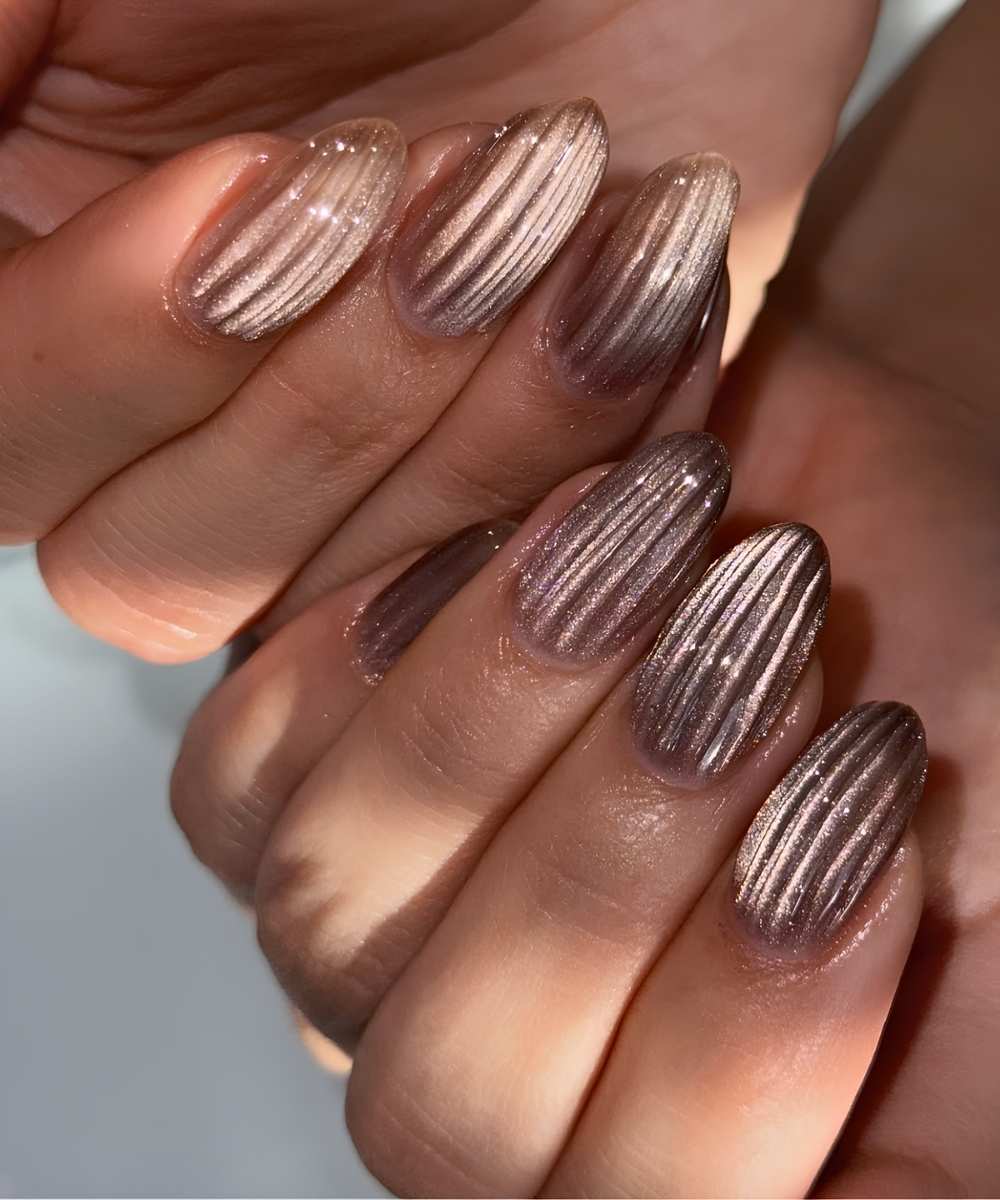
Mid-tone warm browns sit directly in the iced-coffee sweet spot: enough depth for the magnetic shimmer, but softer than black. The wrong undertone can still go murky under matte, so test the complete combination first.
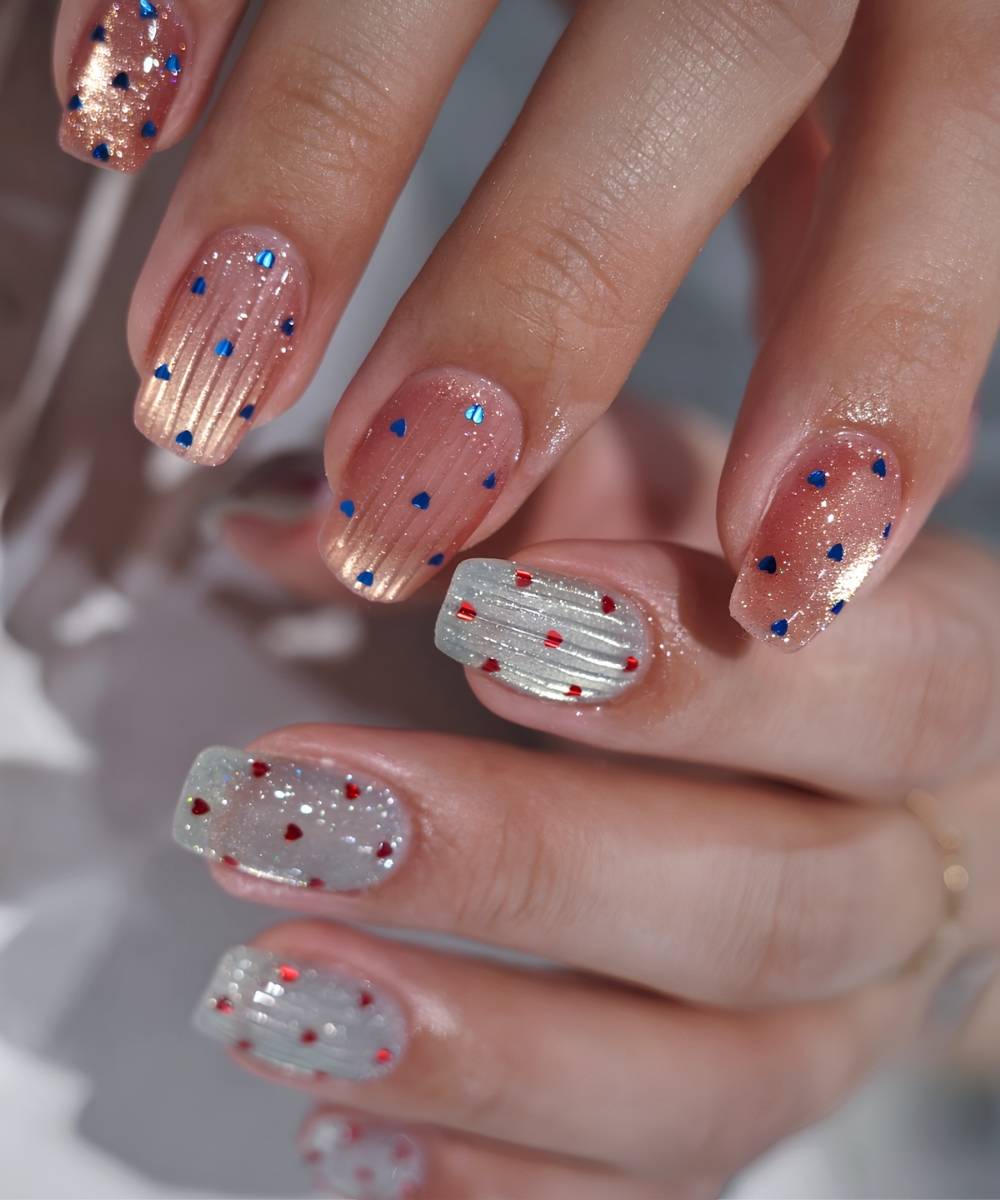
The current ribbed-glass palette already stretches from black, emerald, bronze and dark brown to champagne, sage, icy blue, pink and translucent finishes.
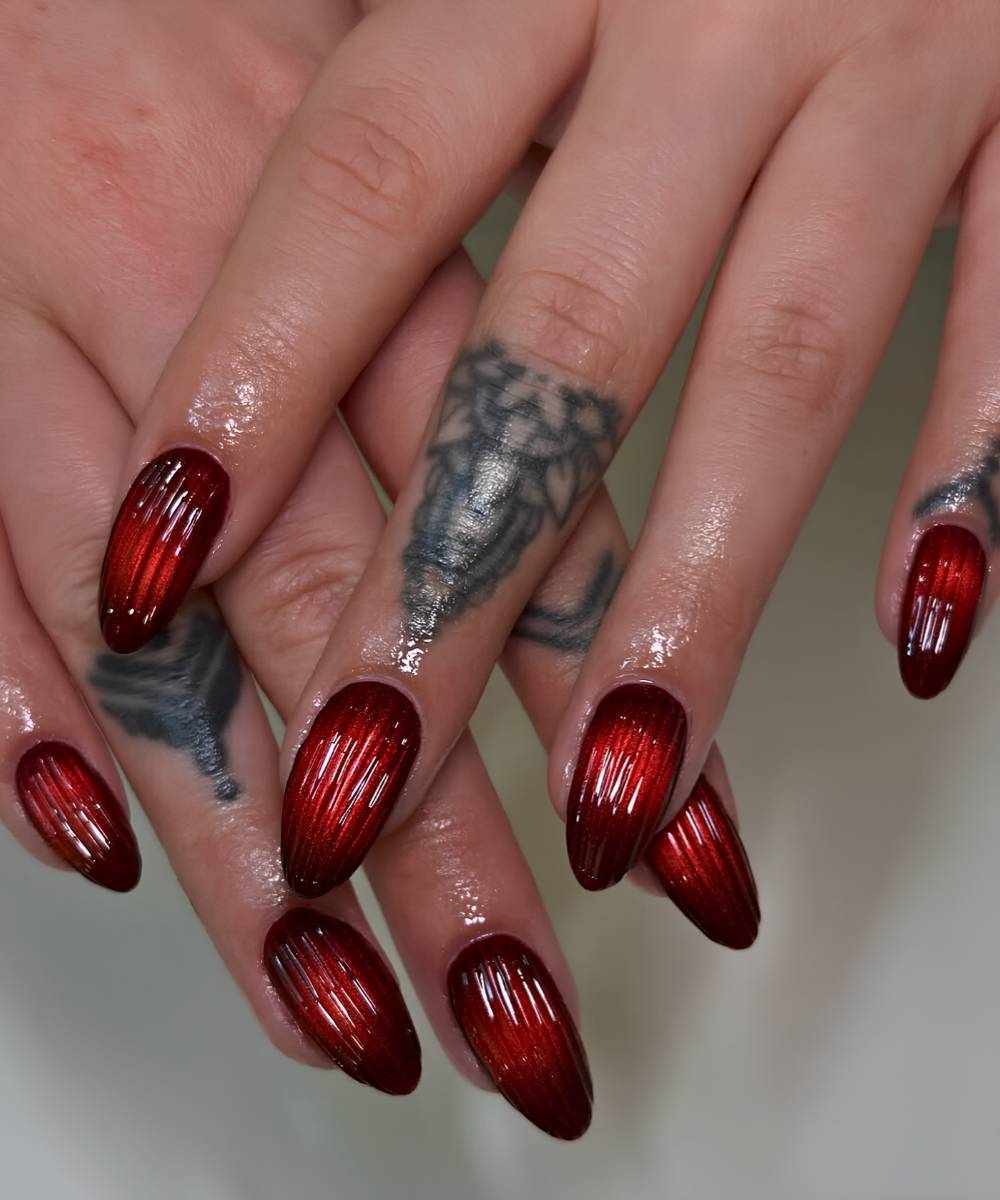
For fall 2026, the wider nail forecast adds suede brown, cherry-cola red, olive and forest green, molten silver, sapphire, merlot red and deep purple. Olive is the green experts singled out. Deep emerald is still my ribbed-glass pick because democracy has limits.
Best shapes for ribbed glass manicures
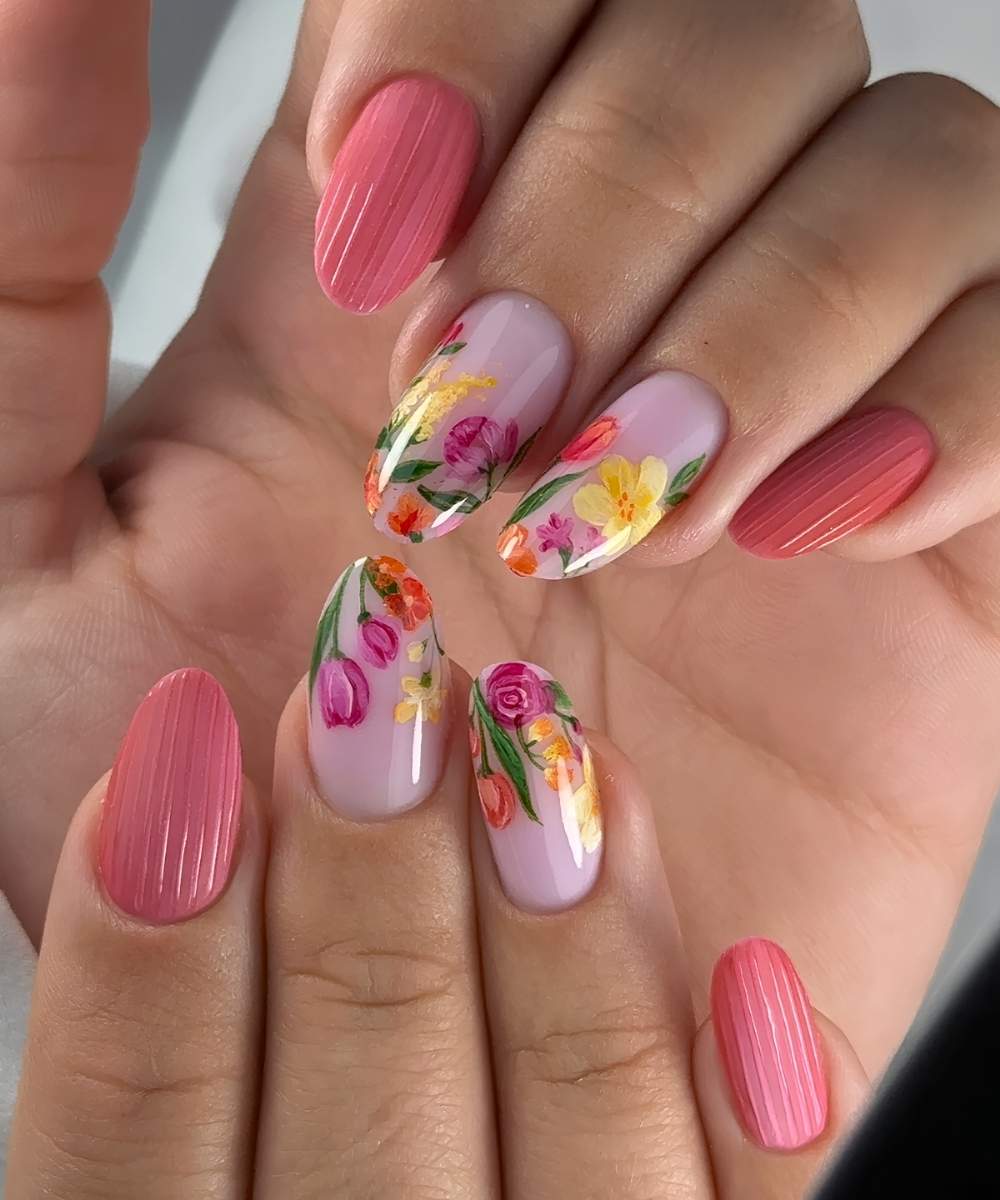
Ribbed glass cares less about shape than it does about spacing. Keep the ribs fine, close and separate; once they merge, ribbed glass becomes corduroy. Nail-bed width decides how many will fit.
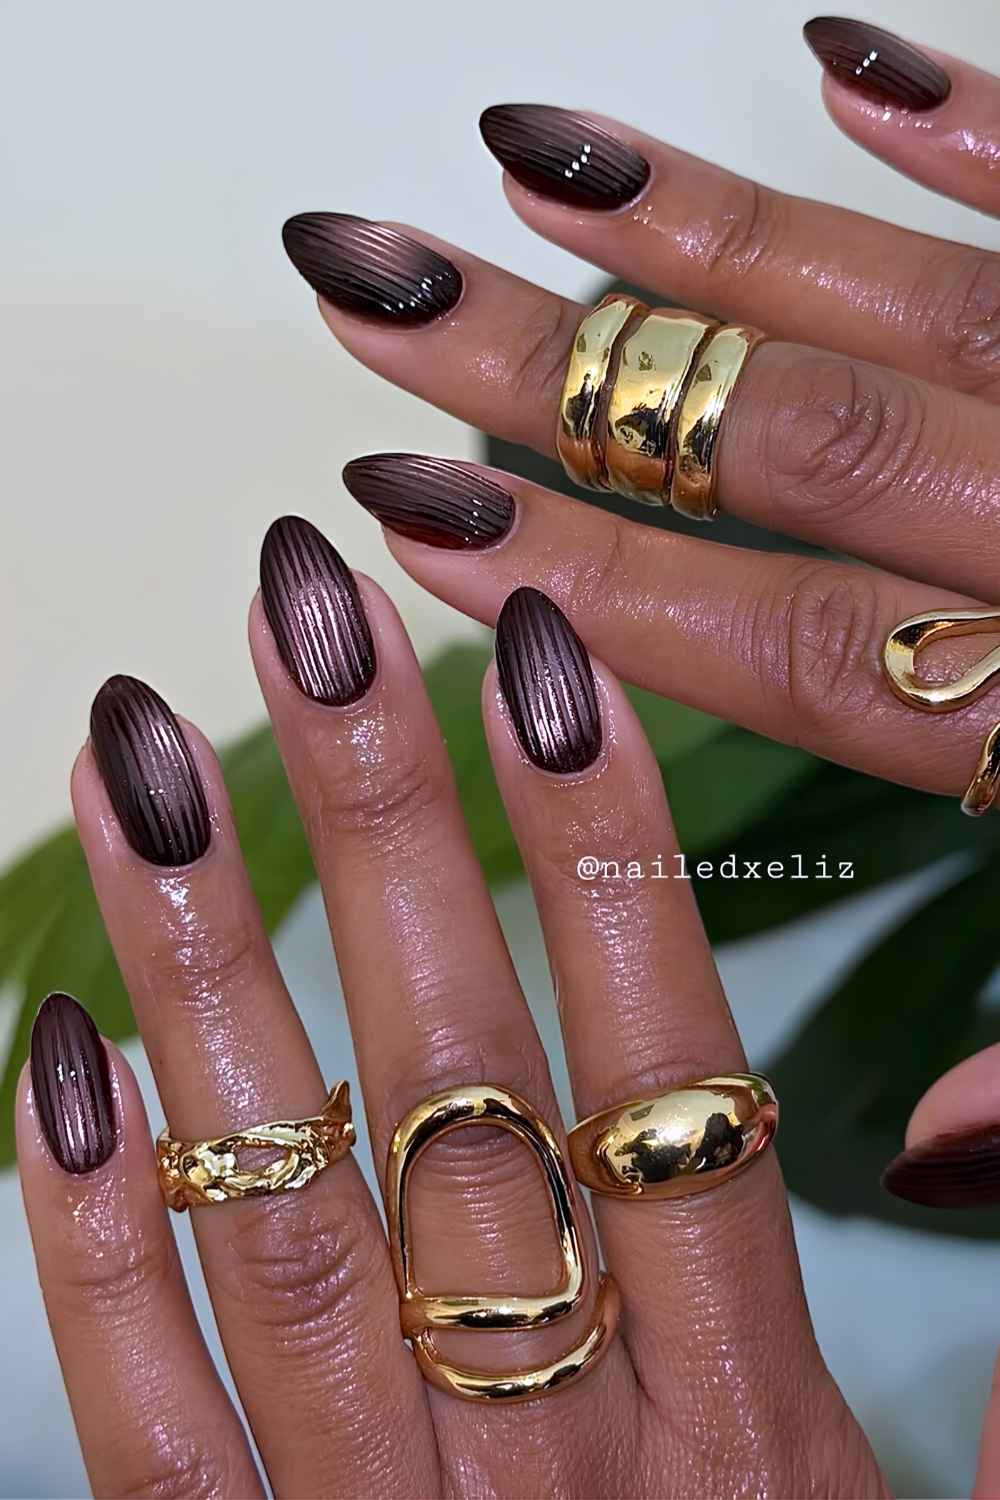
Long almond is still my favorite: the extra length gives the lines room, while the taper elongates the nail. Oval looks softer; coffin and long square make the texture more architectural.
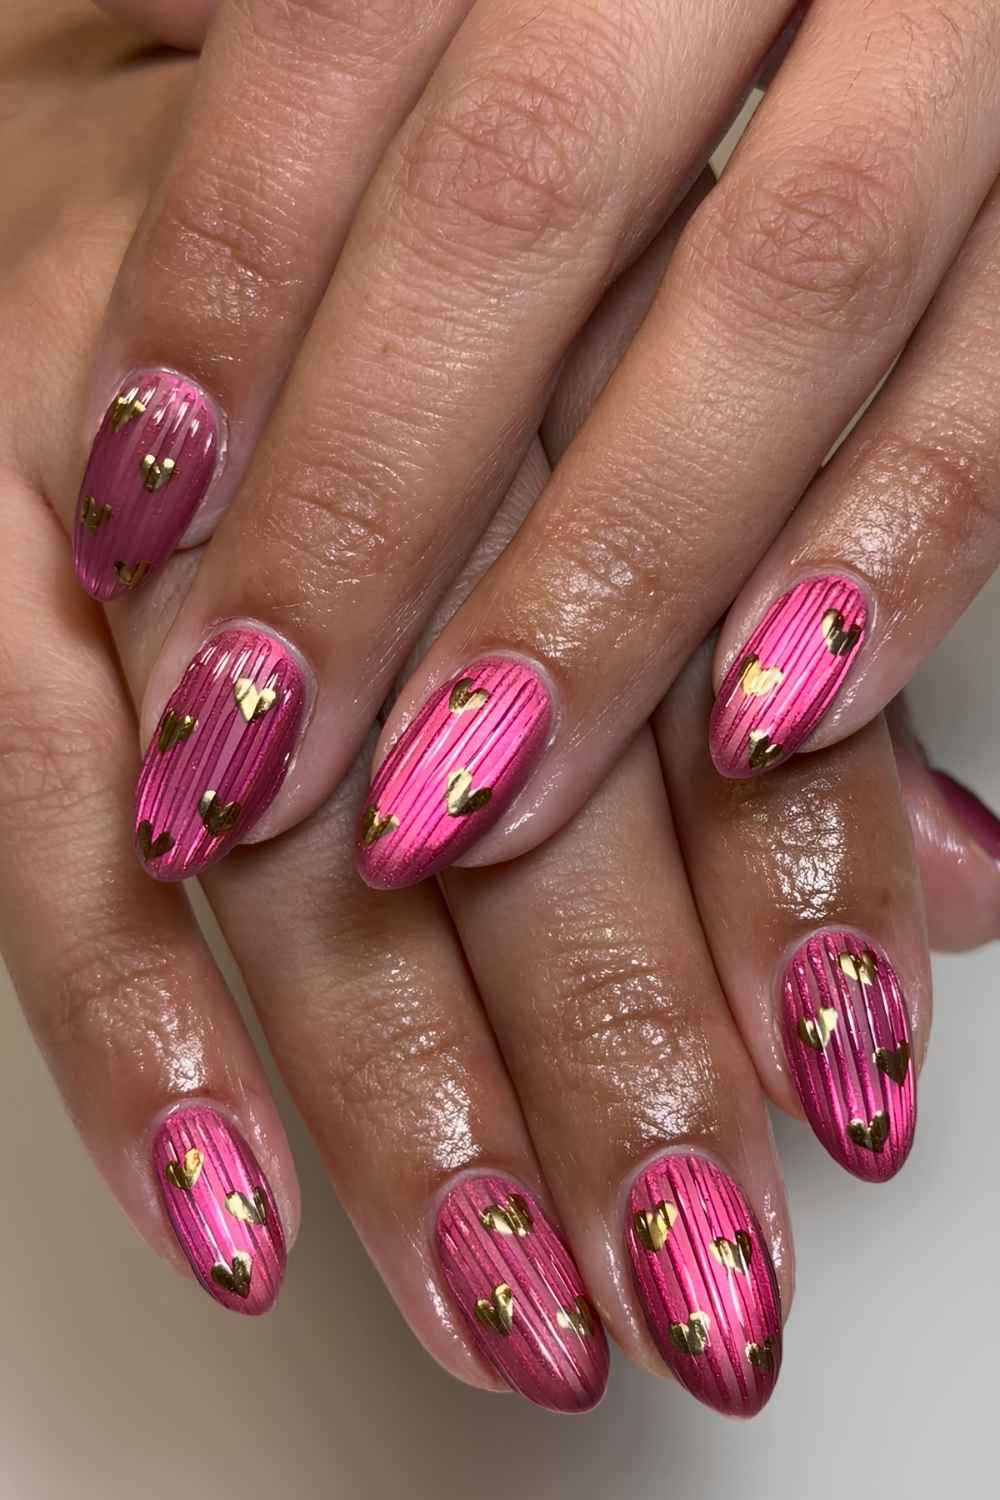
Short square and squoval work too - just use fewer hair-fine lines on narrow nail beds or save the texture for accent nails. Stiletto is the drama option, with the ribs following the taper toward the point. Very champagne flute.
The trend is already moving past straight lines
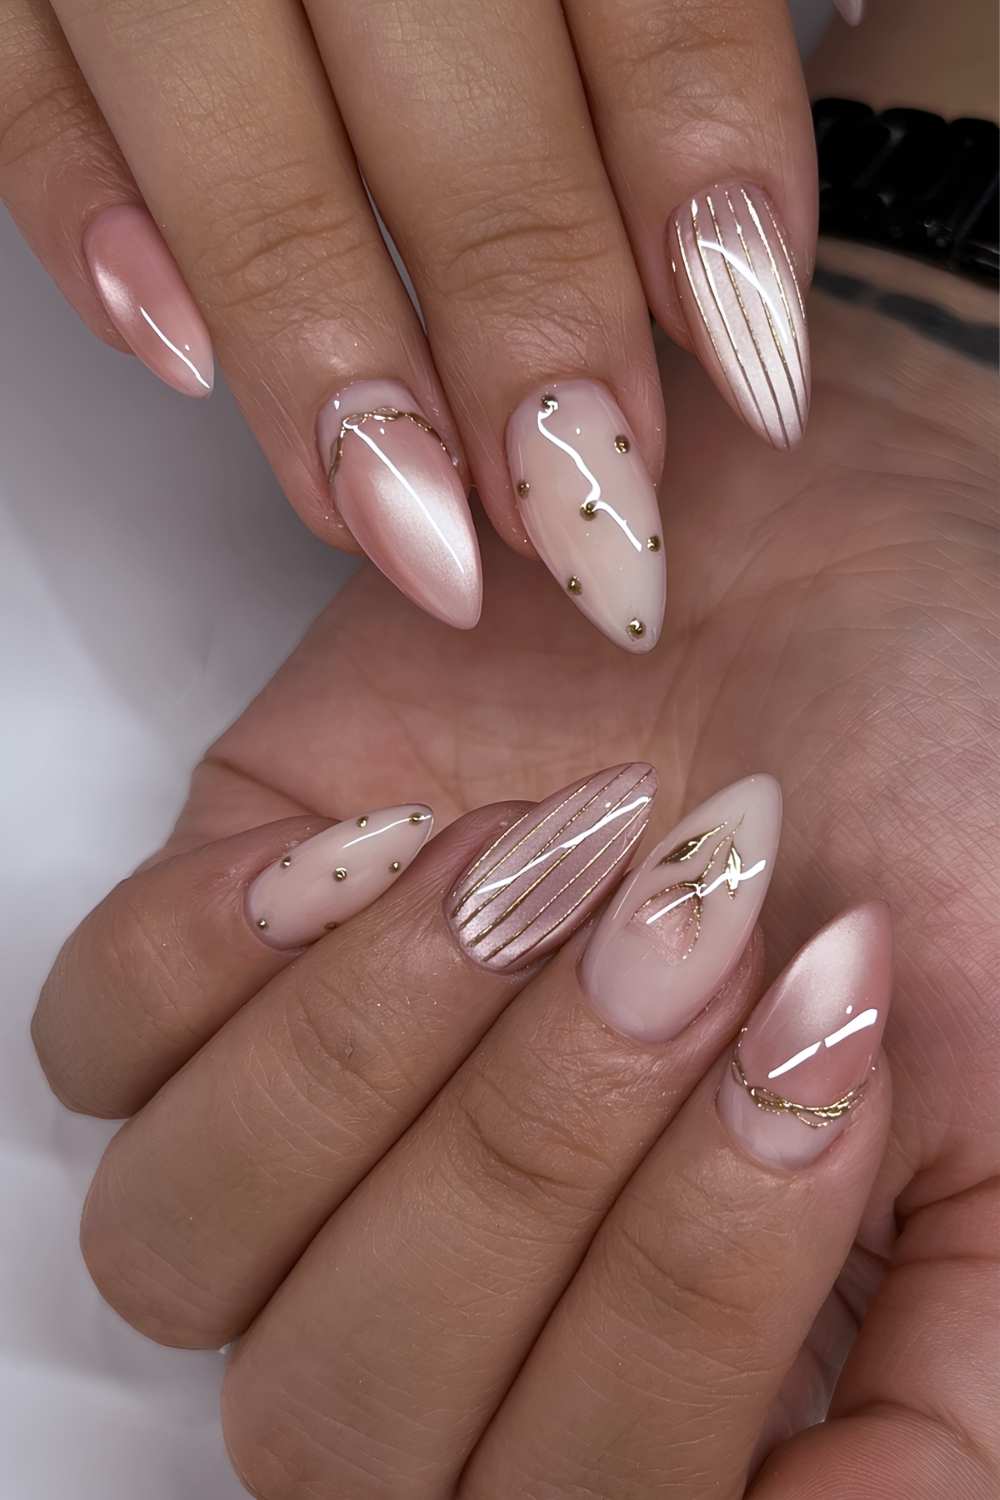
Nail girlies never let a good idea sit still. Straight ribs are already becoming curves, waves and swirls, giving the same raised-glass effect softer movement. Artists are also flipping the contrast with matte ribs over gloss, magnetic lines over velvet shimmer and chrome worked into the grooves.
Florals, hearts, polka dots, French tips and gold details are joining in too. Ribbed glass is becoming an accent texture in mix-and-match sets rather than a ten-nail uniform -which is probably how the trend survives its first viral season.
What products do you need?
For raised ribs, The GelBottle Clear 3D Studio Gel is my pro pick: dense, non-drip, no-wipe and glossy straight out of the lamp. For deep emerald, pair it with Belgravia Magnetic, a dark green with a silver shift. Kokoist Dramatic Magnet offers more colors, while its Needle Liner handles hair-fine ribs.
If buying everything separately sounds like a personal attack, Vettsy’s Ribbed Glass set bundles the magnetic gel, matte top, aurora powder, liner and magnet. You will still need to buy a clear 3D gel separately, since the kit does not include one.
A quick reality check
This is a UV/LED gel service, not a quick color change. Uncured gel must stay off the skin, and the design requires specialized 3D gel, the correct lamp and a steady hand, so beginners are better off booking. Expect extra time and a nail-art charge, and check your tech's grid on their feed before you commit. Wobbly ribs are worse than no ribs.